
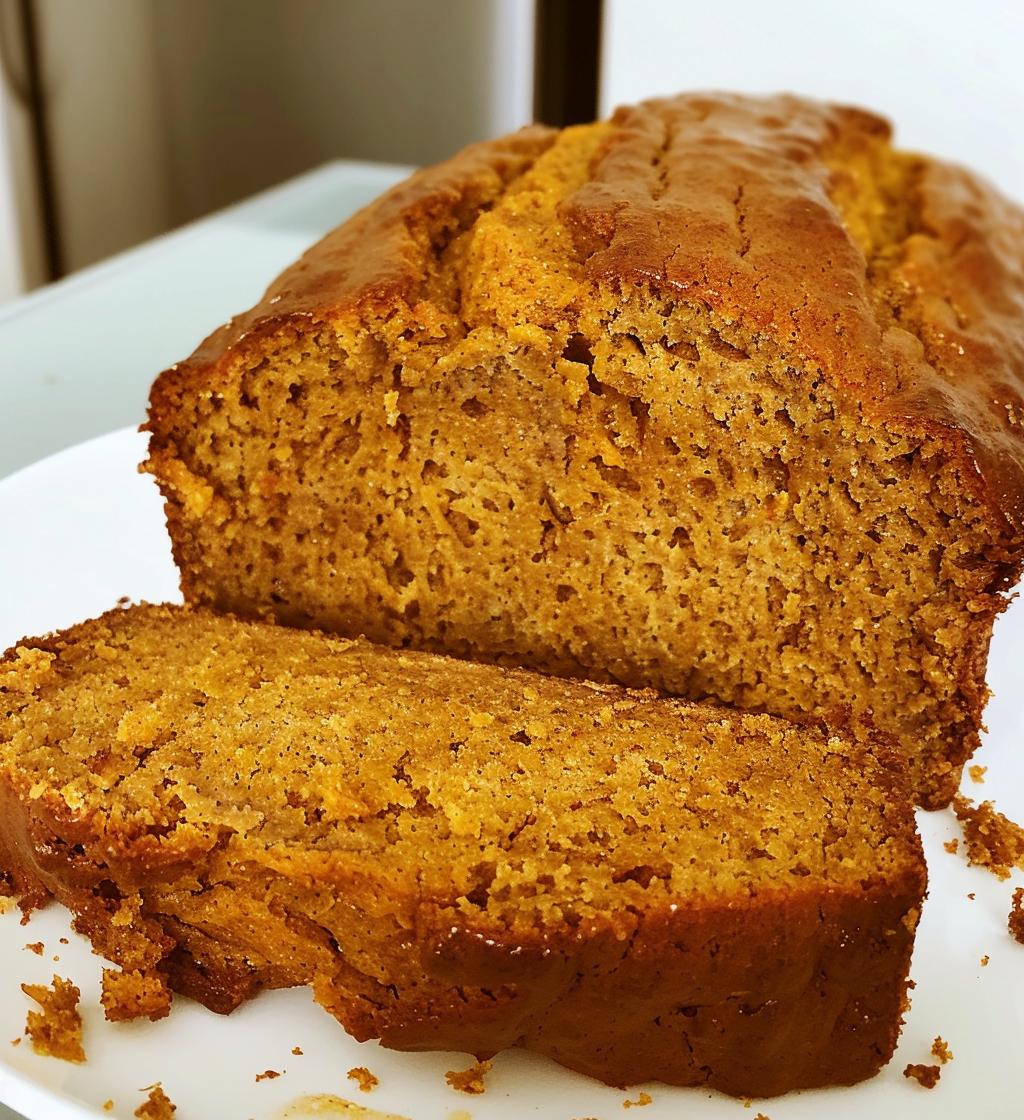
Ah, fall is finally here! The crisp air, the colorful leaves, and the cozy sweaters all make me think of one thing: the delightful aroma of freshly baked Pumpkin Bread wafting through the house. There’s just something magical about this time of year that makes this bread feel so comforting and warm. And the best part? This recipe is quick and easy to prepare, making it perfect for those lazy autumn afternoons when you want something delicious without a lot of fuss. Trust me, once you take that first bite, you’ll be hooked on this moist and flavorful pumpkin goodness!
Ingredients List
- 1 cup pumpkin puree (canned or homemade, just make sure it’s pure pumpkin!)
- 1 cup granulated sugar (this adds the perfect sweetness!)
- 1/2 cup vegetable oil (for that lovely moist texture)
- 2 large eggs (make sure they’re at room temperature for best results!)
- 1 1/2 cups all-purpose flour (sifted for lightness)
- 1 teaspoon baking soda (this helps the bread rise beautifully)
- 1/2 teaspoon baking powder (for extra fluffiness)
- 1 teaspoon ground cinnamon (the classic fall spice!)
- 1/2 teaspoon ground nutmeg (adds a warm, cozy flavor)
- 1/2 teaspoon salt (to balance out the sweetness)
How to Prepare Pumpkin Bread
Now that you have your ingredients all lined up, let’s dive into the fun part—making this delicious Pumpkin Bread! The process is straightforward, and I promise it’ll fill your kitchen with the most heavenly scent. Ready? Let’s get started!
Step-by-Step Instructions
- First things first, preheat your oven to 350°F (175°C). This is super important, so don’t skip it! A properly preheated oven ensures your bread bakes evenly.
- In a large mixing bowl, combine your pumpkin puree, granulated sugar, vegetable oil, and eggs. I love to use a whisk here—it helps everything come together smoothly!
- In a separate bowl, mix together the all-purpose flour, baking soda, baking powder, cinnamon, nutmeg, and salt. Make sure it’s well combined so the spices are evenly distributed throughout the bread.
- Gradually add the dry mixture to the wet ingredients. I like to do this in thirds, stirring gently until everything is just combined. You don’t want to overmix; a few lumps are totally fine!
- Next, pour the batter into a greased loaf pan. Don’t be shy; get every last bit in there!
- Now, it’s time to bake! Place your loaf in the preheated oven and let it bake for about 60 minutes. You’ll know it’s done when a toothpick inserted in the center comes out clean.
- Once it’s baked to perfection, remove it from the oven and let it cool in the pan for about 10 minutes. Then, transfer it to a wire rack to cool completely before slicing. Trust me, the wait will be worth it!
Why You’ll Love This Recipe
Let me tell you, this Pumpkin Bread is a total game-changer! It’s quick and easy to whip up, making it the perfect go-to recipe for those busy fall days. With just 15 minutes of prep and an hour in the oven, you’ll have a warm, fragrant loaf ready to enjoy in no time.
Quick and Easy
You’ll love how straightforward this recipe is. Even if you’re a novice in the kitchen, you can easily pull this off without breaking a sweat. Just mix, pour, and bake—it’s that simple!
Flavorful and Moist
And oh, the flavor! This bread is incredibly moist, thanks to the pumpkin puree and oil, and every bite bursts with warm spices like cinnamon and nutmeg. It’s like a cozy hug in bread form!
Perfect for Fall
Finally, let’s not forget how this Pumpkin Bread captures the essence of fall. It’s perfect for gatherings, cozy mornings with coffee, or even as a sweet treat to share with friends. You’ll definitely want to keep this recipe close at hand throughout the season!
Tips for Success
To make sure your Pumpkin Bread turns out perfectly every time, here are a few pro tips! First, measure your flour correctly—spoon it into your measuring cup and level it off with a knife, so you don’t end up with a dense loaf. Also, don’t skip the cooling time; letting it cool in the pan helps it set properly and makes slicing easier. If you want a little extra flavor, consider adding a splash of vanilla extract to the wet ingredients. And finally, feel free to keep an eye on it towards the end of the baking time; all ovens vary a bit! Happy baking!
Variations
If you’re feeling a little adventurous, there are so many fun ways to customize this Pumpkin Bread! One of my favorite things to do is add chopped nuts—walnuts or pecans work beautifully for a nice crunch. If you’re a chocolate lover, toss in some chocolate chips for a sweet surprise in every bite. You can also experiment with dried fruits like cranberries or raisins for a chewy texture. Feeling festive? Try mixing in some pumpkin seeds on top for a delightful garnish that adds a bit of flair. The sky’s the limit, so let your creativity shine!
Storage & Reheating Instructions
Once you’ve enjoyed your delicious Pumpkin Bread, you’ll want to make sure it stays fresh for as long as possible. Store any leftovers in an airtight container at room temperature for up to 3 days. If you want to keep it longer, wrap it tightly in plastic wrap and pop it in the freezer—it can last for up to 3 months! When you’re ready to enjoy a slice, simply thaw it in the fridge overnight. For a warm treat, you can slice off a piece and pop it in the microwave for about 10-15 seconds. Yum!
Nutritional Information
Now, let’s talk about the nutritional goodness packed into each slice of this delightful Pumpkin Bread! Each serving, which is about one slice, contains approximately 180 calories. You’ll also find 7 grams of fat, 2 grams of protein, and 25 grams of carbohydrates. It has 12 grams of sugar and 150 milligrams of sodium, making it a sweet yet balanced treat. Just keep in mind that these values can vary a bit depending on the specific ingredients you use, like if you decide to add nuts or chocolate chips. So, enjoy your pumpkin goodness guilt-free!
FAQ Section
Got questions about Pumpkin Bread? I’ve got answers! One common query is, “Can I use fresh pumpkin instead of canned?” Absolutely! Just make sure to cook and puree it beforehand. Another question I often hear is, “How can I tell when the bread is done?” A toothpick inserted in the center should come out clean, which is a surefire sign! If you’re wondering, “Can I make this gluten-free?” you can substitute the all-purpose flour with a gluten-free blend—just check the ratios. Lastly, people ask, “How can I enhance the flavor?” A splash of vanilla or a pinch of cloves can elevate the taste beautifully!