
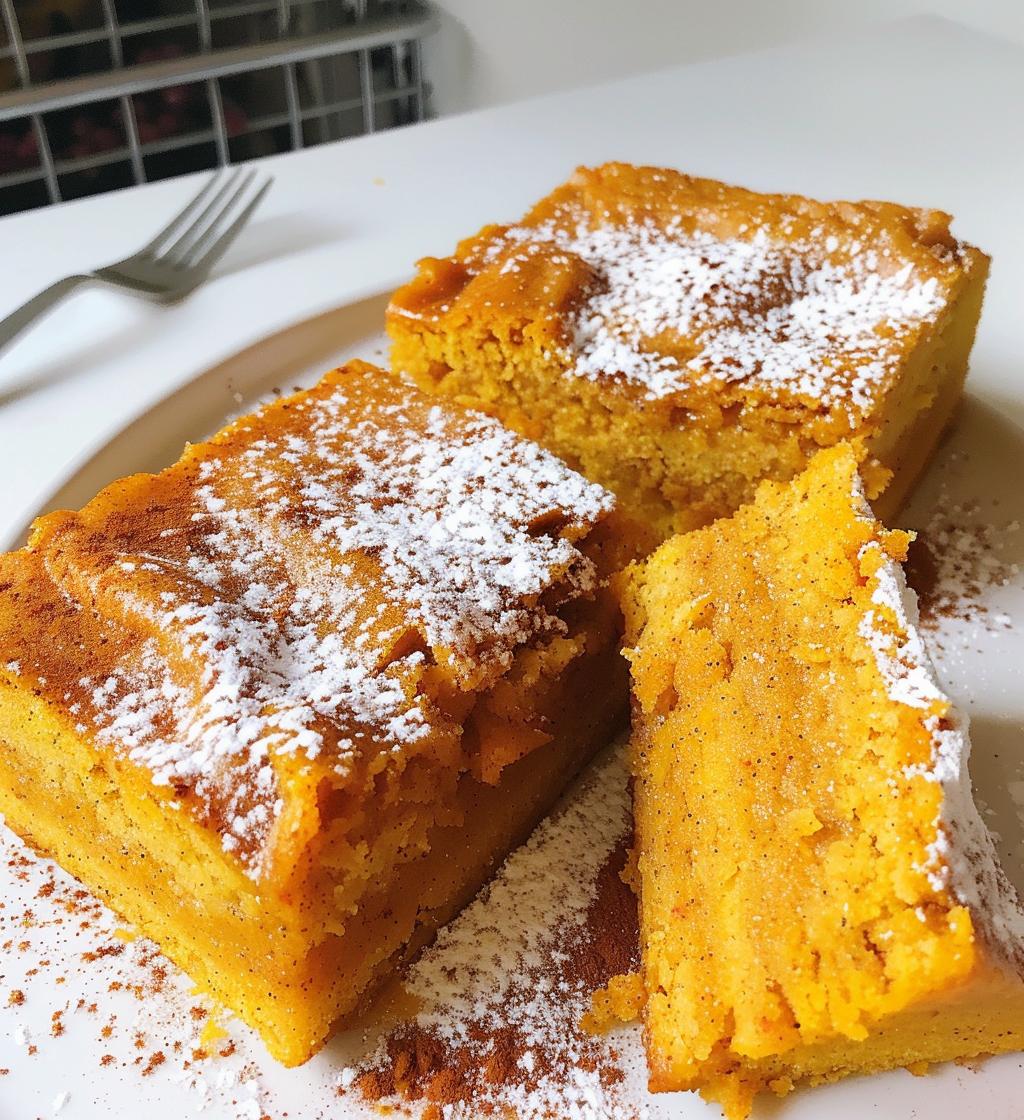
Did you know that pumpkin bars are one of the most beloved fall treats? Seriously, as soon as the leaves start to change, I can’t resist whipping up a batch! There’s just something magical about the warm spices and the rich pumpkin flavor that makes them perfect for cozy family gatherings. I remember the first time I made these for a family get-together; the smell wafting through the house was enough to make everyone gather in the kitchen. My cousins and I couldn’t wait to dig in! They’re soft, flavorful, and honestly, they just scream fall. I can’t wait for you to try them!
Ingredients for Pumpkin Bars
Here’s everything you’ll need to create these delicious pumpkin bars! Trust me, with these simple ingredients, you’ll be well on your way to fall bliss.
- 1 cup pumpkin puree
- 1 cup sugar
- 1/2 cup vegetable oil
- 2 large eggs
- 1 teaspoon vanilla extract
- 1 1/2 cups all-purpose flour
- 1 teaspoon baking powder
- 1 teaspoon baking soda
- 1 teaspoon cinnamon
- 1/2 teaspoon nutmeg
- 1/2 teaspoon salt
That’s it! You probably have most of these in your pantry already. Let’s get baking!
How to Prepare Pumpkin Bars
Alright, let’s get to the fun part—making these scrumptious pumpkin bars! I promise you’ll find this process super simple and satisfying. Just follow these steps, and you’ll be enjoying your fall treat in no time!
Step 1: Preheat the Oven
First things first, you’ll want to preheat your oven to 350°F (175°C). This is super important because starting with a hot oven helps your pumpkin bars rise and bake evenly. Trust me, it makes all the difference!
Step 2: Mix Wet Ingredients
In a large mixing bowl, combine the pumpkin puree, sugar, vegetable oil, eggs, and vanilla extract. Use a whisk or a fork to blend everything together until it’s nice and smooth. You’ll love how vibrant and fragrant this mixture is!
Step 3: Combine Dry Ingredients
Now, grab another bowl and mix the flour, baking powder, baking soda, cinnamon, nutmeg, and salt. Whisk these dry ingredients together until they’re well combined. This step ensures that all those lovely spices are evenly distributed throughout your bars!
Step 4: Combine Mixtures
Gradually add the dry ingredients to the wet mixture. I like to do this in batches, mixing gently until everything is just combined. Be careful not to overmix—this keeps your bars light and fluffy!
Step 5: Bake the Bars
Pour the batter into a greased baking pan, spreading it out evenly. Now, pop it in the oven and bake for about 25-30 minutes. To check if they’re done, insert a toothpick into the center; it should come out clean or with just a few crumbs attached. Wow, the smell will be heavenly!
Step 6: Cool and Cut
Once they’re done baking, let the bars cool in the pan for a bit. This is crucial—don’t rush this step! Once they’ve cooled a little, transfer them to a wire rack to cool completely before cutting into bars. I know it’s tempting to dig in right away, but trust me, letting them cool will make for cleaner cuts!
Why You’ll Love This Recipe
These pumpkin bars are truly something special, and I can’t wait for you to experience them! Here are just a few reasons why this recipe has become a staple in my fall baking:
- Quick Preparation: You can whip these up in just about 15 minutes—perfect for those busy fall days!
- Delicious Flavor: The combination of pumpkin, warm spices, and a hint of sweetness makes every bite a heavenly treat.
- Perfect for Fall Gatherings: Whether it’s a cozy get-together or a holiday party, these bars are always a crowd-pleaser.
- Easy to Store: They keep well in an airtight container, so you can enjoy them throughout the week!
- Great for Sharing: I love bringing these to share with friends and family—they’re the perfect way to spread some fall cheer!
Trust me, once you taste these bars, you’ll be making them again and again!
Tips for Success
To make sure your pumpkin bars turn out absolutely perfect, I’ve got a few handy tips that I swear by! These little nuggets of wisdom will help you achieve that soft, moist texture and rich flavor that everyone will rave about.
- Use Fresh Pumpkin Puree: If you can, opt for fresh pumpkin puree rather than canned. It adds a vibrant flavor and makes your bars taste even more amazing. Just roast a small pumpkin, scoop out the flesh, and blend until smooth!
- Ensure Accurate Measurements: Baking is a science, so being precise with your measurements is crucial. Use measuring cups and spoons for dry ingredients, and don’t forget to level off the flour with a knife for accuracy.
- Cool Completely Before Cutting: This is so important! Allow your pumpkin bars to cool in the pan for a bit, then move them to a wire rack to cool completely. This helps them set properly and makes cutting easier without falling apart.
- Check for Doneness: Don’t just rely on the baking time; always do the toothpick test. If it comes out clean or with just a few moist crumbs, your bars are ready to come out of the oven!
- Add a Little Extra Flavor: For an extra kick, consider adding a handful of chopped nuts or chocolate chips into the batter. It gives a delightful texture and elevates the flavor!
With these tips, you’ll be a pumpkin bar pro in no time! Happy baking!
Nutritional Information
Curious about the nutritional facts for these delightful pumpkin bars? Here’s a rough estimate for one bar, so you can indulge while keeping an eye on your intake:
- Calories: 150
- Fat: 6g
- Saturated Fat: 1g
- Unsaturated Fat: 5g
- Trans Fat: 0g
- Cholesterol: 25mg
- Sodium: 80mg
- Carbohydrates: 22g
- Fiber: 1g
- Protein: 2g
- Sugar: 10g
Keep in mind that these values are estimates, and they can vary based on specific ingredients and portion sizes. But hey, a little pumpkin goodness never hurt anyone, right? Enjoy your tasty treats!
FAQ about Pumpkin Bars
Got questions about making these delightful pumpkin bars? Don’t worry, I’ve got you covered! Here are some of the most common queries I’ve encountered, along with my best answers:
What can I use as a substitute for pumpkin puree?
If you’re in a pinch, you can use mashed sweet potatoes or butternut squash instead of pumpkin puree. They provide a similar texture and flavor, so you won’t miss a beat!
How do I store leftover pumpkin bars?
To keep your pumpkin bars fresh, store them in an airtight container at room temperature for up to 3 days. If you want them to last longer, you can pop them in the fridge for about a week. Just make sure they’re fully cooled before you store them!
Can I freeze pumpkin bars?
Absolutely! These bars freeze wonderfully. Just wrap them tightly in plastic wrap or aluminum foil, and then place them in a freezer-safe container. They’ll keep for up to 2 months. When you’re ready to enjoy, thaw them overnight in the fridge and they’ll be just as delicious!
Feel free to reach out if you have more questions—I’m here to help you create the best pumpkin bars ever!
Storage & Reheating Instructions
Now that you’ve got some delicious pumpkin bars on your hands, you’ll want to make sure they stay fresh and tasty! Here’s how to store your leftovers and enjoy them later.
To store your pumpkin bars, simply place them in an airtight container. They’ll last at room temperature for about 3 days, or you can pop them in the fridge for up to a week. Just make sure they’re completely cooled before sealing them up—that way, they won’t get soggy!
If you want to keep them for longer, freezing is a great option! Wrap each bar tightly in plastic wrap or aluminum foil, and then place them in a freezer-safe container. They’ll stay good for up to 2 months. When you’re ready to indulge, just thaw them overnight in the fridge. No need to reheat if you enjoy them cold, but if you prefer them warm, you can pop them in the microwave for about 10-15 seconds to bring back that cozy, fresh-baked flavor!
With these simple storage and reheating tips, you can savor the goodness of pumpkin bars anytime you like! Enjoy!