
Oh my goodness, have you ever had the joy of biting into a Christmas Oreo ball? They’re like little bites of holiday magic! Seriously, these no-bake treats are a breeze to whip up, and they disappear faster than you can say “Christmas cookie!” Every year, I make a batch (or three) while listening to my favorite holiday tunes, and it’s become such a cherished tradition. The best part? You don’t even need to turn on the oven, which is a total win when you’re juggling a million other holiday tasks. Trust me, once you take that first creamy, chocolatey bite, you’ll be hooked. So let’s dive into how to make these delightful little gems that are sure to impress everyone at your holiday gathering!
Ingredients List
Gathering the right ingredients is the first step to making these delightful Christmas Oreo balls! Here’s what you’ll need:
- 1 package Oreo cookies (15.35 oz) – These classic chocolate cookies are the star of the show! Make sure to grab the regular ones, as the cream filling is essential for that delicious flavor.
- 8 oz cream cheese, softened – This creamy goodness binds everything together and adds a wonderful richness. Just take it out of the fridge ahead of time, so it’s nice and soft when you mix it in!
- 1 cup white chocolate chips – We’re using these for coating the Oreo balls, which adds that sweet, creamy touch. Feel free to splurge on quality chocolate; it really makes a difference!
- 1 tablespoon vegetable oil – This little addition helps the white chocolate melt smoothly and gives it that perfect glossy finish when you dip the balls.
Having everything ready makes the process so much smoother, so make sure to measure out your ingredients before you start mixing! Trust me, it’ll save you from any last-minute scrambling.
How to Prepare Christmas Oreo Balls
Making Christmas Oreo balls is super simple and oh-so-rewarding! Just follow these easy steps, and you’ll have a delightful batch ready in no time. Let’s get started!
Step 1: Crush the Oreo Cookies
First things first, you’ll want to crush those Oreo cookies into fine crumbs. You can either use a food processor for a quick and easy method or pop the cookies into a zip-top bag and unleash your inner baker with a rolling pin! Just make sure they’re nice and crumbly—this will help create that delicious texture we’re after.
Step 2: Combine with Cream Cheese
Next, grab your softened cream cheese and combine it with the Oreo crumbs in a mixing bowl. I like to use a spatula or even my hands (clean, of course!) to really get in there and mix until everything is well combined. You want a uniform mixture that holds together nicely; it should be smooth and creamy, almost like a dough!
Step 3: Shape the Balls
Now comes the fun part—shaping your mixture into small balls! I recommend using a cookie scoop for even sizing, but if you don’t have one, just use your hands. Aim for about one-inch balls, and place them on a baking sheet lined with parchment paper. It makes cleanup a breeze!
Step 4: Chill the Balls
Once you’ve got all your little balls shaped, it’s time to chill them! Pop the baking sheet in the refrigerator for at least 30 minutes. This step is super important because it helps the balls firm up before we coat them, making the process a whole lot easier.
Step 5: Melt White Chocolate
While the balls are chilling, let’s tackle the white chocolate coating! In a microwave-safe bowl, melt your white chocolate chips with the vegetable oil. Start with 30 seconds in the microwave, then stir. If it’s not fully melted, give it another 15 seconds. Stir until smooth and glossy—this is the magic that makes our Oreo balls shine!
Step 6: Coat the Balls
Now, dip each chilled ball into that luscious melted white chocolate. I find that using a fork makes this super easy—just drop the ball in, roll it around to coat, and lift it out. Let any excess chocolate drip off before placing it back on the baking sheet. You want an even coating that looks delectable!
Step 7: Set the Coated Balls
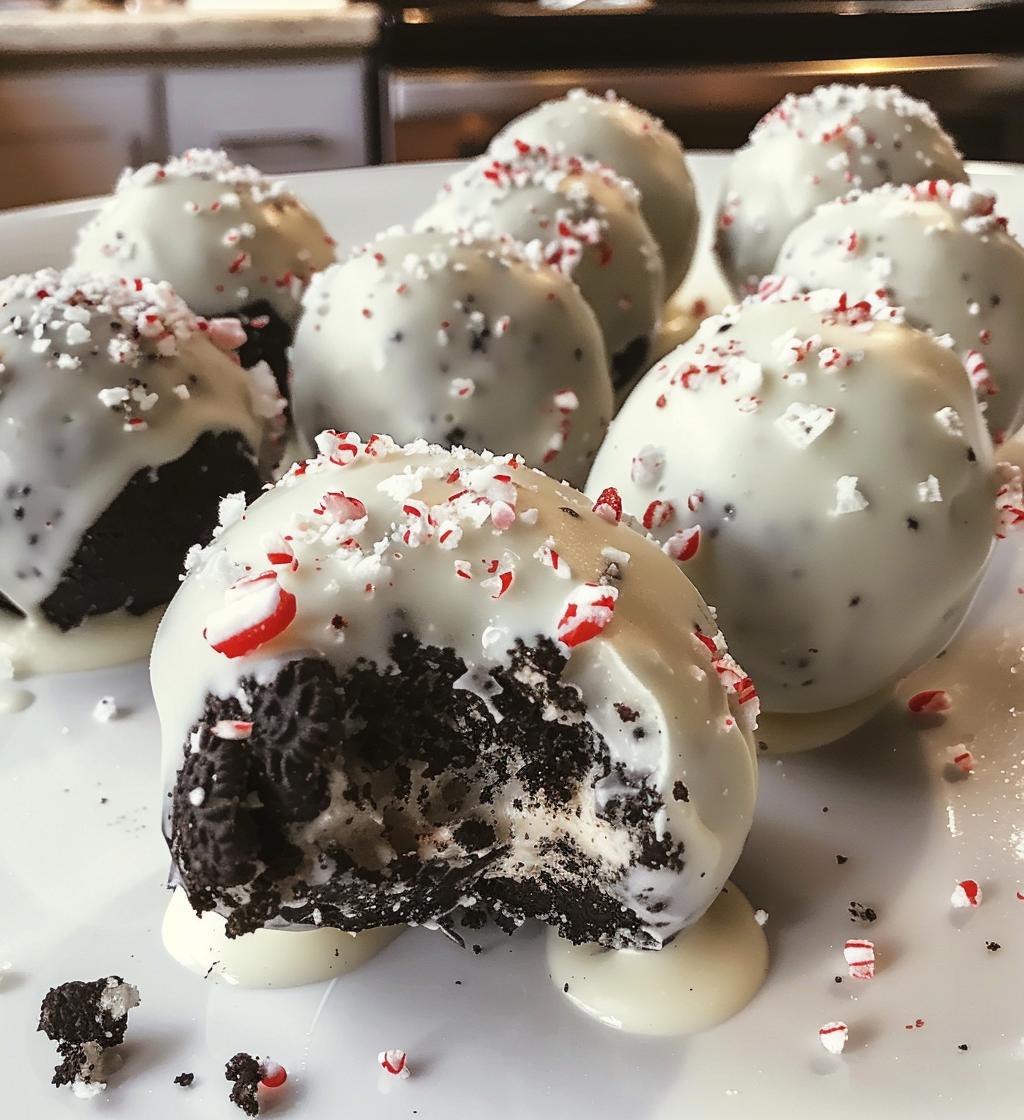
Finally, return those coated balls to the baking sheet and let them set. You can pop them in the fridge to speed up the process if you like! For an extra festive touch, sprinkle crushed candy canes on top before the chocolate sets. It adds a delightful crunch and a pop of color!
Nutritional Information Disclaimer
Just a quick note before you dive into making those scrumptious Christmas Oreo balls! The nutritional values provided are estimates and can vary based on the specific ingredients and brands you use. So, while I hope this gives you a good idea of what to expect, keep in mind that actual values may differ. Always feel free to double-check your brands for the most accurate information. Happy indulging!
FAQ Section
Can I use different types of cookies?
Absolutely! You can experiment with other cookies if you’d like, but keep in mind that it might change the flavor profile a bit. For example, using peanut butter cookies will give you a totally different taste, but hey, variety is the spice of life, right? Just make sure the cookies you choose have a similar texture to Oreos for the best results!
How long do these last?
Your Christmas Oreo balls will stay fresh in the refrigerator for about one week. Just make sure to store them in an airtight container to keep them from drying out or absorbing any funky fridge odors. Trust me, they’re best enjoyed within the first few days when they’re at their freshest!
Can I freeze Christmas Oreo balls?
Yes, you can totally freeze these little delights! Just place them in a single layer on a baking sheet and freeze until solid. Then, transfer them to an airtight container or freezer bag. When you’re ready to enjoy, let them thaw in the refrigerator for a few hours or overnight. Easy peasy, and they’ll taste just as delicious!
Why You’ll Love This Recipe
- Quick Preparation: With just a handful of ingredients and minimal steps, you can whip these up in no time—perfect for busy holiday schedules!
- No Baking Required: Forget about preheating the oven! These no-bake treats are a lifesaver during the chaotic holiday season.
- Delicious Taste: The combination of chocolatey Oreos and creamy cream cheese, all coated in sweet white chocolate, creates a flavor explosion that everyone will love!
- Perfect for Holiday Gatherings: These festive bites are always a hit at parties, making them a delightful addition to any holiday spread.
- Fun to Make: Involving friends or family in the process can turn making these into a joyful holiday tradition, filled with laughter and yummy treats!
Tips for Success
Getting the perfect Christmas Oreo balls is all about a few simple tricks! Here’s how to ensure your treats turn out absolutely delicious every time:
- Quality Ingredients: Don’t skimp on the quality of your Oreo cookies and white chocolate. Using a good brand of chocolate really makes a difference in flavor and texture!
- Softened Cream Cheese: Make sure your cream cheese is nice and soft before mixing. If it’s too cold, you’ll end up with lumps in your mixture instead of a smooth, creamy blend. Leaving it out for about an hour should do the trick!
- Chill Time is Key: Don’t rush the chilling step! This is crucial for helping the balls hold their shape when you coat them in chocolate. If they’re too warm, they’ll just melt and be a gooey mess!
- Even Coating: When dipping the balls in white chocolate, make sure to tap off the excess chocolate. This not only helps with appearance but also avoids a pool of chocolate at the bottom when they set.
- Be Creative with Toppings: Feel free to get creative with your toppings! Besides crushed candy canes, you can use sprinkles, toasted coconut, or even chopped nuts to add extra flair and flavor.
- Don’t Overmix: When combining the Oreo crumbs and cream cheese, mix just until everything is combined. Overmixing can lead to a dense texture, and we want these to be light and truffle-like!
With these tips in your back pocket, you’ll be well on your way to making Christmas Oreo balls that are sure to impress everyone around the holiday table. Enjoy the process and have fun with it!
Serving Suggestions
Now that you’ve made your scrumptious Christmas Oreo balls, it’s time to think about how to serve them up! I love to get a little creative with presentation and pairings to really elevate the experience. Here are a few fun ideas:
- Festive Platter: Arrange the Oreo balls on a colorful holiday platter, perhaps with some fresh mint leaves or seasonal berries for a pop of color. It makes for a beautiful centerpiece on your dessert table!
- Pair with Hot Cocoa: These little bites of joy are perfect alongside a warm mug of hot cocoa. The creamy chocolate flavors complement each other beautifully, making for a cozy treat on a chilly evening.
- Gifting Idea: Package a few in a cute cellophane bag tied with a festive ribbon for a delightful homemade gift. Who wouldn’t love receiving a charming little treat like this during the holidays?
- Coffee Companion: Serve these alongside a cup of coffee or espresso. The rich flavors of the Oreo balls pair wonderfully with the bitterness of coffee, creating a delightful balance that’s sure to please.
- Holiday Dessert Bar: Set up a dessert bar with various treats, including your Oreo balls, cookies, and other festive goodies. It’s a fun way for guests to mix and match their favorites!
However you choose to serve them, I guarantee these Christmas Oreo balls will be a hit! Enjoy every delicious bite and the smiles they bring to your holiday gatherings!
For more delicious recipes, check out our recipe collection!
For tips on making the best chocolate treats, visit Candy USA.
For more information on the nutritional aspects of desserts, you can refer to Healthline.
Print
Christmas Oreo Balls: 7 Joyful Bites of Holiday Magic
- Prep Time: 20 minutes
- Cook Time: 0 minutes
- Total Time: 50 minutes
- Yield: 24 balls 1x
- Category: Dessert
- Method: No-bake
- Cuisine: American
- Diet: Vegetarian
Description
Delicious no-bake Christmas Oreo balls that are easy to make and perfect for the holiday season.
Ingredients
- 1 package Oreo cookies (15.35 oz)
- 8 oz cream cheese, softened
- 1 cup white chocolate chips
- 1 tablespoon vegetable oil
Instructions
- Crush the Oreo cookies into fine crumbs.
- Mix the Oreo crumbs with softened cream cheese until well combined.
- Form the mixture into small balls and place them on a baking sheet.
- Chill the balls in the refrigerator for at least 30 minutes.
- Melt the white chocolate chips with vegetable oil in a microwave-safe bowl.
- Dip each chilled ball into the melted white chocolate, coating evenly.
- Return the coated balls to the baking sheet and let them set.
Notes
- Use a fork to help dip the balls in chocolate.
- Sprinkle crushed candy canes on top for decoration.
Nutrition
- Serving Size: 1 ball
- Calories: 110
- Sugar: 10g
- Sodium: 50mg
- Fat: 6g
- Saturated Fat: 3.5g
- Unsaturated Fat: 1.5g
- Trans Fat: 0g
- Carbohydrates: 13g
- Fiber: 0g
- Protein: 1g
- Cholesterol: 10mg
Keywords: christmas oreo balls, no-bake dessert, holiday treats