
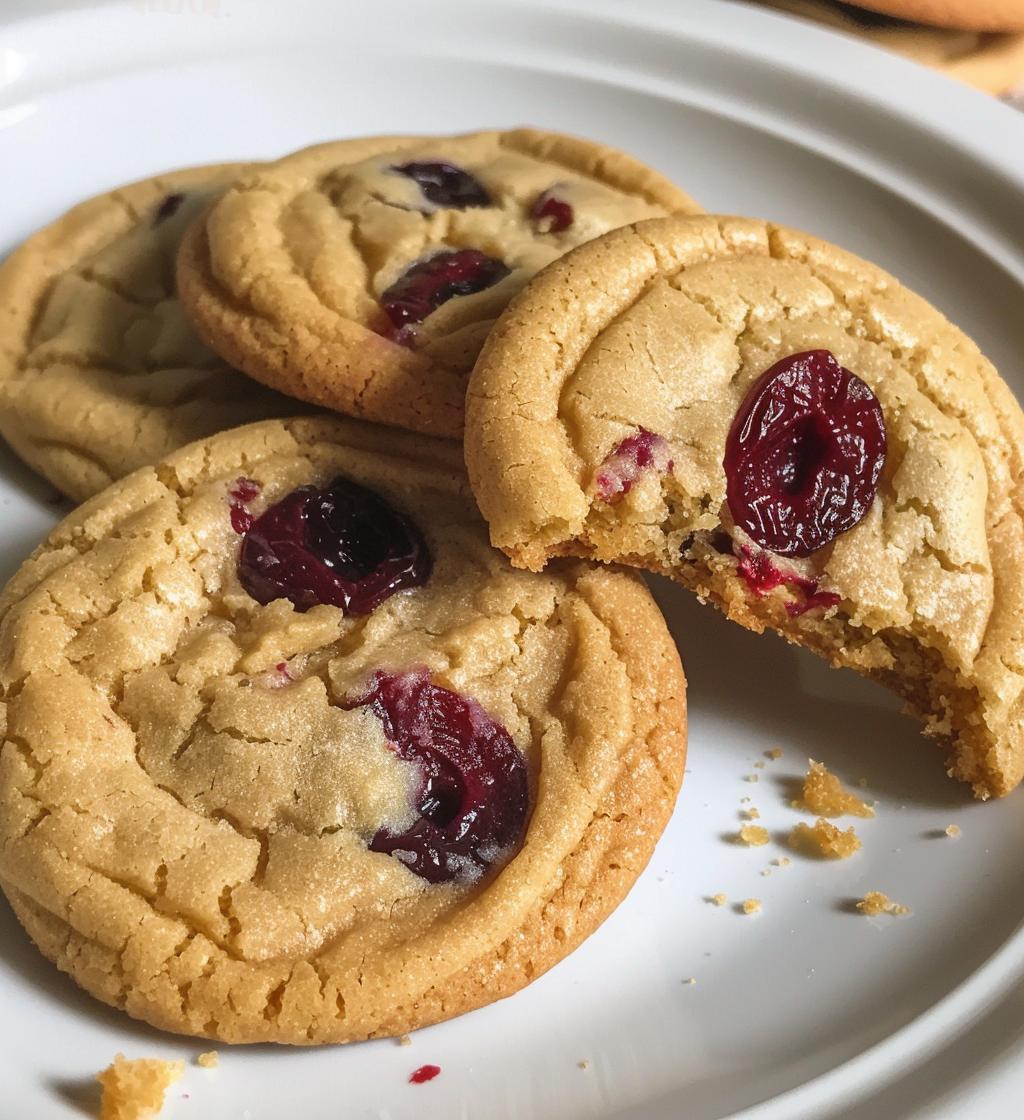
Oh my goodness, let me tell you about these Cherry Icebox Cookies! They’re such a delightful treat that brings together the sweet, tangy burst of dried cherries with a buttery, melt-in-your-mouth cookie dough. The best part? They’re super easy to whip up! You just mix the ingredients, chill the dough, and slice them when you’re ready to bake. It’s like having fresh cookies ready to go whenever the craving strikes! Trust me, the combination of flavors in these cookies will have everyone coming back for seconds (and maybe thirds!). You won’t want to miss out on this simple yet scrumptious recipe!
Ingredients List
- 1 cup unsalted butter, softened
- 1 cup granulated sugar
- 2 cups all-purpose flour
- 1/2 teaspoon salt
- 1 cup dried cherries, chopped
- 1 teaspoon vanilla extract
How to Prepare Cherry Icebox Cookies
Alright, let’s get those Cherry Icebox Cookies rolling! First things first, grab a large mixing bowl and cream the softened butter and granulated sugar together. You want this to be light and fluffy—about 2-3 minutes should do the trick. Then, it’s time to mix in that lovely vanilla extract; it adds a wonderful aroma that’ll have your kitchen smelling divine!
Next, gradually sift in the all-purpose flour and salt. I like to do this in batches to avoid a flour explosion (trust me, it can get messy!). Mix until everything is just combined—don’t overdo it! Now, here comes the best part: fold in those chopped dried cherries. They’ll add such a delightful chewiness and burst of flavor to every bite.
Once your dough is ready, shape it into logs about 2 inches in diameter. Wrap each log tightly in plastic wrap and pop them in the refrigerator for at least 2 hours. This chilling step is crucial—it helps the cookies hold their shape when baking and enhances the flavors, too! When you’re ready to bake, preheat your oven to 350°F (175°C).
Step-by-Step Instructions
- In a bowl, cream the butter and sugar until light and fluffy, about 2-3 minutes.
- Mix in the vanilla extract until well incorporated.
- Gradually add the flour and salt, mixing just until combined.
- Fold in the chopped dried cherries gently.
- Shape the dough into logs, about 2 inches thick, and wrap in plastic wrap.
- Chill in the refrigerator for at least 2 hours (or overnight for even better flavor).
- Preheat your oven to 350°F (175°C).
- Slice the chilled dough into rounds, about 1/4 inch thick.
- Place the slices on a baking sheet lined with parchment paper, spacing them a bit apart.
- Bake for 12-15 minutes, or until the edges are light golden brown.
- Allow to cool on a wire rack before serving. Enjoy!
Nutritional Information Disclaimer
Just a little note before you dive into these delicious Cherry Icebox Cookies! The nutritional values can vary based on the ingredients and brands you use, so take these numbers as an estimate rather than concrete facts. Typically, you can expect around 120 calories per cookie, with about 6g of fat, 1g of protein, and 14g of carbs. But remember, these values are approximate and can change depending on how you whip up your batch. I always recommend checking the specific ingredients you use if you’re keeping an eye on your nutrition. Happy baking and enjoy those cookies!
Why You’ll Love This Recipe
- Quick and easy to prepare—perfect for those last-minute cravings!
- Great for gatherings; they’re always a hit with family and friends.
- Versatile with different dried fruits; try cranberries or apricots for a twist!
- Incredible texture and flavor that combines buttery goodness with chewy cherries.
- Ideal for make-ahead treats; simply chill the dough and bake when ready!
Tips for Success
Now, let’s make sure your Cherry Icebox Cookies turn out absolutely perfect! Here are my top tips that I swear by:
- Chill the dough overnight: I can’t emphasize this enough! If you have the time, letting the dough chill overnight enhances the flavors and makes the cookies even better. You’ll be amazed at how much richer they taste!
- Watch your baking time: Every oven is a bit different, so keep an eye on your cookies. They should be light golden brown around the edges but still soft in the center. If you bake them too long, they can turn out a bit crispy instead of chewy!
- Slice evenly: When you’re cutting the chilled logs into rounds, try to keep them uniform in thickness. This helps them bake evenly, so you don’t end up with some cookies undercooked and others too crispy.
- Use a sharp knife: A sharp knife makes slicing the dough a breeze, and it helps maintain the shape of the cookies without squishing them. Trust me, this little detail makes a big difference!
- Experiment with flavors: If you want to switch things up, try different extracts or dried fruits! Almond extract can add a lovely twist, or toss in some chopped pecans for a bit of crunch. The possibilities are endless!
With these tips, I know you’ll nail these Cherry Icebox Cookies! Enjoy the baking process and the delicious results!
Serving Suggestions
Okay, now that you’ve baked up a batch of those scrumptious Cherry Icebox Cookies, let’s talk about how to elevate your cookie experience! These cookies are delicious on their own, but pairing them with the right treats or beverages can take them to the next level.
First off, I absolutely love serving these cookies with a steaming cup of tea or coffee. The buttery richness of the cookies pairs beautifully with the warmth of your favorite brew. If you’re feeling fancy, try a nice Earl Grey or even a rich mocha—trust me, the flavors will dance together!
If you’re looking for something a little sweeter, how about a scoop of vanilla ice cream? You can even crumble a few cookies on top of the ice cream for a delightful crunch! Or, if you want to be extra indulgent, drizzle some warm chocolate sauce over the top. Yum!
And for those cozy evenings, serving these cookies alongside a glass of cold milk is just classic. It’s like a childhood dream come true! The milk helps balance the sweetness and adds that creamy texture that complements the chewy cherries perfectly.
Lastly, if you’re hosting a gathering, consider presenting your Cherry Icebox Cookies on a beautiful platter next to an assortment of other cookies or desserts. They’ll shine among chocolate chip cookies or even a rich brownie. Just imagine the colorful spread—that’s sure to impress your guests!
So, get creative with your pairings and enjoy these cookies in ways that make your taste buds sing! Happy munching!
Storage & Reheating Instructions
Alright, let’s talk about how to keep those delicious Cherry Icebox Cookies fresh and tasty! If you happen to have any leftovers (which is rare, but hey, it happens!), the best way to store them is in an airtight container. This will help maintain their chewy texture and prevent them from drying out. Just pop them in the container and seal it tight—simple as that!
If you’ve baked a big batch and want to keep them longer, you can also freeze the cookies! Just make sure they’re completely cooled, then layer them in a freezer-safe container, separating layers with parchment paper to prevent sticking. They’ll keep well in the freezer for about 2-3 months. When you’re ready for a treat, just take them out and let them thaw at room temperature for about 15-20 minutes. They’ll be just as good as the day you baked them!
Now, if you’re craving a warm cookie, you can easily reheat them! Just pop a cookie in the microwave for about 10-15 seconds, and it’ll warm up nicely without losing that delightful chewiness. Alternatively, you can reheat them in a preheated oven at 350°F (175°C) for about 5 minutes. This will bring back that fresh-out-of-the-oven taste and aroma that’s oh-so-good!
So, whether you’re storing them for later or warming them up for a cozy snack, these Cherry Icebox Cookies are easy to enjoy anytime. Happy snacking!
FAQ Section
Can I use fresh cherries instead of dried cherries?
I wouldn’t recommend using fresh cherries for this recipe because they have too much moisture. Dried cherries provide that sweet, chewy texture that really makes these cookies shine. If you’re looking for a variation, try using other dried fruits like cranberries or apricots instead!
How do I know when my cookies are done baking?
Great question! Your Cherry Icebox Cookies are done when the edges are lightly golden brown and they feel set in the middle. They might look a bit soft, but they’ll firm up as they cool, so don’t worry if they seem underbaked right out of the oven!
What’s the best way to store these cookies?
To keep your Cherry Icebox Cookies fresh, store them in an airtight container at room temperature. They’ll stay good for about a week. If you want to keep them longer, you can freeze them, and they’ll last for up to 2-3 months!
Can I make the dough ahead of time?
Absolutely! In fact, I recommend chilling the dough overnight for the best flavor. Just wrap the logs tightly in plastic wrap and pop them in the fridge. This way, when you’re ready to bake, you can just slice and go!
Can I substitute the butter with margarine or a dairy-free alternative?
Yes, you can substitute butter with margarine, but keep in mind that it may slightly affect the flavor and texture. If you’re looking for a dairy-free option, coconut oil works well, just make sure it’s softened. The cookies will still be delicious!
For more information on the benefits of dried fruits, check out this Healthline article.
For a variety of cookie recipes, visit our All Recipes page!
Print
Cherry Icebox Cookies: 7 Irresistible Tips for Success
- Prep Time: 15 minutes
- Cook Time: 15 minutes
- Total Time: 2 hours 30 minutes
- Yield: 24 cookies 1x
- Category: Dessert
- Method: Baking
- Cuisine: American
- Diet: Vegetarian
Description
Cherry Icebox Cookies are a delightful treat that combines sweet cherries with a buttery cookie dough. They are chilled and sliced, making them easy to prepare and serve.
Ingredients
- 1 cup unsalted butter, softened
- 1 cup granulated sugar
- 2 cups all-purpose flour
- 1/2 teaspoon salt
- 1 cup dried cherries, chopped
- 1 teaspoon vanilla extract
Instructions
- In a bowl, cream the butter and sugar until light and fluffy.
- Mix in the vanilla extract.
- Gradually add the flour and salt, mixing until combined.
- Fold in the chopped cherries.
- Shape the dough into logs and wrap in plastic wrap.
- Chill in the refrigerator for at least 2 hours.
- Preheat the oven to 350°F (175°C).
- Slice the chilled dough into rounds.
- Place on a baking sheet and bake for 12-15 minutes.
- Allow to cool before serving.
Notes
- Store cookies in an airtight container.
- For a variation, use other dried fruits.
- Chill the dough overnight for better flavor.
Nutrition
- Serving Size: 1 cookie
- Calories: 120
- Sugar: 8g
- Sodium: 50mg
- Fat: 6g
- Saturated Fat: 4g
- Unsaturated Fat: 2g
- Trans Fat: 0g
- Carbohydrates: 14g
- Fiber: 0g
- Protein: 1g
- Cholesterol: 30mg
Keywords: Cherry Icebox Cookies