
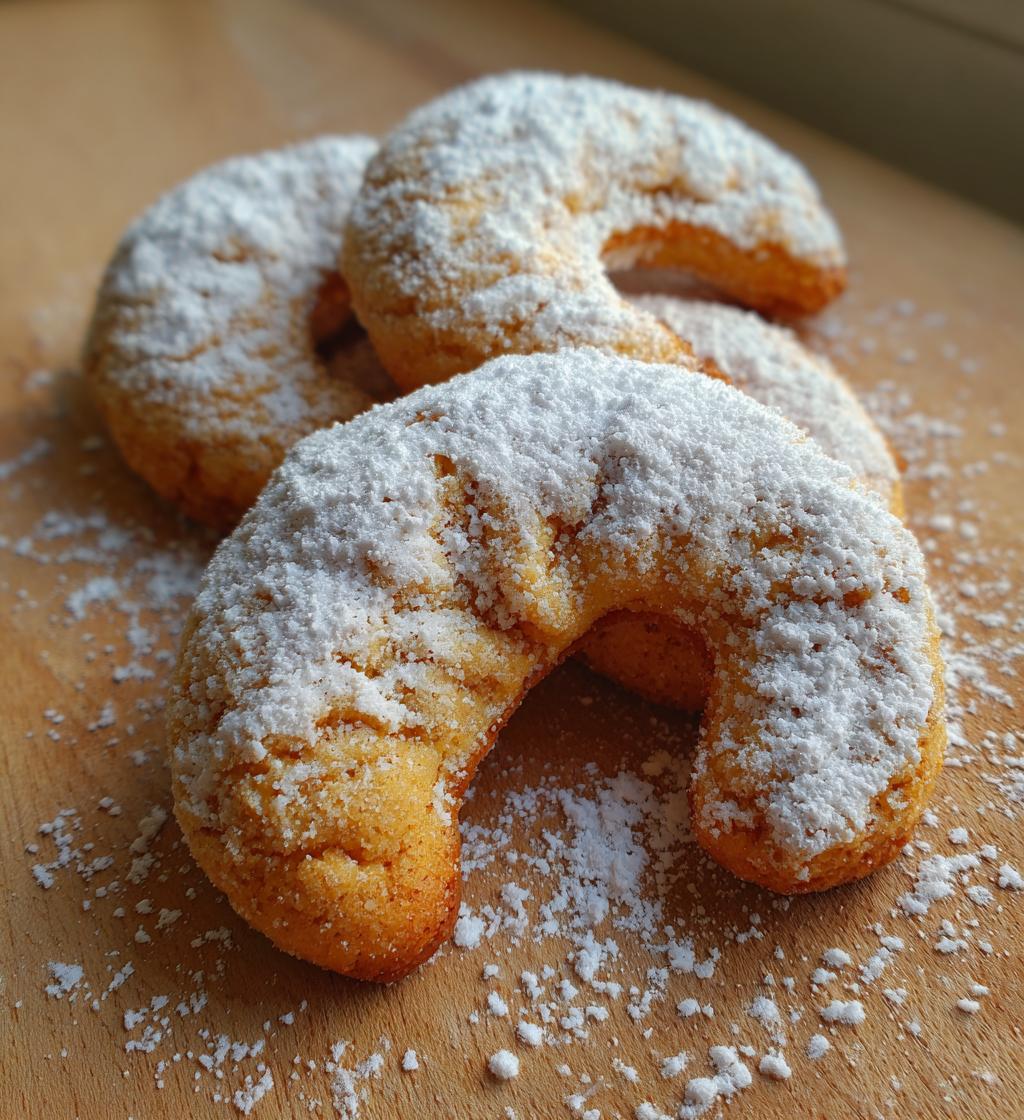
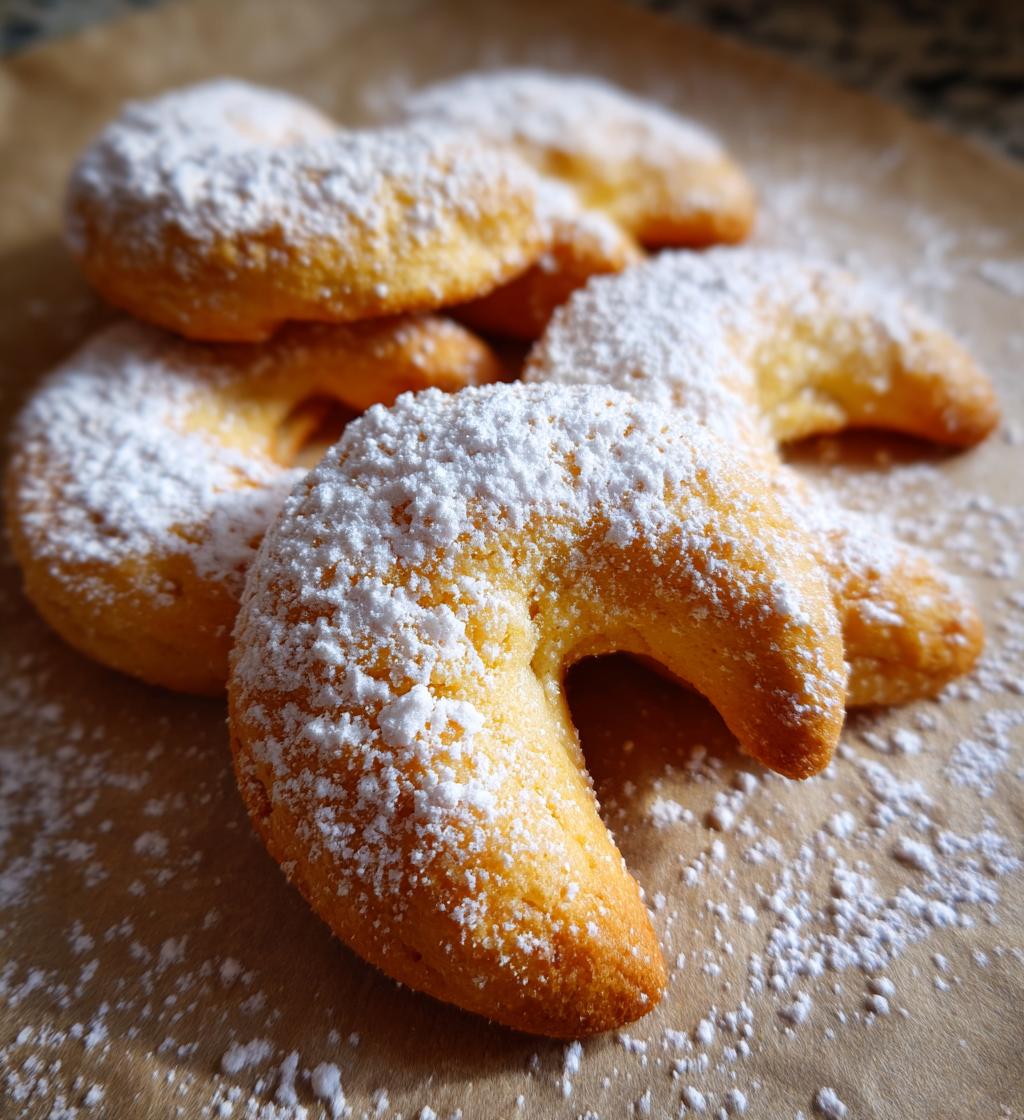
Ah, vanillekipferl! Just saying the name brings back warm memories of cozy kitchens and the sweet aroma of baking filling the air. These delightful crescent-shaped cookies are not just any cookies; they’re a beloved tradition in Austria, often made during the holiday season. Their unique flavor—thanks to the ground almonds and a hint of vanilla—combined with a tender, melt-in-your-mouth texture makes them absolutely irresistible.
Every year, I find myself in the kitchen with my family, rolling out dough and shaping these little crescents. I remember the first time I made vanillekipferl with my grandmother; she taught me to gently curve the dough just right to form those perfect crescents. As we baked, we would sneak bites of the dough and giggle as we coated the finished cookies in powdered sugar, making a delightful mess in the process. Trust me, there’s something truly special about sharing these cookies with loved ones. They’re not just treats; they’re a symbol of love and tradition. So, let’s get started on making the best vanillekipferl together!
Ingredients
- 250g all-purpose flour – This is the base for our dough, giving it the right structure.
- 100g powdered sugar – Sweetness is key, and this helps create that melt-in-your-mouth texture.
- 200g unsalted butter – Make sure it’s softened! This adds richness and flavor to our cookies.
- 100g ground almonds – These give the vanillekipferl their unique nutty flavor and slightly sandy texture.
- 1 teaspoon vanilla extract – A must for that aromatic sweetness; trust me, it makes all the difference!
- 1 egg yolk – This adds moisture and helps bind everything together nicely.
- 1 pinch of salt – Just a little to enhance all the flavors; it’s like magic!
- Extra powdered sugar for coating – This is what gives our cookies that classic snowy finish.
How to Prepare vanillekipferl
Preheat the Oven
First things first, let’s get that oven preheated to 180°C (350°F). Preheating is super important for even baking, so don’t skip this step! While the oven warms up, you can get everything else ready.
Mix Dry Ingredients
In a large mixing bowl, combine the all-purpose flour, powdered sugar, ground almonds, and that pinch of salt. I like to whisk them together to ensure everything’s evenly distributed. It’s a simple step, but it sets the foundation for our delicious cookies. You want to make sure there are no clumps, so just give it a good stir!
Combine Wet Ingredients
Now it’s time to add the fun stuff! Toss in the softened butter, egg yolk, and vanilla extract to the dry mixture. I usually start mixing with a fork or a spatula until it’s just combined, and then I switch to using my hands. Don’t be afraid to get a little messy; it’s all part of the fun! You’re looking for a dough that’s soft but not too sticky.
Shape the Cookies
Once your dough is ready, it’s time to shape these little beauties! Take small portions of the dough—about a tablespoon each—and roll them into little logs. Then, gently curve the logs to form crescent shapes. Aim for a nice, delicate curve; they should be about 2 inches long. Remember, they’ll puff up a bit while baking, so don’t worry if they seem small at first!
Bake the Cookies
Place your shaped cookies on a baking sheet lined with parchment paper, leaving a little space between each one. Pop them in the oven for 10 to 12 minutes, or until they’re lightly golden. Keep an eye on them, as every oven is different! You want them to look just set, but not browned. The aroma will start wafting through your kitchen—oh, it’s heavenly!
Cool and Coat
Once they’re out of the oven, let the cookies cool on the baking sheet for a few minutes before transferring them to a wire rack. You want to let them cool completely so they don’t crumble when you coat them. When they’re cool, it’s time for the fun part! Generously dust them with extra powdered sugar. I like to do this while they’re still a bit warm so the sugar sticks better. And voila, your vanillekipferl are ready to be enjoyed!
Why You’ll Love This Recipe
- They’re super easy to make, even for beginners—trust me, if I can do it, so can you!
- The buttery, nutty flavor combined with sweet vanilla is simply irresistible.
- Perfect for the holiday season, these cookies are a delightful addition to any festive gathering.
- They have a melt-in-your-mouth texture that will keep you coming back for more.
- With just a few simple ingredients, you’ll impress everyone with your baking skills!
- These cookies can be made in advance, making holiday prep a breeze.
- They make for a charming homemade gift—who wouldn’t love a box of these delicious treats?
Tips for Success
Alright, let’s make sure your vanillekipferl turn out absolutely perfect! Here are some of my tried-and-true tips to ensure you achieve the best results:
- Dough Consistency: The dough should be soft but not overly sticky. If it feels too wet, add a tiny bit more flour, but be careful not to overdo it. You want that perfect balance for shaping!
- Chill the Dough: If you find your dough is too soft to shape, pop it in the fridge for about 15-30 minutes. This helps firm it up and makes it easier to work with.
- Uniform Size: Try to keep your cookie shapes consistent in size for even baking. Using a kitchen scale can help if you’re a stickler for uniformity!
- Watch the Oven: Every oven is different, so keep an eye on the cookies as they bake. They should be lightly golden when done—too dark, and you’ll lose that melt-in-your-mouth texture.
- Cooling Time: Patience is key! Allow the cookies to cool completely before dusting them with powdered sugar. This prevents them from crumbling and ensures they get that beautiful snowy coating.
- Storage: Store your vanillekipferl in an airtight container to keep them fresh. They actually taste even better after a day or two as the flavors meld!
- Make Ahead: Feel free to make these cookies a week in advance. Just store them properly, and they’ll be ready for your holiday gatherings!
With these tips in mind, I’m sure your vanillekipferl will be a hit! Happy baking!
Variations
Now, let’s talk about how you can put your own spin on these delightful vanillekipferl! The beauty of this recipe is its versatility, so don’t hesitate to get creative. Here are some fun ideas to customize your cookies:
- Different Nuts: Swap out the ground almonds for other nuts like hazelnuts or walnuts. Each nut brings a unique flavor and texture that can change the whole vibe of your cookies!
- Add spices: For a warm twist, try adding a pinch of cinnamon or nutmeg to the dry ingredients. It’ll give your vanillekipferl a cozy, spiced flavor that’s perfect for the holidays.
- Cocoa Powder: Want to make chocolatey vanillekipferl? Substitute a couple of tablespoons of flour with cocoa powder. It’ll give a rich chocolate flavor while still keeping that classic crescent shape!
- Fruit Zest: Add some zest from an orange or lemon to the dough for a fresh, zesty kick. This brightens up the flavor and adds a lovely aroma while baking.
- Chocolate Drizzle: Once cooled, drizzle some melted chocolate over the cookies instead of coating them in powdered sugar. It adds a touch of decadence and looks beautiful!
- Nutella Filling: For a surprise inside, after shaping the cookies, flatten them slightly, add a dollop of Nutella in the center, and then fold the dough over it. Seal well and bake as usual for a gooey treat!
These variations are just the beginning! Feel free to mix and match ideas to create your perfect batch of vanillekipferl. Baking is all about experimenting and having fun, so trust your instincts and enjoy the process!
Nutritional Information
Now, let’s talk about the nutritional side of our delicious vanillekipferl! It’s always good to know what you’re indulging in, right? Here’s a rough estimate of the nutritional data per cookie:
- Calories: 80
- Fat: 6g
- Saturated Fat: 3g
- Unsaturated Fat: 2g
- Trans Fat: 0g
- Cholesterol: 10mg
- Sodium: 15mg
- Carbohydrates: 8g
- Fiber: 0g
- Sugar: 5g
- Protein: 1g
Of course, these numbers can vary a bit based on the exact ingredients and portion sizes you use, but this gives you a good idea of what to expect. Enjoy these cookies in moderation, and remember, a little indulgence is always worth it when it comes to homemade treats!
FAQ Section
How should I store my vanillekipferl?
You’ll want to keep your cookies in an airtight container at room temperature. They’ll stay fresh for about a week, but trust me, they’re so delicious they might not last that long!
Can I freeze vanillekipferl?
Absolutely! These cookies freeze beautifully. Just make sure to place them in a single layer in an airtight container or freezer bag. They can last up to two months in the freezer. Thaw them overnight in the fridge before serving.
What can I use instead of ground almonds?
If you’re looking for a substitute, you can use ground hazelnuts or walnuts. Just keep in mind that it will change the flavor a bit, but it’ll still be tasty! You could also use a nut-free alternative like sunflower seed flour.
Can I make these cookies gluten-free?
Yes, you can! Just swap out the all-purpose flour for a gluten-free blend. Make sure it’s a blend that works well for baking to ensure that you achieve that lovely texture!
How do I serve vanillekipferl?
These cookies are perfect on their own with a cup of tea or coffee, but they also shine as part of a holiday cookie platter! You could even package them up beautifully as a gift, making them a sweet surprise for friends and family.
Can I add chocolate to my vanillekipferl?
Of course! If you’re feeling adventurous, try drizzling some melted chocolate over the cooled cookies. It adds a lovely touch! You could also incorporate cocoa powder into the dough for a chocolate version.
How long do they take to bake?
They usually bake for about 10 to 12 minutes, but keep an eye on them! You want them to be lightly golden, not browned. Every oven is a little different, so it’s good to check them a minute or two early!
Are vanillekipferl suitable for vegetarians?
Yes, they are! This recipe is vegetarian-friendly since there are no meat or fish products included. Just make sure your powdered sugar is free from bone char if you follow a strict vegetarian diet.
vanillekipferl: 7 Irresistible Cookies That Evoke Tradition
- Prep Time: 30 minutes
- Cook Time: 12 minutes
- Total Time: 42 minutes
- Yield: 30 cookies 1x
- Category: Dessert
- Method: Baking
- Cuisine: Austrian
- Diet: Vegetarian
Description
Vanillekipferl are traditional Austrian crescent-shaped cookies made with ground nuts and vanilla.
Ingredients
- 250g all-purpose flour
- 100g powdered sugar
- 200g unsalted butter
- 100g ground almonds
- 1 teaspoon vanilla extract
- 1 egg yolk
- 1 pinch of salt
- Extra powdered sugar for coating
Instructions
- Preheat your oven to 180°C (350°F).
- In a bowl, mix flour, powdered sugar, ground almonds, and salt.
- Add butter, egg yolk, and vanilla extract. Mix until combined.
- Shape the dough into small crescent forms.
- Place cookies on a baking sheet lined with parchment paper.
- Bake for 10-12 minutes or until lightly golden.
- Allow cookies to cool before coating with powdered sugar.
Notes
- Store in an airtight container.
- Can be made a week in advance.
- Adjust sweetness to your preference.
Nutrition
- Serving Size: 1 cookie
- Calories: 80
- Sugar: 5g
- Sodium: 15mg
- Fat: 6g
- Saturated Fat: 3g
- Unsaturated Fat: 2g
- Trans Fat: 0g
- Carbohydrates: 8g
- Fiber: 0g
- Protein: 1g
- Cholesterol: 10mg
Keywords: vanillekipferl, cookies, Austrian dessert