
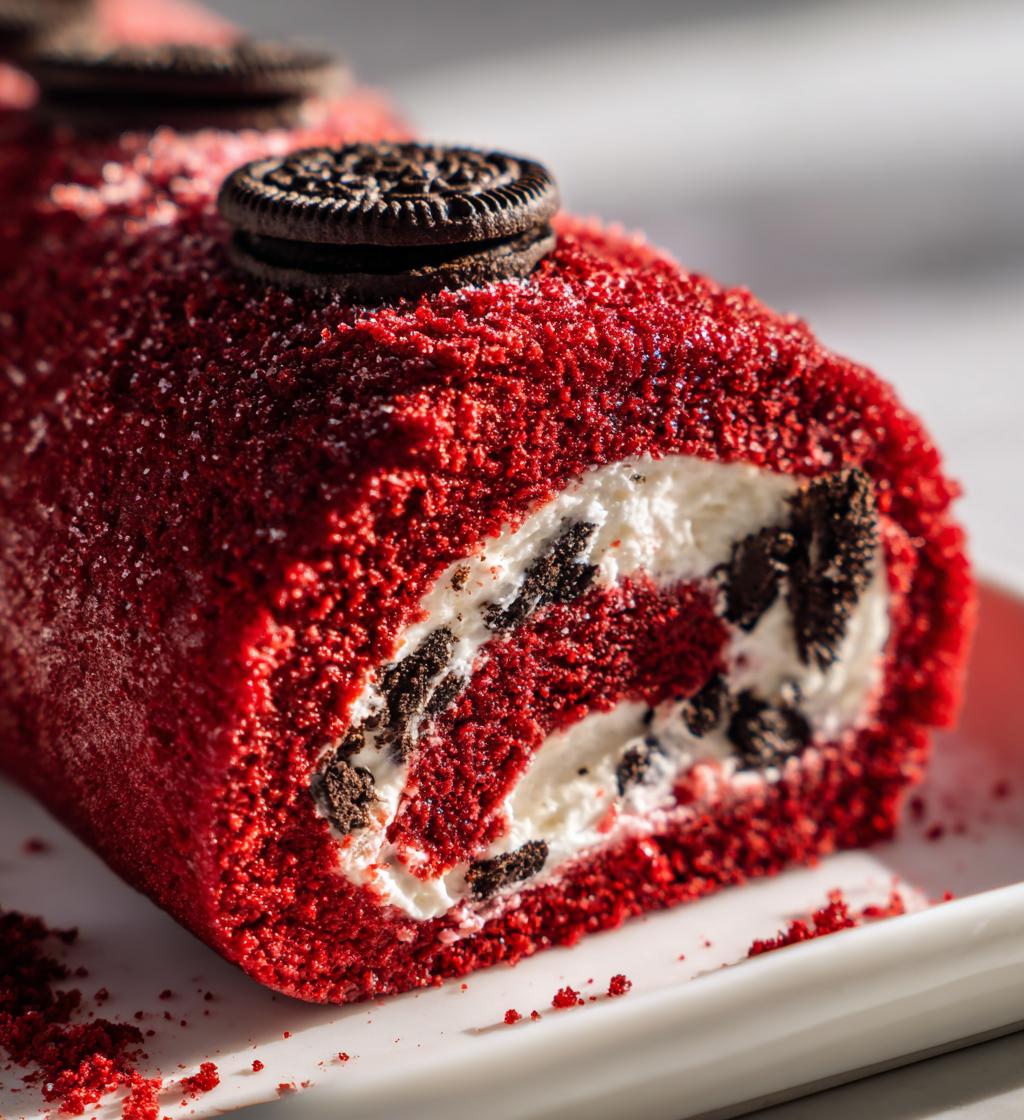
Oh my goodness, let me tell you about this red velvet Oreo cake roll! It’s not just a dessert; it’s a showstopper! The vibrant red hue paired with that creamy, dreamy Oreo filling makes it a feast for both the eyes and the taste buds. I remember the first time I made it for a family gathering—everyone was buzzing around the dessert table, and the moment I sliced it, gasps filled the room! The rich chocolatey flavor of the cake, combined with the sweet crunch of Oreos, just dances in your mouth. Trust me, this cake roll is perfect for birthdays, holidays, or just when you need a little sweet pick-me-up!
Ingredients List
Gather these ingredients to whip up your delightful red velvet Oreo cake roll! Make sure to have everything ready, and don’t forget to soften the butter and cream cheese ahead of time for the creamiest results!
- 1 cup all-purpose flour
- 1/2 cup cocoa powder
- 1 teaspoon baking powder
- 1/2 teaspoon baking soda
- 1/2 teaspoon salt
- 1/2 cup unsalted butter, softened
- 1 cup granulated sugar
- 2 large eggs
- 1 teaspoon vanilla extract
- 1 cup buttermilk
- 2 tablespoons red food coloring
- 1 cup crushed Oreo cookies
- 1 cup cream cheese, softened
- 1/4 cup powdered sugar
That’s it! These simple ingredients come together to create a cake that’s not only gorgeous but absolutely delicious. So, let’s get started on this sweet adventure!
How to Prepare Instructions
Alright, let’s dive into making this fabulous red velvet Oreo cake roll! Follow these steps, and I promise you’ll have a delightful dessert that’s sure to impress. I’ll break it down so it’s super easy to follow—let’s get baking!
Preheat and Prepare
First things first, preheat your oven to 350°F (175°C). This is key to getting that perfect fluffy cake! While that’s warming up, grab a 15×10 inch jelly roll pan. Greasing it is crucial, so slather on some butter or cooking spray, then line it with parchment paper. Trust me, this makes removing the cake a breeze later on!
Mixing the Batter
Now, let’s make that batter! In a medium bowl, whisk together the flour, cocoa powder, baking powder, baking soda, and salt until well combined. In another large bowl, beat the softened butter and sugar together until it’s nice and fluffy—about 2-3 minutes should do it. Then, add in those eggs, one at a time, mixing well after each addition. Toss in the vanilla extract, then stir in the buttermilk and red food coloring. It’s going to be a stunning shade of red! Finally, gradually mix in the dry ingredients until just combined. Don’t overmix; we want that tender texture!
Baking the Cake
Spread the luscious batter evenly into your prepared pan. Bake it in the preheated oven for about 15-20 minutes. You’ll know it’s done when a toothpick inserted in the center comes out clean. Here’s a little tip: once it’s baked, let the cake cool for about 10 minutes in the pan, then gently roll it up in a clean kitchen towel. This helps it hold its shape when we fill it later. Just be careful; it can be a bit hot!
Making the Filling
While the cake is cooling, let’s whip up that delicious Oreo filling! In a bowl, beat the softened cream cheese and powdered sugar together until it’s smooth and creamy. Then, fold in those crushed Oreo cookies. You want to keep it fluffy, so be gentle when mixing! This filling is going to be the star of the show!
Assembling the Cake Roll
Once the cake has cooled enough to handle, carefully unroll it from the towel. Spread the creamy Oreo filling evenly over the cake, making sure to get it all the way to the edges. Then, roll it back up tightly, starting from one of the short ends. This part can be a bit tricky, but don’t worry! Once rolled, wrap it in plastic wrap and chill it in the refrigerator for at least 30 minutes. This chilling time helps it set up and makes it easier to slice. You’re almost there!
Why You’ll Love This Recipe
- It’s a stunningly beautiful dessert that’s sure to impress at any gathering!
- The combination of rich red velvet and creamy Oreo filling creates a flavor explosion in every bite.
- It’s surprisingly easy to make, even for beginner bakers—trust me, you can do this!
- Perfect for celebrations, birthdays, or just when you want to treat yourself.
- The cake roll format makes it fun and different from your usual cakes!
- It can be made ahead of time, making it a great option for busy days.
- Everyone loves Oreos, and this dessert takes them to a whole new level!
Tips for Success
To ensure your red velvet Oreo cake roll turns out absolutely perfect, I’ve gathered some of my best tips that will help you every step of the way!
- Quality Ingredients: Use high-quality cocoa powder and food coloring. A vibrant red and rich chocolate flavor make all the difference in this cake roll!
- Room Temperature Ingredients: Make sure your butter and cream cheese are softened to room temperature. This helps them blend smoothly, creating a creamy filling and fluffy batter.
- Cool Before Filling: Don’t rush the cooling process! Allow the cake to cool for at least 10 minutes before rolling it up in the towel. If it’s too warm, the filling can melt and ooze out.
- Chill for Clean Slices: After assembling the cake roll, chill it in the refrigerator for at least 30 minutes. This not only helps it set but also makes slicing much easier and neater!
- Use a Sharp Knife: When it’s time to slice your cake roll, use a sharp, serrated knife for clean cuts. Saw gently to avoid squishing the cake!
- Storing Leftovers: If you have any leftovers (which is rare, but it happens!), store your cake roll in an airtight container in the fridge for up to 3 days. It’s still delicious the next day!
With these tips, you’re all set to create a stunning and delectable red velvet Oreo cake roll that will wow anyone lucky enough to have a slice. Happy baking!
Nutritional Information
Here’s the estimated breakdown of the nutritional values for each slice of this delightful red velvet Oreo cake roll. Keep in mind that these values can vary based on specific brands and ingredient choices, but this should give you a good idea of what to expect!
- Calories: 300
- Fat: 15g
- Saturated Fat: 8g
- Unsaturated Fat: 5g
- Trans Fat: 0g
- Cholesterol: 40mg
- Sodium: 150mg
- Carbohydrates: 40g
- Fiber: 2g
- Sugar: 25g
- Protein: 4g
Enjoy this decadent treat as part of a balanced diet, and remember, it’s all about moderation! You’re going to love every delicious bite of this cake roll!
FAQ Section
Got questions? Don’t worry, I’ve got answers! Here are some of the most common queries about the red velvet Oreo cake roll, along with helpful tips to ensure your baking experience is as smooth as that creamy filling!
Can I substitute the buttermilk?
Absolutely! If you don’t have buttermilk on hand, you can make your own by mixing 1 cup of milk with 1 tablespoon of vinegar or lemon juice. Let it sit for about 5 minutes, and voilà, you’ve got a tasty buttermilk substitute!
What if I don’t have red food coloring?
No problem! You can use beet juice or a natural red food coloring alternative. Just keep in mind that the color might not be as vibrant, but it will still taste amazing!
Can I use a different type of cookie for the filling?
Definitely! If you’re not an Oreo fan, you could use any chocolate cookie to make the filling. Just be sure to crush them up finely so you get that delightful cookie crunch in every bite!
How do I store leftovers?
Store any leftover cake roll in an airtight container in the fridge for up to 3 days. It’s still delicious the next day and might even taste better as the flavors meld!
Can I freeze the cake roll?
Yes! You can freeze the cake roll before or after filling it. Just wrap it tightly in plastic wrap, then in foil. It will keep for up to 2 months. Thaw it overnight in the fridge before serving!
What’s the best way to slice the cake roll?
Use a sharp, serrated knife and saw gently through the cake. This will help you get clean slices without squishing all that delicious filling out. Trust me, presentation matters!
Can I make this ahead of time?
Absolutely! This cake roll can be made a day in advance. Just make sure to chill it properly, so it firms up nicely for slicing. It’s perfect for prepping ahead of parties or gatherings!
If you have any other questions, feel free to reach out! Enjoy every moment of making this delightful red velvet Oreo cake roll, and happy baking!
Storage & Reheating Instructions
Now, let’s talk about how to store your delicious red velvet Oreo cake roll! If you happen to have any leftovers (which is rare, but hey, it happens!), you’ll want to keep it fresh for as long as possible. Simply wrap the cake roll tightly in plastic wrap or place it in an airtight container. It will stay good in the refrigerator for up to 3 days. Just make sure it’s well covered to prevent it from drying out!
If you want to keep it for longer, you can freeze the cake roll! Wrap it tightly in plastic wrap, then place it in a freezer-safe bag or container. It can be frozen for up to 2 months. When you’re ready to enjoy it again, just take it out and let it thaw in the fridge overnight. No need to rush, let it come back to life slowly!
Now, about reheating—this cake roll is best served chilled, so you won’t need to reheat it. If you prefer it a bit softer, you can let it sit at room temperature for about 15-20 minutes before slicing. This way, you maintain that lovely texture and flavor without compromising the deliciousness. Enjoy every creamy, chocolatey bite!
Print
Red velvet Oreo cake roll: 7 secrets to delicious bliss
- Prep Time: 30 minutes
- Cook Time: 20 minutes
- Total Time: 1 hour
- Yield: 8 servings 1x
- Category: Dessert
- Method: Baking
- Cuisine: American
- Diet: Vegetarian
Description
A delicious red velvet cake roll filled with creamy Oreo frosting.
Ingredients
- 1 cup all-purpose flour
- 1/2 cup cocoa powder
- 1 teaspoon baking powder
- 1/2 teaspoon baking soda
- 1/2 teaspoon salt
- 1/2 cup unsalted butter, softened
- 1 cup granulated sugar
- 2 large eggs
- 1 teaspoon vanilla extract
- 1 cup buttermilk
- 2 tablespoons red food coloring
- 1 cup crushed Oreo cookies
- 1 cup cream cheese, softened
- 1/4 cup powdered sugar
Instructions
- Preheat the oven to 350°F (175°C).
- Grease a 15×10 inch jelly roll pan and line with parchment paper.
- In a bowl, mix flour, cocoa powder, baking powder, baking soda, and salt.
- In another bowl, beat butter and sugar until fluffy.
- Add eggs and vanilla, mixing well.
- Stir in buttermilk and red food coloring.
- Gradually add the dry ingredients to the wet mixture.
- Spread the batter evenly in the prepared pan.
- Bake for 15-20 minutes or until a toothpick comes out clean.
- Let the cake cool for 10 minutes, then roll it up in a towel.
- For the filling, beat cream cheese and powdered sugar, then fold in crushed Oreos.
- Unroll the cooled cake, spread the filling, and roll it back up.
- Chill in the refrigerator for at least 30 minutes before serving.
Notes
- Ensure the cake is completely cool before filling.
- Use quality red food coloring for best results.
- Chill the cake roll for better slicing.
Nutrition
- Serving Size: 1 slice
- Calories: 300
- Sugar: 25g
- Sodium: 150mg
- Fat: 15g
- Saturated Fat: 8g
- Unsaturated Fat: 5g
- Trans Fat: 0g
- Carbohydrates: 40g
- Fiber: 2g
- Protein: 4g
- Cholesterol: 40mg
Keywords: red velvet, cake roll, Oreo, dessert