
Oh my goodness, let me tell you about these peanut butter truffles! They’re honestly one of the easiest and most delightful treats I whip up in my kitchen. I remember the first time I made them—I was looking for a quick snack to satisfy my sweet tooth, and boy, did these little bites of heaven deliver! They’re rich, creamy, and just the right amount of sweet, and the best part? No baking required! You can have them ready in about 20 minutes, and they disappear faster than you can say “yum!” I love how they’re versatile too; you can mix things up with different chocolates or even add a sprinkle of sea salt on top for a gourmet twist. Trust me, once you take that first bite, you’ll be hooked! So grab your peanut butter, and let’s get started on making these delicious little truffles!
Ingredients List
Before we dive into making these scrumptious peanut butter truffles, let’s gather everything you’ll need. Trust me, having all your ingredients prepped and ready makes the process a breeze!
- 1 cup creamy peanut butter
- 1 cup powdered sugar
- 1 cup graham cracker crumbs
- 1 cup chocolate chips (dark or milk, depending on your taste)
- 2 tablespoons coconut oil (this helps the chocolate get that silky smooth texture)
That’s it! Just five simple ingredients, and you’re on your way to peanut butter truffle bliss. Make sure to measure everything out before you start mixing—trust me, it makes things so much easier and more fun!
How to Prepare Peanut Butter Truffles
Alright, let’s get down to the fun part—making these delicious peanut butter truffles! Follow these simple steps, and you’ll have a batch of heavenly treats ready to enjoy in no time. I promise, it’s as easy as pie!
Step 1: Mixing the Base
First things first, grab a mixing bowl and combine that creamy peanut butter, powdered sugar, and graham cracker crumbs. I like to use a sturdy spatula or even my hands because it gets the mixture nice and smooth! You want it to be thick but still easy to work with—you’re going for a dough-like consistency. Once everything is well combined, it should feel a bit soft and pliable, almost like playdough. Seriously, the smell is divine!
Step 2: Shaping the Truffles
Now comes the fun part—shaping! Take a small handful of the mixture and roll it between your palms to form little balls, about 1 inch in diameter. Don’t stress about them being perfectly round; a little bit of character makes them special! If your hands start getting sticky, just wet them slightly with a bit of water to help with the rolling. Place the shaped balls on a plate or baking sheet lined with parchment paper as you go. You’ll want to make sure there’s enough space between them so they don’t stick together later.
Step 3: Melting the Chocolate
Next, let’s melt those chocolate chips! In a microwave-safe bowl, combine the chocolate chips and coconut oil. Pop it in the microwave and heat in 30-second intervals, stirring in between, until it’s all melted and smooth. This usually takes about 1 to 2 minutes total. Keep an eye on it, though—burnt chocolate is a sad sight! Once it’s silky and shiny, you’re ready to dip!
Step 4: Dipping the Truffles
Time to coat those beauties! Using a fork or a toothpick, dip each peanut butter ball into the melted chocolate, giving it a good swirl to ensure it’s fully coated. Let the excess chocolate drip off before placing it back on the lined baking sheet. Oh, and if you want to get fancy, you can sprinkle some crushed nuts, sea salt, or even a drizzle of white chocolate on top while it’s still wet! Yum!
Step 5: Setting the Truffles
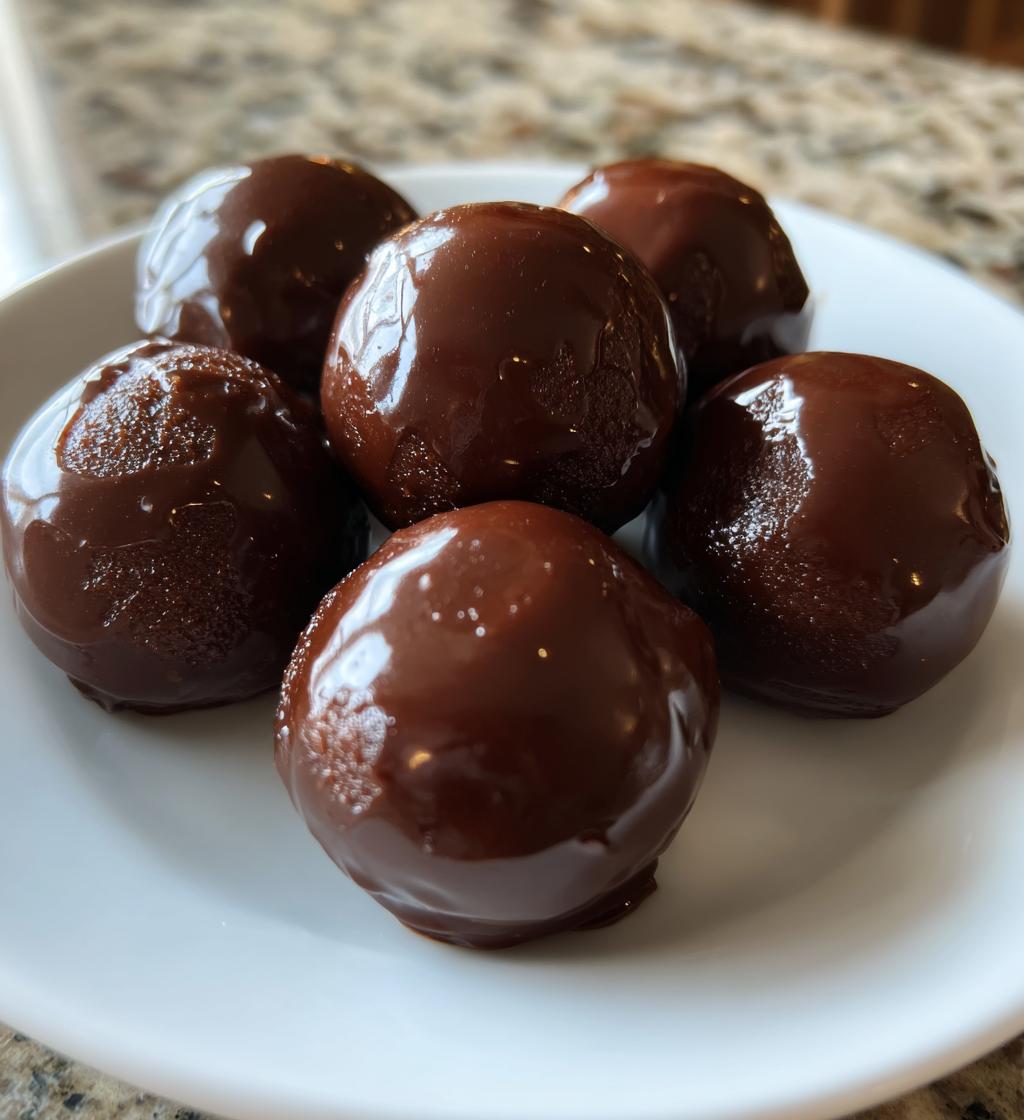
Finally, it’s time for the chocolate to harden. Carefully place the baking sheet in the refrigerator and let the truffles chill for about 30 minutes, or until the chocolate is firm. I know it’s hard to wait, but trust me, it’s worth it! Once they’re set, you can pop them into an airtight container, and they’ll be ready to devour or share with friends. Enjoy every last bite of your homemade peanut butter truffles!
Storage & Reheating Instructions
Now that you’ve got your delicious peanut butter truffles all set, let’s talk storage! To keep them fresh and tasty, simply place your truffles in an airtight container. I like to layer them with some parchment paper to prevent sticking, just to be safe. They’ll stay good in the fridge for about a week—though I doubt they’ll last that long once you or your family gets a taste!
If you want to keep them for a longer period, you can freeze them too! Just pop them in a freezer-safe container or bag, and they should be fine for up to 2 months. When you’re ready to enjoy them, let them thaw in the fridge for a few hours or at room temperature for about 20 minutes. No reheating needed—just bite into that creamy goodness straight away! Trust me, they’ll still taste as amazing as when you first made them!
Nutritional Information
Let’s take a quick look at the nutritional values for these delightful peanut butter truffles! Keep in mind, these are estimates, but they’ll give you a good idea of what you’re indulging in. Each truffle is a little bite of joy, and here’s what you can expect:
- Serving Size: 1 truffle
- Calories: 120
- Fat: 7g
- Saturated Fat: 3g
- Unsaturated Fat: 4g
- Trans Fat: 0g
- Cholesterol: 0mg
- Sodium: 50mg
- Carbohydrates: 10g
- Fiber: 1g
- Sugar: 10g
- Protein: 3g
With these truffles, you’re treating yourself to a sweet snack that’s packed with flavor, and it’s nice to know they have some protein too, thanks to the peanut butter! Enjoy responsibly, and share if you can resist the temptation to eat them all yourself!
Why You’ll Love This Recipe
- Quick and easy to prepare—ready in just 20 minutes!
- No baking required, making it perfect for any skill level.
- Rich, creamy peanut butter flavor that’s simply irresistible.
- Versatile and customizable with different types of chocolate and toppings.
- Perfect for sharing at parties or keeping all to yourself (no judgment here!).
- Great for satisfying sweet cravings without the guilt!
- Easy storage options, making them perfect for meal prep or last-minute treats.
Tips for Success
Alright, let’s make sure your peanut butter truffles turn out absolutely perfect! Here are some of my favorite tips to elevate your truffle game and ensure success every time you make them.
- Chocolate Choices: Feel free to experiment with different types of chocolate! Dark chocolate gives a nice contrast to the sweetness of the truffles, while milk chocolate is perfect for a sweeter bite. You could even try white chocolate for a totally different flavor profile!
- Flavor Infusions: Want to jazz things up? Add a pinch of sea salt on top right after dipping for that sweet and salty combo. Or, mix in some vanilla extract or a dash of cinnamon into the peanut butter mixture for a little extra flavor kick!
- Roll in Extras: After dipping, roll your truffles in crushed nuts, sprinkles, or even cocoa powder for a fun twist! It adds a nice texture and makes them look extra fancy.
- Serving Suggestions: These truffles are perfect for sharing at gatherings, but they also make a fantastic gift! Just package them up in a cute box or a mason jar with a bow, and you’ve got a sweet present for friends or family.
- Keep It Cool: If you’re making these for an outdoor event, keep them chilled in a cooler until serving time. The chocolate can soften in warm weather, so a little extra chill is always a good idea!
With these tips, you’re all set to create the most delightful peanut butter truffles that’ll impress everyone! Enjoy the process, and don’t be afraid to put your own spin on things. Happy truffling!
FAQ About Peanut Butter Truffles
Can I use natural peanut butter?
Absolutely, you can use natural peanut butter! Just keep in mind that it has a different texture compared to creamy peanut butter. Natural peanut butter may be a bit runnier or more oily, so you might need to adjust the amount of powdered sugar or graham cracker crumbs to get that perfect dough-like consistency. But hey, it’s all about personal preference, and natural peanut butter brings its own delicious flavor to the table!
How long do these truffles last?
Once you’ve made those delicious peanut butter truffles, you can store them in the fridge for about a week. Just make sure to keep them in an airtight container to maintain their freshness. I have a feeling they won’t last that long, though! If you’re anything like me, you’ll be sneaking bites every chance you get!
Can I freeze the truffles?
You bet! Freezing these truffles is a fantastic option. Just pop them in a freezer-safe container or bag, and they’ll be good for up to 2 months. When you’re ready to enjoy them again, let them thaw in the fridge for a few hours, or at room temperature for about 20 minutes. They’ll taste just as amazing as when you first made them—no changes needed! It’s like having a little stash of chocolatey goodness waiting for you!
Print
Peanut Butter Truffles: 5 Irresistibly Creamy Bites
- Prep Time: 15 minutes
- Cook Time: 5 minutes
- Total Time: 20 minutes
- Yield: 24 truffles 1x
- Category: Dessert
- Method: No-bake
- Cuisine: American
- Diet: Vegetarian
Description
Delicious and easy-to-make peanut butter truffles.
Ingredients
- 1 cup creamy peanut butter
- 1 cup powdered sugar
- 1 cup graham cracker crumbs
- 1 cup chocolate chips
- 2 tablespoons coconut oil
Instructions
- In a bowl, mix peanut butter, powdered sugar, and graham cracker crumbs until smooth.
- Shape the mixture into small balls.
- In a microwave, melt chocolate chips and coconut oil until smooth.
- Dip each ball into the melted chocolate.
- Place truffles on a baking sheet lined with parchment paper.
- Refrigerate until chocolate hardens.
Notes
- Store truffles in an airtight container.
- Use dark or milk chocolate based on preference.
- Allow truffles to sit at room temperature for a few minutes before serving.
Nutrition
- Serving Size: 1 truffle
- Calories: 120
- Sugar: 10g
- Sodium: 50mg
- Fat: 7g
- Saturated Fat: 3g
- Unsaturated Fat: 4g
- Trans Fat: 0g
- Carbohydrates: 10g
- Fiber: 1g
- Protein: 3g
- Cholesterol: 0mg
Keywords: peanut butter truffles, dessert, no-bake