
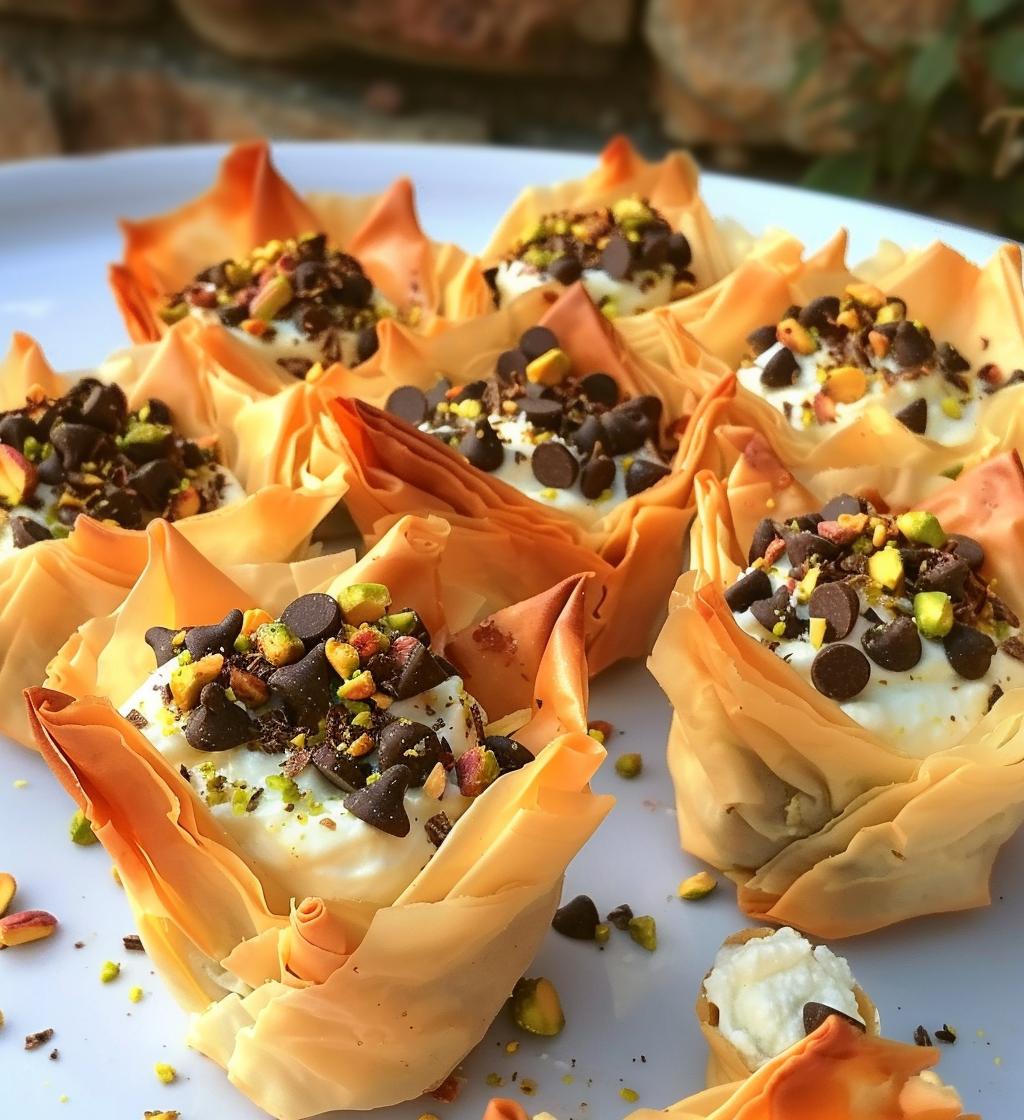
Oh my goodness, let me tell you about these Mini Cannoli Cups! They’re like a little piece of Italy that you can pop in your mouth, and trust me, they’re a total game changer. I love how they take the classic cannoli and turn it into a fun, bite-sized treat that’s perfect for any occasion. Imagine crispy phyllo shells filled with creamy, sweet ricotta, and maybe even a sprinkle of chocolate chips or pistachios on top – yum! I first made these for a family gathering and they disappeared in a flash. Everyone was raving about them, and I just couldn’t help but feel proud! You’re going to love making these as much as you’ll love eating them!
Ingredients for Mini Cannoli Cups
- 1 package of mini phyllo cups
- 1 cup ricotta cheese (fresh)
- 1/2 cup powdered sugar
- 1 teaspoon vanilla extract
- 1/4 cup mini chocolate chips
- 1/4 cup chopped pistachios (optional)
How to Prepare Mini Cannoli Cups
Preheat the Oven
First things first, you’ll want to preheat your oven to 350°F (175°C). This step is super important because it helps the phyllo cups get that perfect crispiness. So go ahead, set your oven, and let it warm up while you prepare the rest!
Bake the Phyllo Cups
Next, grab those mini phyllo cups and arrange them on a baking sheet. You don’t need to overcrowd them; just give them a little space to breathe! Bake for about 5-7 minutes or until they turn a beautiful golden brown. Keep an eye on them; you want that perfect crunch without burning, and oh, the smell will be heavenly!
Prepare the Filling
While those cups are baking, it’s time to whip up that luscious filling. In a mixing bowl, combine 1 cup of fresh ricotta cheese, 1/2 cup of powdered sugar, and 1 teaspoon of vanilla extract. Mix it all together until it’s smooth and creamy – trust me, this is where the magic happens! Once it’s well combined, gently fold in 1/4 cup of mini chocolate chips. You want to keep the mixture fluffy and light, so be careful not to overmix!
Assemble the Mini Cannoli Cups
Now comes the fun part! Once your phyllo cups are out of the oven and cooled slightly, it’s time to fill them with that dreamy ricotta mixture. Use a spoon or a piping bag if you’re feeling fancy, and fill each cup generously. If you want to take them over the top, sprinkle a few chopped pistachios on top for that extra crunch and flavor. They’ll look so pretty!
Chill Before Serving
Finally, pop those filled Mini Cannoli Cups into the fridge for about 30 minutes. This chilling time is crucial because it allows the flavors to meld together, and the filling will firm up just a bit. Plus, it makes for a refreshing treat when you serve them. You’ll be counting down the minutes, trust me!
Tips for Success
Alright, let’s make sure your Mini Cannoli Cups turn out absolutely perfect every time! Here are my top tips to elevate your cannoli game:
- Fresh Ingredients Matter: I can’t stress this enough! Using fresh ricotta cheese makes a world of difference in flavor and texture. It’s creamier and richer than anything pre-packaged.
- Watch the Baking Time: Ovens can be tricky, so keep an eye on those phyllo cups while they bake. You want them golden brown, not burnt—trust me, I’ve had my share of crispy disasters!
- Chill Time is Key: Don’t rush the chilling step. Letting them sit in the fridge for that 30 minutes really helps the flavors meld and gives you that refreshing bite!
- Make Ahead! You can prepare these cups a day in advance. Just store the filled cups in an airtight container in the fridge, and they’ll be ready to impress your guests!
- Storage Tips: If you have any leftovers (which is rare!), keep them in the fridge, but they’re best enjoyed within a couple of days. The phyllo can get a bit soggy over time, so keep that in mind.
By following these simple tips, you’ll be on your way to creating the most delightful Mini Cannoli Cups that everyone will rave about!
Nutritional Information
Now, let’s talk about the numbers behind these delightful Mini Cannoli Cups! Each little cup is about 120 calories, which makes them a sweet indulgence that doesn’t break the calorie bank. Here’s a quick breakdown of the typical nutritional values per serving, so you know exactly what you’re enjoying:
- Calories: 120
- Fat: 6g
- Sugar: 6g
- Protein: 3g
- Carbohydrates: 12g
Keep in mind, these values are estimates and can vary based on the specific brands and ingredients you use. But isn’t it nice to know you can enjoy a little treat without too much guilt? Now, go ahead and savor every delicious bite!
FAQ Section
Got questions about these amazing Mini Cannoli Cups? No worries, I’ve got you covered! Here are some common queries I get, along with my tried-and-true answers:
Can I substitute ricotta cheese?
Absolutely! If you’re in a pinch, you can use mascarpone or even cream cheese for a different flavor. Just keep in mind that the texture will be a bit different, but still delicious!
What if I can’t find mini phyllo cups?
Don’t fret! You can also make your own by layering phyllo dough and cutting it into small rounds, but that can be a bit time-consuming. Alternatively, use mini tart shells or even small pastry cups if you have them.
How do I store leftovers?
If you happen to have any left (which is unlikely!), store the filled cups in an airtight container in the fridge. They’re best enjoyed within a couple of days to keep that fabulous crunch!
Can I make these vegan?
You can! Use a vegan ricotta alternative and swap out the powdered sugar for a vegan-friendly sweetener. Just make sure your phyllo cups are also vegan, as some brands use butter.
What other toppings can I use?
Oh, the possibilities are endless! Try adding fresh fruit like berries, a drizzle of chocolate sauce, or even a dusting of cinnamon for a twist. Get creative and make them your own!
Can I freeze Mini Cannoli Cups?
I wouldn’t recommend freezing them once filled, as the texture of the phyllo can get soggy. However, you can freeze the phyllo cups before filling them! Just bake, cool, and then wrap them tightly. When you’re ready to enjoy, simply thaw and fill with the ricotta mixture.
Hope that clears things up! If you have any other questions, feel free to reach out. I’m here to help you create the perfect Mini Cannoli Cups!
Why You’ll Love This Recipe
- Quick and Easy: These Mini Cannoli Cups come together in no time! With just a few simple steps, you’ll have a delightful dessert ready to impress.
- Perfectly Portioned: Each cup is a bite-sized treat that’s easy to serve, making them ideal for parties or gatherings where everyone wants a little taste of something sweet.
- Creative Twist on Tradition: They take the classic cannoli and give it a fun, modern twist. You’ll love how these mini versions bring a smile to your face!
- Customizable: Feel free to get creative! Add your favorite toppings like fresh fruit, nuts, or even a drizzle of chocolate to make each cup uniquely yours.
- Make Ahead Friendly: You can whip these up a day in advance, giving you more time to enjoy your guests while still serving a delicious homemade treat.
- Kids and Adults Alike: They’re a hit with everyone! Whether it’s a family gathering or a fancy dinner party, these Mini Cannoli Cups will have everyone asking for seconds.
Storage & Reheating Instructions
So, you’ve made these delectable Mini Cannoli Cups, and now you have some leftovers (if that’s even possible!). Here’s how to store them properly to keep that delightful flavor and texture intact:
- Storing Leftovers: If you have any cups left, place them in an airtight container in the fridge. This will help preserve their freshness for up to 2 days. Just keep in mind that the phyllo cups may soften over time, so they’re best enjoyed as soon as possible!
- Reheating: I wouldn’t recommend reheating these cannoli cups, as they’re best served cold and fresh. However, if you absolutely need to warm them up, gently place them in a preheated oven at 300°F (150°C) for about 5 minutes. This can help restore some crispness, but be careful not to overdo it!
- Making Ahead: If you want to prep in advance, consider storing the filled ricotta mixture separately from the phyllo cups. You can bake the cups and keep them in an airtight container, then fill them just before serving for that perfect crunch!
By following these simple storage tips, you can enjoy your Mini Cannoli Cups even after the initial feast. Enjoy every last bite of this little Italian delight!
Print
Mini Cannoli Cups: 5 Layers of Deliciousness Await
- Prep Time: 20 minutes
- Cook Time: 7 minutes
- Total Time: 47 minutes
- Yield: 24 mini cannoli cups 1x
- Category: Dessert
- Method: Baking
- Cuisine: Italian
- Diet: Vegetarian
Description
Mini Cannoli Cups are a delightful twist on the classic Italian dessert, featuring crispy pastry shells filled with sweet ricotta cream.
Ingredients
- 1 package of mini phyllo cups
- 1 cup ricotta cheese
- 1/2 cup powdered sugar
- 1 teaspoon vanilla extract
- 1/4 cup mini chocolate chips
- 1/4 cup chopped pistachios (optional)
Instructions
- Preheat your oven to 350°F (175°C).
- Arrange the mini phyllo cups on a baking sheet.
- Bake for 5-7 minutes until golden.
- In a bowl, mix ricotta cheese, powdered sugar, and vanilla until smooth.
- Fold in chocolate chips.
- Fill each phyllo cup with the ricotta mixture.
- Top with chopped pistachios if desired.
- Chill for 30 minutes before serving.
Notes
- Use fresh ricotta for best flavor.
- Can be made a day in advance.
- Store filled cups in the refrigerator.
Nutrition
- Serving Size: 1 mini cannoli cup
- Calories: 120
- Sugar: 6g
- Sodium: 50mg
- Fat: 6g
- Saturated Fat: 3g
- Unsaturated Fat: 2g
- Trans Fat: 0g
- Carbohydrates: 12g
- Fiber: 1g
- Protein: 3g
- Cholesterol: 15mg
Keywords: Mini Cannoli Cups, Cannoli, Italian Dessert