
If you’re craving something sweet but don’t want to spend hours in the kitchen, let me tell you—microwave caramels are the answer! This recipe is pure magic because it combines simplicity with delicious results, all in a matter of minutes. I mean, who doesn’t love the rich, buttery flavor of homemade caramels without the fuss? Whether you’re whipping them up for a last-minute gift, a sweet treat for movie night, or just because you can’t resist that gooey goodness, these caramels fit perfectly into our busy lives. Trust me, once you try this easy method, you’ll be hooked. So grab your ingredients and let’s dive into this delightful journey of making microwave caramels!
Ingredients List
- 1 cup unsalted butter (make sure it’s at room temperature for easy mixing)
- 2 cups packed brown sugar (the packing helps create that rich, caramel flavor)
- 1 cup corn syrup (this helps keep the caramels nice and chewy)
- 1 can (14 oz) sweetened condensed milk (this adds creaminess and sweetness)
How to Prepare Microwave Caramels
Making microwave caramels is as easy as pie, and I’m here to guide you through each step! You’ll see how straightforward this process is, even if you’re a first-time candy maker. Just follow along, and you’ll have delicious caramels in no time!
Step-by-Step Instructions
- First, grab a large microwave-safe bowl because we’re going to need the space! Combine the 1 cup of unsalted butter, 2 cups of packed brown sugar, and 1 cup of corn syrup into the bowl. Give it a good stir to mix everything well.
- Now, it’s microwave time! Pop the bowl in the microwave and heat it on high for 2 minutes. After the time is up, carefully remove it (it’ll be hot!) and give it a stir. You want everything blended together efficiently.
- Time for round two! Return the bowl to the microwave and heat it for another 2 minutes. Stir again to make sure all those buttery, sugary dreams are coming together.
- Next, we’re adding the star player—1 can of sweetened condensed milk. Stir it into the mixture until it’s fully combined. You’ll notice it getting creamier and more caramel-like!
- Now, let’s microwave it again, but this time for 5 minutes. Be sure to stir the mixture every minute. This helps prevent any scorching and ensures that perfect, smooth texture we’re after.
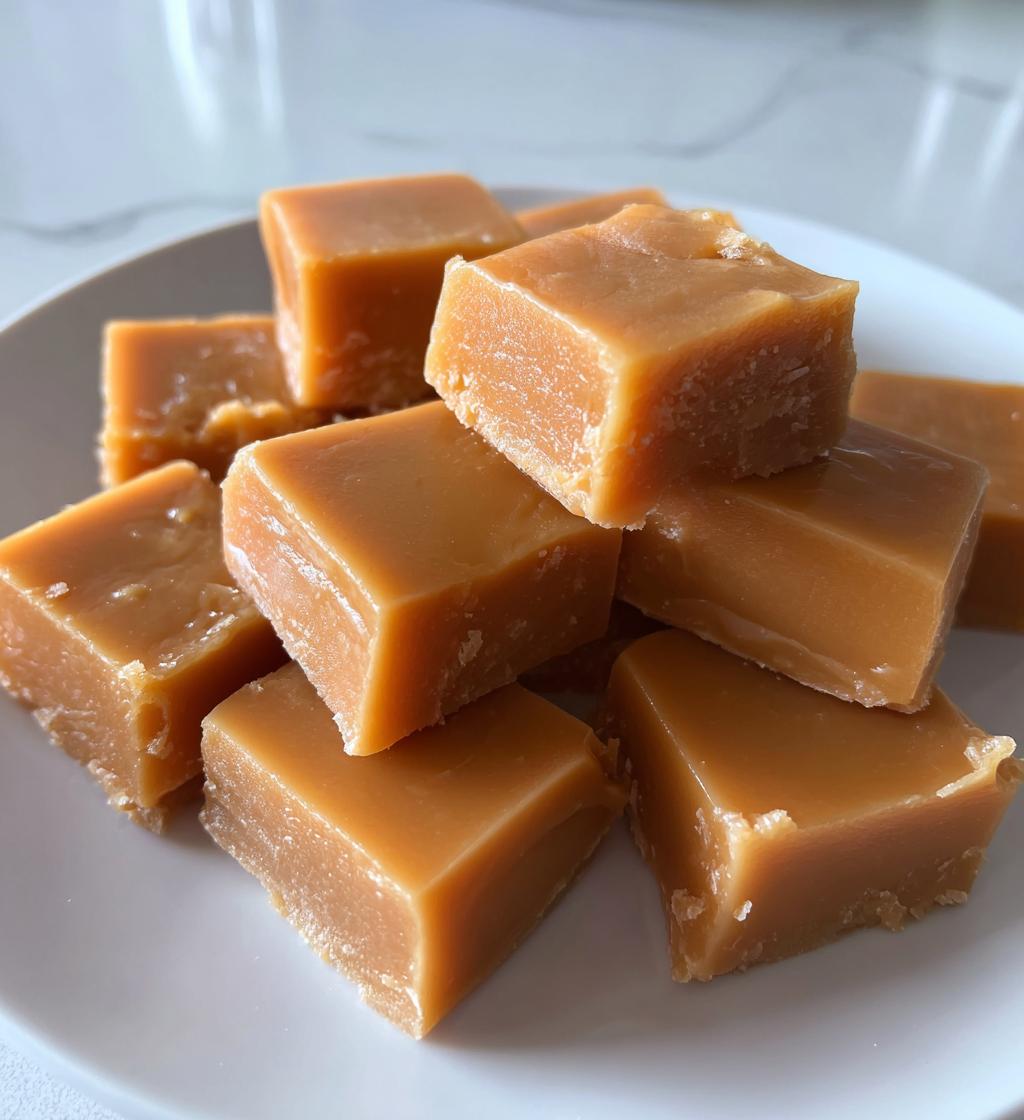
- Once you’ve reached the end of that 5 minutes, it’s time to pour your luscious caramel into a greased pan. Spread it out evenly and let it cool. I know it’s tempting to dive right in, but trust me, let it cool completely before cutting into those sweet squares!
And there you have it! Easy, quick, and oh-so-delicious microwave caramels that will have everyone asking for more. Enjoy!
Why You’ll Love This Recipe
- Quick preparation: You can whip up these microwave caramels in just 20 minutes!
- Simple ingredients: Everything you need is likely already in your pantry.
- Delicious results: The rich, buttery flavor will have you and your loved ones coming back for more.
- No special equipment required: Just a microwave and a bowl—easy peasy!
- Perfect for gifting: Wrap them up in cute packaging for a sweet homemade present.
- Customizable: Add your favorite nuts, sea salt, or flavor extracts for a personal touch.
- Kid-friendly: Making caramels is a fun activity to do with your little helpers!
- Versatile treats: Use them in desserts, as toppings, or just enjoy them on their own.
Tips for Success
Now that you’re all set to make these microwave caramels, here are some of my favorite tips to ensure you get that perfect texture and flavor every time!
- Use a large bowl: This is crucial! Caramel can bubble up while cooking, so a big bowl prevents any messy overflow.
- Watch the microwave: Microwaves can vary, so keep an eye on your mixture while it’s cooking. If you notice it bubbling too much, pause and stir!
- Stir often: Don’t skip the stirring! It helps distribute the heat evenly and keeps your caramels from scorching. Plus, it gives you a chance to savor that amazing smell!
- Cool completely: Patience is key here! Make sure your caramels are fully cooled before cutting. This helps them set nicely and makes cutting easier.
- Grease the pan well: Use a generous amount of non-stick spray or butter to ensure your caramels release easily from the pan.
- Experiment with flavors: Don’t be afraid to play around! Add a pinch of sea salt, a splash of vanilla extract, or even a hint of espresso for a unique twist.
Follow these tips, and you’ll be well on your way to creating the most delicious microwave caramels that everyone will adore!
Variations
If you’re feeling adventurous, there are so many fun ways to customize these microwave caramels! Let your creativity shine and try out some of these delightful variations:
- Nuts: Stir in some chopped nuts like pecans or walnuts for added crunch and flavor. Just fold them in after the mixture is done cooking!
- Sea salt: Sprinkling a little flaky sea salt on top before the caramels cool gives a sweet-and-salty contrast that’s absolutely irresistible.
- Chocolate drizzle: Melt some chocolate and drizzle it over your cooled caramels for a decadent touch. Who can resist chocolate, right?
- Flavor extracts: Add a teaspoon of vanilla, almond, or even rum extract to the mixture for a unique flavor twist that will surprise your taste buds!
- Spices: For a cozy autumn vibe, mix in a pinch of cinnamon or nutmeg. It’ll warm up those caramels and make them feel extra special.
- Colorful sprinkles: If you’re making these for a festive occasion, sprinkle some colorful sprinkles on top before they set for a fun touch!
These variations can transform your microwave caramels into something new and exciting every time you make them. So don’t hesitate—go ahead and experiment to find your perfect blend!
Storage & Reheating Instructions
Once you’ve whipped up those delicious microwave caramels, you’ll want to make sure they stay fresh and tasty! Here’s how to store your sweet creations and enjoy them later.
To store your caramels, simply place them in an airtight container. I recommend layering them with parchment paper in between to prevent them from sticking together. This way, they’ll stay soft and chewy—just how we love them!
Keep the container in a cool, dry place, and your caramels should last for about two weeks. If you want to keep them longer, you can pop them in the fridge, where they’ll stay fresh for up to a month. Just be sure to let them come to room temperature before diving in, as they can get a bit firm from the cold.
If you find yourself with leftover caramels (though I doubt it!), you can gently reheat them in the microwave. Just place a few in a microwave-safe dish and heat for about 10-15 seconds. Keep an eye on them, as you don’t want to overheat and cause them to melt completely! A quick warm-up will bring back that delightful gooeyness.
Now, you’re all set to enjoy your homemade microwave caramels whenever the craving strikes!
Nutritional Information
Here’s the estimated nutritional breakdown for each delicious caramel you make from this recipe. Keep in mind that these values can vary based on the specific brands and ingredients you use, but it gives you a good idea of what to expect!
- Calories: 100
- Fat: 4g
- Saturated Fat: 2g
- Unsaturated Fat: 2g
- Trans Fat: 0g
- Cholesterol: 10mg
- Sodium: 30mg
- Carbohydrates: 15g
- Fiber: 0g
- Sugar: 15g
- Protein: 1g
These sweet treats are a delightful indulgence, so enjoy them in moderation! Whether you’re sharing with friends or keeping them all to yourself, these microwave caramels are sure to satisfy your sweet tooth!
FAQ Section
Can I use margarine instead of butter?
While I always recommend using unsalted butter for the best flavor, you can substitute margarine if needed. Just keep in mind that it might change the taste slightly, so choose a good-quality margarine for better results!
How do I know when the caramels are done cooking?
You’ll know your caramels are ready when they’re a lovely golden brown color and have thickened up nicely. Stirring every minute during the final cooking phase helps achieve that perfect consistency, so keep an eye on them!
Can I double the recipe?
Absolutely! Just make sure to use a larger microwave-safe bowl to accommodate the extra volume. You may need to adjust the cooking times slightly, so keep checking and stirring to avoid any overflow or scorching.
What can I do if my caramels are too hard?
If your caramels turn out a bit too hard, you can try reheating them gently in the microwave for a few seconds. Add a tiny splash of milk or cream while reheating to help bring back that soft, chewy texture. Just be careful not to overheat!
Are these microwave caramels gluten-free?
Yes, this recipe is gluten-free as long as you ensure that all your ingredients are labeled gluten-free. Always double-check your corn syrup and any additional mix-ins to keep things safe for those with gluten sensitivities!
For more delicious recipes, check out our all recipes section!
For tips on cooking with butter, visit Healthline.
Print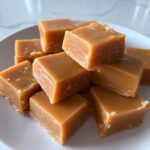
Delicious Microwave Caramels: 6 Steps to Sweet Comfort
- Prep Time: 10 minutes
- Cook Time: 10 minutes
- Total Time: 20 minutes
- Yield: 36 caramels 1x
- Category: Dessert
- Method: Microwave
- Cuisine: American
- Diet: Vegetarian
Description
Easy and quick microwave caramels.
Ingredients
- 1 cup unsalted butter
- 2 cups brown sugar
- 1 cup corn syrup
- 1 can sweetened condensed milk
Instructions
- In a microwave-safe bowl, combine butter, brown sugar, and corn syrup.
- Microwave on high for 2 minutes, stir, then microwave for another 2 minutes.
- Add sweetened condensed milk, stir to combine.
- Microwave for 5 minutes, stirring every minute.
- Pour mixture into a greased pan and let it cool.
Notes
- Use a large bowl to prevent overflow.
- Allow caramels to cool completely before cutting.
- Store in an airtight container.
Nutrition
- Serving Size: 1 caramel
- Calories: 100
- Sugar: 15g
- Sodium: 30mg
- Fat: 4g
- Saturated Fat: 2g
- Unsaturated Fat: 2g
- Trans Fat: 0g
- Carbohydrates: 15g
- Fiber: 0g
- Protein: 1g
- Cholesterol: 10mg
Keywords: microwave caramels, easy caramels, quick dessert