
Oh, let me tell you about the joy of making my favorite hummus! There’s just something about that smooth, creamy texture that makes it utterly irresistible. I love spreading it on warm pita bread or using it as a dip for fresh veggies. This recipe is particularly special because it’s a no tahini version, making it lighter while still packed with flavor. You won’t even miss the tahini, trust me! With just a few simple ingredients, you can whip up a delightful chickpea dip that perfectly embodies Middle Eastern cuisine. It’s quick, easy, and oh-so-satisfying. Whether you’re hosting a gathering or just craving a tasty snack, this hummus is sure to impress. Let’s dive in!
Ingredients List
Gathering the right ingredients is key to making the best hummus! Here’s what you’ll need:
- 1 can (15 oz) chickpeas: Make sure to drain and rinse them well. This helps get rid of any excess sodium and gives you a cleaner taste.
- 2 cloves garlic: Minced for that punch of flavor. If you’re a garlic lover like me, feel free to add more!
- 3 tablespoons olive oil: This adds richness and a beautiful smooth texture. I always use extra virgin for the best taste.
- 2 tablespoons lemon juice: Fresh is best! It brightens up the flavors and gives a lovely zing.
- 1/2 teaspoon ground cumin: A warm spice that complements the chickpeas perfectly.
- Salt: Just a pinch, or to taste—this will enhance all the flavors.
- Water: As needed to achieve your desired consistency. Start with a little and add more if you want it creamier.
With these simple ingredients, you’re just a few steps away from enjoying your homemade hummus!
How to Prepare Hummus
Alright, let’s get to the fun part—making that dreamy hummus! First, grab your trusty food processor because that’s our magic machine for this recipe.
- Start by adding the drained and rinsed chickpeas to the food processor. Then, toss in the minced garlic, olive oil, lemon juice, ground cumin, and a pinch of salt. This is where the flavor begins to come alive!
- Now, it’s time to blend! Pulse the mixture a few times to get things going. You want to break down the chickpeas before blending them into a creamy consistency.
- Once you see things starting to mix well, keep blending while slowly adding water. Start with just a tablespoon or two and then keep going until you reach that perfect, silky texture. If it looks a bit too thick, don’t hesitate to add a bit more water!
- Stop the processor and give it a taste. This is crucial—adjust the salt or lemon juice to your liking. A little extra zing never hurts!
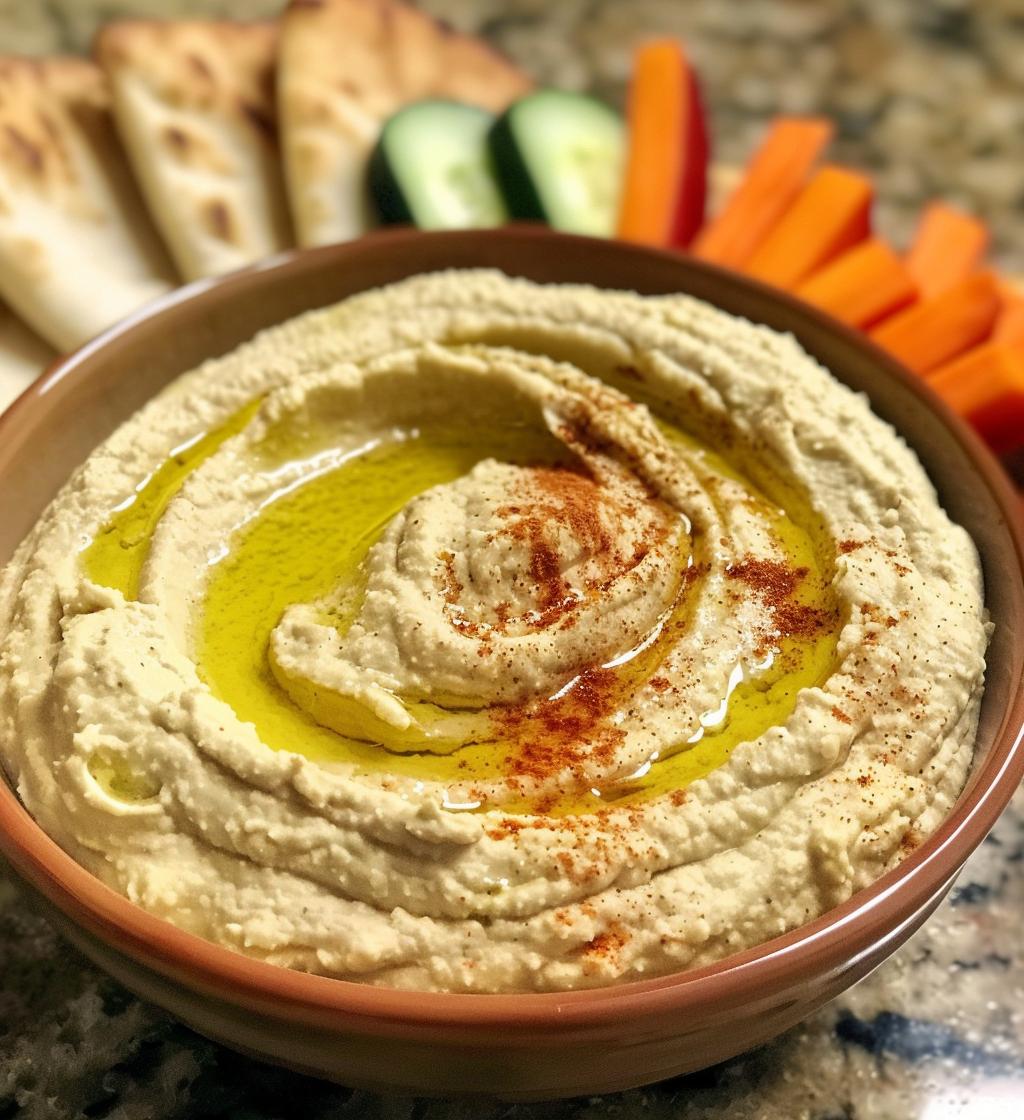
- Finally, transfer your hummus to a serving bowl. Drizzle a bit of olive oil on top for that gorgeous finish, and you’re ready to dig in!
And there you have it—smooth, tasty hummus that’s ready to be devoured with pita, veggies, or just a spoon!
Why You’ll Love This Recipe
- Quick to make: You can whip up this hummus in just 10 minutes! Perfect for those last-minute snack cravings.
- Health-conscious: This no tahini version is lower in calories and fat while still being packed with protein and fiber from chickpeas.
- Versatile: Use it as a dip, spread, or even a sandwich filling. It pairs wonderfully with pita, veggies, or crackers.
- Customizable: Feel free to add your favorite spices or toppings—think roasted red peppers or herbs for a fun twist!
- Vegan-friendly: This hummus fits perfectly into any plant-based diet, making it a great option for everyone.
Trust me, once you make this hummus, it’ll become a staple in your kitchen!
Tips for Success
Making hummus is simple, but a few tips can take it from good to absolutely amazing! First off, don’t rush the blending. Take your time to achieve that creamy texture—this is key! If it’s too thick, add water gradually, and remember, you can always add more, but you can’t take it out.
Also, be sure to taste as you go! Adjust the salt and lemon juice to your preference; sometimes, a little extra zing is just what it needs. If you find the garlic flavor is too strong, let your hummus sit for a bit after making it. The flavors will mellow out beautifully.
Lastly, don’t forget to drizzle a bit of olive oil on top before serving. It not only looks inviting but adds a luxurious finish that makes each bite extra special. Happy blending!
Variations of Hummus
The beauty of hummus is its versatility, so don’t be afraid to get creative! One of my favorite variations is adding roasted red peppers. Just toss a few into the food processor with the other ingredients for a sweet, smoky flavor that elevates the dip. If you’re looking for a spicy kick, try adding a pinch of cayenne pepper or some chopped jalapeños—wow, it really packs a punch!
Another delightful option is to throw in some fresh herbs, like basil or parsley. They not only add color but also a fresh aroma that’s simply irresistible. If you’re feeling adventurous, how about a sweet twist? Blend in some sun-dried tomatoes or even a hint of tahini if you want to mix things up. The possibilities are endless, so have fun experimenting with flavors that you love!
Storage & Reheating Instructions
Storing your homemade hummus is super easy! Just transfer any leftovers into an airtight container and pop it in the fridge. It’ll stay fresh for up to 5 days, but trust me, it’s so delicious you might not have leftovers at all!
If you find that your hummus thickens a bit in the fridge, don’t worry! Just stir in a little water or olive oil before serving to bring back that creamy consistency. Now, if you’re thinking about reheating it, I recommend against it—hummus is best served cold or at room temperature. So, just take it out of the fridge, give it a good stir, and it’s ready to enjoy with your favorite dippers. Enjoy your hummus any time you like!
Nutritional Information
Before you dive into this delicious hummus, here’s a little note on nutritional values! Keep in mind that the numbers can vary depending on the specific ingredients and brands you use. On average, a serving size of about 2 tablespoons contains approximately 70 calories, 4g of fat, and 2g of protein. It’s a healthy, satisfying snack that fits nicely into a balanced diet. Just remember, if you’re adding any extra ingredients or toppings, the nutritional values will change a bit. Enjoy every creamy bite knowing it’s good for you!
FAQs
Can I make hummus without a food processor? Absolutely! If you don’t have one, you can use a blender or even a fork to mash everything together. It’ll take a bit more elbow grease, but it’s totally doable!
How long does hummus last in the fridge? Homemade hummus typically lasts about 5 days when stored in an airtight container. Just make sure to give it a good stir before serving, as it may thicken up a bit.
What can I use instead of olive oil? If you’re looking for a substitute, avocado oil or even a splash of vegetable broth can work well. Just remember that olive oil adds a lovely flavor, so you might miss that a little!
Can I freeze hummus? Yes, you can freeze hummus! Just pack it in an airtight container and it’ll keep for about 3 months. Thaw it in the fridge overnight before you’re ready to enjoy it again.
How can I make my hummus extra creamy? To achieve that ultra-creamy texture, try peeling the chickpeas before blending. It’s a bit of a hassle, but it makes a noticeable difference!
Print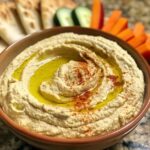
Hummus Without Tahini: 5 Steps to Creamy Perfection
- Prep Time: 10 minutes
- Cook Time: 0 minutes
- Total Time: 10 minutes
- Yield: 2 cups 1x
- Category: Appetizer
- Method: Blending
- Cuisine: Middle Eastern
- Diet: Vegan
Description
A smooth and creamy spread made from chickpeas, perfect for dipping or as a spread.
Ingredients
- 1 can (15 oz) chickpeas, drained and rinsed
- 2 cloves garlic, minced
- 3 tablespoons olive oil
- 2 tablespoons lemon juice
- 1/2 teaspoon ground cumin
- Salt to taste
- Water as needed
Instructions
- In a food processor, combine the chickpeas, garlic, olive oil, lemon juice, cumin, and salt.
- Blend until smooth, adding water gradually to reach desired consistency.
- Taste and adjust seasoning if necessary.
- Serve in a bowl, drizzled with olive oil, and enjoy with pita or veggies.
Notes
- This recipe omits tahini for a lighter version.
- Store leftovers in an airtight container in the fridge for up to 5 days.
- Feel free to add spices like paprika or cayenne for extra flavor.
Nutrition
- Serving Size: 2 tablespoons
- Calories: 70
- Sugar: 1g
- Sodium: 120mg
- Fat: 4g
- Saturated Fat: 0.5g
- Unsaturated Fat: 3.5g
- Trans Fat: 0g
- Carbohydrates: 6g
- Fiber: 2g
- Protein: 2g
- Cholesterol: 0mg
Keywords: Hummus, Chickpea dip, Vegan spread