
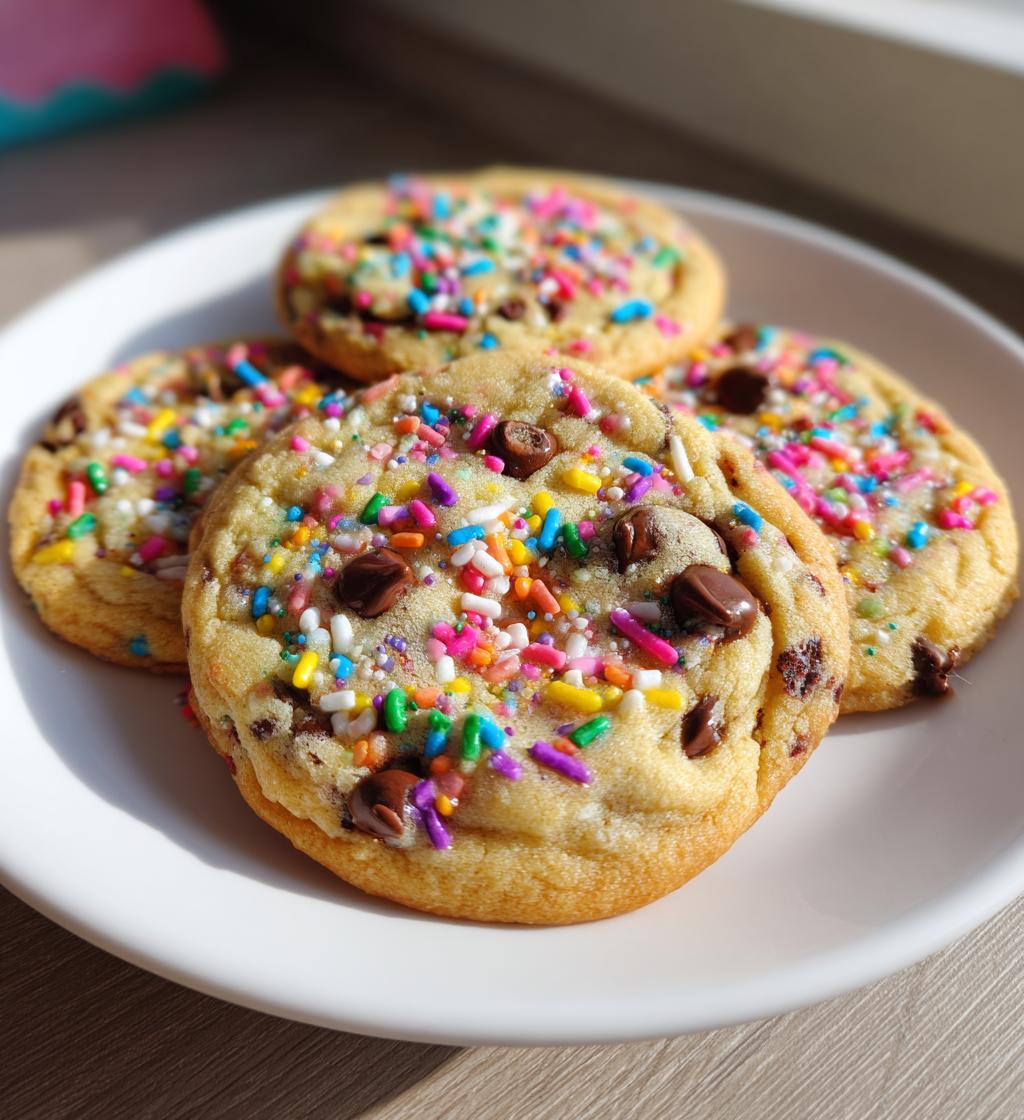
Oh, the joy of making Easter treats! There’s something so magical about whipping up a batch of cookies that are not only delicious but also bursting with color and cheer. I always look forward to this time of year when I can gather my family around the kitchen, and we all get to sprinkle a little love into our baking. This recipe for Easter treats is simple, fun, and perfect for all ages to enjoy. Trust me, the combination of chocolate chips and colorful sprinkles will make your heart sing with springtime delight! Plus, they come together so quickly that you’ll have plenty of time to enjoy the fun of decorating and sharing. Let’s dive in and create some sweet memories together!
Ingredients List
- 2 cups of all-purpose flour
- 1 cup of granulated sugar
- 1/2 cup of unsalted butter, softened
- 2 large eggs
- 1 teaspoon of vanilla extract
- 1 teaspoon of baking powder
- 1/2 teaspoon of salt
- 1 cup of semi-sweet chocolate chips
- 1 cup of colorful sprinkles
How to Prepare Easter Treats
Step 1 – Preheat the Oven
First things first, let’s get that oven ready! Preheat it to 350°F (175°C). This step is super important because it ensures our cookies bake evenly. A hot oven helps them rise just right and gives them that lovely golden color!
Step 2 – Cream Butter and Sugar
In a large bowl, cream together the softened butter and granulated sugar until it’s smooth and fluffy. I like to use a hand mixer for this, but you can definitely do it by hand if you’re feeling strong! The mixture should be light in color and have that lovely creamy texture that makes your mouth water.
Step 3 – Add Eggs and Vanilla
Next, crack in the eggs and pour in the vanilla extract. Mix everything together until it’s well combined. You want to make sure there are no streaks of egg left behind. This step adds a delightful richness to our dough!
Step 4 – Combine Dry Ingredients
Now it’s time for the dry ingredients. In a separate bowl, whisk together the all-purpose flour, baking powder, and salt. This helps to evenly distribute the baking powder so our cookies rise beautifully.
Step 5 – Mix Wet and Dry Ingredients
Gradually add the dry mixture to the wet ingredients. I like to do this in thirds, mixing gently until everything is just combined. Don’t overmix—this will keep our cookies tender and delicious!
Step 6 – Fold in Chocolate Chips and Sprinkles
Now comes the fun part! Gently fold in those semi-sweet chocolate chips and colorful sprinkles. I usually do this with a spatula, ensuring they get evenly distributed throughout the dough without breaking them up too much. The sprinkles will add a joyful pop of color!
Step 7 – Form the Cookies
Using a spoon or cookie scoop, drop generous spoonfuls of dough onto a baking sheet lined with parchment paper. Make sure to leave some space between each cookie, as they will spread a little while baking. Trust me, they need their room to shine!
Step 8 – Bake
Pop the baking sheet into the oven and let them bake for about 10-12 minutes. Keep an eye on them! You want them to be golden around the edges but still soft in the center. They’ll firm up a bit as they cool, so don’t worry if they seem a tad underbaked.
Step 9 – Cool Before Serving
Once out of the oven, let the cookies cool on the baking sheet for a few minutes before transferring them to a wire rack. Cooling is essential, as it helps them set up perfectly. Plus, it gives you a moment to enjoy that heavenly aroma that fills your kitchen!
Nutritional Information
Now, let’s talk about the nutritional side of these delightful Easter treats! Each cookie is not just a burst of flavor, but it also packs a bit of everything you need to keep that energy up for all the holiday fun. Here’s the typical nutritional breakdown per cookie:
- Calories: 150
- Fat: 7g
- Saturated Fat: 4g
- Unsaturated Fat: 2g
- Trans Fat: 0g
- Cholesterol: 30mg
- Sodium: 50mg
- Carbohydrates: 20g
- Fiber: 1g
- Sugar: 10g
- Protein: 2g
Keep in mind that these values are estimates, so they might vary a bit depending on the exact ingredients you use. But hey, who can resist a little indulgence during the holiday season? Enjoy every delicious bite!
Tips for Success
When it comes to making these delightful Easter treats, a few simple tips can really elevate your cookie game! First off, always keep an eye on your cookies as they bake. The oven time can vary a bit based on your oven’s personality, so start checking at the 10-minute mark. You want those edges to be just golden while the centers remain soft and gooey.
Also, if you like your cookies a bit chewy, underbake them by a minute or two. They’ll continue to firm up as they cool, and trust me, that perfect chewiness is worth it! And don’t be afraid to experiment with different types of chocolate—dark chocolate, white chocolate, or even peanut butter chips can add a fun twist to your Easter treats.
Lastly, if you’re making these for a crowd, consider doubling the batch! They disappear faster than you can say “Easter bunny.” Just remember to adjust your baking sheets and oven space accordingly. Happy baking!
Variations on Easter Treats
Oh, the possibilities are endless when it comes to customizing these Easter treats! If you’re feeling adventurous, you can easily switch things up and create a whole new flavor experience. Here are some fun ideas to get your creativity flowing:
- Chocolate Variety: Instead of using just semi-sweet chocolate chips, try mixing in some dark chocolate or white chocolate chips. You can even use a combination for a delightful surprise in every bite!
- Nutty Goodness: For those who love a little crunch, fold in some chopped nuts like walnuts or pecans. They add a fantastic texture and flavor that complements the sweetness of the cookies.
- Fruit Infusion: Toss in some dried cranberries or chopped apricots for a fruity twist. They bring a nice tartness that balances out the sweetness perfectly!
- Spice it Up: Feeling a bit festive? Add a teaspoon of cinnamon or nutmeg to the dry ingredients for a warm, cozy flavor that’s just right for the season.
- Holiday Themes: Change up the sprinkles to match different holidays or occasions! Use pastel colors for Easter, or red and green for Christmas. It’s a great way to make your treats even more festive!
Feel free to mix and match these ideas to create your own signature Easter treats. The best part? You can experiment every year and keep it fresh and exciting. So, gather those ingredients and let your imagination run wild!
Storage & Reheating Instructions
Once you’ve baked up these delightful Easter treats, you might be wondering how to keep them fresh for as long as possible. Trust me, you’ll want to savor every last cookie! To store your leftovers, simply place them in an airtight container at room temperature. They’ll stay fresh for about 3-5 days, but I bet they won’t last that long in your house!
If you need to keep them longer, you can freeze these cookies too! Just make sure they’re completely cooled down first. Then, wrap each cookie tightly in plastic wrap or place them in a freezer-safe bag. They can be frozen for up to 2 months. When you’re ready to enjoy them, simply thaw them overnight in the fridge and let them come to room temperature before biting in.
For reheating, give them a little warmth to bring back that freshly-baked goodness. Just pop them in the microwave for about 10-15 seconds, or if you prefer, warm them up in a preheated oven at 350°F (175°C) for about 5 minutes. This will help revive that chewy texture and melt those chocolate chips just a bit. Yum!
Why You’ll Love This Recipe
This recipe for Easter treats is a total winner for so many reasons! First off, it’s incredibly quick and easy to whip up, making it perfect for busy holiday preparations. You can have a batch of warm, gooey cookies ready in just about 30 minutes—how awesome is that? Plus, the whole family can get involved in the fun! Kids love rolling up their sleeves and adding colorful sprinkles, and it’s a great way to create lasting memories together in the kitchen.
Not to mention, these cookies are super versatile! You can mix and match ingredients to suit everyone’s taste, whether you’re a chocolate lover or a fan of fruity flavors. And let’s not forget about the cheerful look of these cookies—just the sight of them brings a smile to your face and a little bit of springtime joy into any gathering. You’ll find that they’re not just treats; they’re a delightful way to celebrate the season and share happiness with loved ones. Trust me, once you make these, they’ll become a cherished family tradition for years to come!
FAQ Section
Can I use gluten-free flour for these Easter treats?
Absolutely! You can substitute all-purpose flour with a 1:1 gluten-free baking blend. It works just as well, and you’ll still get those delightful cookies without any gluten!
What can I do if my dough is too sticky?
If your dough is a bit too sticky to handle, don’t worry! Just sprinkle a little extra flour on your hands and the work surface. This will help you scoop and shape the cookies without too much mess.
How can I make these Easter treats more festive?
Oh, I love this question! You can use themed sprinkles or even add a few drops of food coloring to the dough for a pastel effect. It’s a fun way to bring out the holiday spirit in your cookies!
Can I make the dough ahead of time?
Yes, you can! Just prepare the dough, wrap it tightly in plastic wrap, and refrigerate it for up to 2 days. When you’re ready to bake, just scoop and bake as usual. This makes it super convenient for busy Easter preparations!
What should I do if my cookies turn out too flat?
Flat cookies can happen sometimes! Make sure your butter is softened but not melted, and check that your baking powder is fresh. Also, chilling the dough for about 30 minutes before baking can help them hold their shape better!
For more tips on baking cookies, you can check out King Arthur Baking’s guide on cookies.
Print
Easter treats that spark joy in 30 minutes or less
- Prep Time: 15 minutes
- Cook Time: 12 minutes
- Total Time: 27 minutes
- Yield: 24 cookies 1x
- Category: Dessert
- Method: Baking
- Cuisine: American
- Diet: Vegetarian
Description
Delicious Easter treats for everyone.
Ingredients
- 2 cups of all-purpose flour
- 1 cup of sugar
- 1/2 cup of butter
- 2 eggs
- 1 teaspoon of vanilla extract
- 1 teaspoon of baking powder
- 1/2 teaspoon of salt
- 1 cup of chocolate chips
- 1 cup of colorful sprinkles
Instructions
- Preheat your oven to 350°F (175°C).
- In a bowl, cream together butter and sugar until smooth.
- Add eggs and vanilla extract, mix well.
- In another bowl, combine flour, baking powder, and salt.
- Gradually add the dry ingredients to the wet mixture.
- Fold in chocolate chips and sprinkles.
- Drop spoonfuls of dough onto a baking sheet.
- Bake for 10-12 minutes or until golden.
- Let cool before serving.
Notes
- Store treats in an airtight container.
- Use different types of chocolate for variety.
- Add nuts for extra crunch.
Nutrition
- Serving Size: 1 cookie
- Calories: 150
- Sugar: 10g
- Sodium: 50mg
- Fat: 7g
- Saturated Fat: 4g
- Unsaturated Fat: 2g
- Trans Fat: 0g
- Carbohydrates: 20g
- Fiber: 1g
- Protein: 2g
- Cholesterol: 30mg
Keywords: Easter treats, cookies, dessert