
Oh my goodness, I absolutely adore decorating Easter eggs! There’s something so magical about turning plain eggs into vibrant little works of art that scream springtime joy. It’s all about creating those easter aesthetic eggs that bring a festive atmosphere to our tables and homes. I remember as a kid, the excitement of diving into the dye, mixing colors, and trying out wild patterns. It’s a tradition that just gets better with each passing year! Plus, it’s such a fun activity to share with family and friends—everyone can get involved, and trust me, the laughter and creativity that fill the room are simply priceless. So, grab your supplies and let’s get ready to create some beautiful, colorful eggs that will be the centerpiece of your Easter celebration!
Ingredients List
Here’s what you’ll need to get those gorgeous easter aesthetic eggs ready for decorating! Each ingredient plays a vital role in making your eggs come to life, so let’s dive in:
- 10 large eggs: These are your canvas! Make sure they’re fresh and clean before starting.
- 1 cup white vinegar: This helps the dye stick to the eggs and gives them that beautiful color. Don’t skip this step!
- 1 cup water: Along with the vinegar, this will be the base for your dye. It’s simple, but it works wonders.
- Food coloring: You can use liquid or gel food coloring—both will give you vibrant hues. Get creative and mix colors for unique shades!
- 2 tablespoons vegetable oil: This is the secret ingredient for that lovely shiny finish. It makes your eggs look polished and professional!
Trust me, once you gather these ingredients, you’ll be one step closer to creating beautiful Easter eggs that everyone will admire. Let’s get to it!
How to Prepare Instructions
Now that we’ve got our ingredients sorted, it’s time to get those eggs ready for a transformation! Follow these simple steps, and you’ll be amazed at how quickly you can create those stunning easter aesthetic eggs.
Step 1: Boil the Eggs
First things first—let’s boil those eggs! Place your large eggs in a pot, cover them with cold water, and bring it to a rolling boil over medium-high heat. Once it bubbles, cover the pot and turn off the heat. Let them sit for about 10 minutes. This method ensures perfectly cooked eggs—no green rings around the yolks here, my friend!
Step 2: Cool the Eggs
After the timer goes off, it’s time to cool those eggs down. Carefully transfer them to a bowl of ice water. Let them sit for about 5-10 minutes until they’re completely cool. This step is super important because you don’t want to dye warm eggs; it could mess with the colors and make things a bit chaotic!
Step 3: Prepare the Dye
Once your eggs are cool, let’s whip up some dye! In separate bowls, mix 1 cup of white vinegar with 1 cup of water for each color you want to create. Then, add your food coloring. Start with about 10 drops and stir until you get your desired color. Feel free to mix colors for a fun twist—this is where your creativity can really shine!
Step 4: Dye the Eggs
Time to dip! Grab your cooled eggs and gently lower them into the dye. You can leave them in for a few seconds for a light color or a few minutes for a deeper shade. Be careful not to overcrowd the dye; let each egg soak up the color and get that beautiful hue! And if you want to get fancy, try using a spoon to create patterns while they’re submerged. How fun is that?
Step 5: Dry the Eggs
Once you’ve dyed your eggs, they need a little time to dry. Place them on a drying rack or an egg carton, ensuring they’re spaced out. Let them sit for at least 30 minutes. This is the perfect time to admire your handiwork and see how vibrant those colors turned out!
Step 6: Add Shine
Now for the final touch—let’s make those eggs shine! Take a paper towel and dip it in the vegetable oil. Gently rub it over the surface of each egg. This will give them a gorgeous glossy finish that makes them look professional! Trust me, this step is worth it for that wow factor.
Tips for Success
Before you dive into your egg-decorating adventure, here are some of my favorite tips to ensure your easter aesthetic eggs turn out absolutely stunning!
- Use gloves: This is a game changer! Trust me, you don’t want your hands stained with vibrant dye. It makes clean-up easier and keeps your fingers from looking like a rainbow!
- Experiment with colors: Don’t be afraid to mix colors or try out different patterns! You can create ombre effects by dipping the eggs partially into the dye or using rubber bands for cool stripes. Let your creativity run wild!
- Test your dye: If you’re unsure about the color intensity, do a quick test with a spare egg. It’s always better to practice with one before committing to your final masterpiece.
- Different techniques: Try using a spoon to create swirls, or even a straw for speckled effects! You can blow through the straw to splatter dye on the eggs for a fun and artsy touch.
- Patience is key: Allow your eggs to dry fully before applying any oil or handling them too much. This helps preserve those beautiful colors and prevents smudging!
- Store wisely: After decorating, keep your eggs in a cool place to maintain their vibrancy. Avoid direct sunlight, which can fade those beautiful colors over time.
With these tips in mind, you’re all set to create some gorgeous Easter eggs that will impress everyone at your celebration. Happy decorating!
Nutritional Information
Curious about what’s in those beautifully decorated eggs? Here’s the nutritional breakdown for one of your fabulous Easter aesthetic eggs. It’s always good to know what you’re working with, right?
- Serving Size: 1 egg
- Calories: 70
- Fat: 5g
- Saturated Fat: 1.5g
- Unsaturated Fat: 3.5g
- Trans Fat: 0g
- Cholesterol: 186mg
- Sodium: 70mg
- Carbohydrates: 1g
- Fiber: 0g
- Sugar: 0g
- Protein: 6g
These nutritional values make your decorated eggs not only a delightful treat but also a good source of protein! So, indulge in your creative endeavors without feeling guilty—after all, Easter is all about joy and celebration!
Why You’ll Love This Recipe
- Quick and Easy: You can whip up these beautiful easter aesthetic eggs in just 25 minutes! Perfect for when you want to add some flair to your holiday without spending all day in the kitchen.
- Fun for Everyone: This is such a great activity for family and friends. Kids and adults alike will enjoy getting creative and decorating their own eggs!
- Customizable: The possibilities are endless! With just a few colors, you can create unique designs that reflect your personal style or match your holiday decor.
- Budget-Friendly: Decorating eggs is a cost-effective way to celebrate Easter without breaking the bank. Plus, you get to enjoy the eggs afterward!
- Beautiful Centerpiece: Once you’re done, you’ll have a stunning collection of colorful eggs to showcase. They’ll add a festive touch to your table or home decor.
- Tradition Meets Creativity: This recipe blends the joy of tradition with a fun, artistic twist. You’re not just following a recipe; you’re making memories!
Trust me, once you dive into this egg-decorating adventure, you’ll see just how delightful and fulfilling it is to create your own Easter masterpieces. Enjoy the process and let your creativity shine!
FAQ Section
Got questions about decorating Easter eggs? Don’t worry, I’ve got you covered! Here are some of the most common queries I get, along with my best answers. Let’s dive in!
Can I use raw eggs for decorating?
While you can technically use raw eggs, I highly recommend using hard-boiled eggs instead. This way, you get to enjoy your beautiful creations without any worries about spoilage. Plus, boiled eggs are much easier to handle and decorate!
How do I prevent the dye from fading?
To keep your colors vibrant, store your decorated eggs in a cool, dark place. Avoid direct sunlight, which can fade those beautiful hues over time. If you’re displaying them, try to keep them in a shaded area!
What if I don’t have food coloring?
No problem! You can use natural dyes made from fruits and vegetables, like beet juice for pink or turmeric for yellow. It might take a little extra effort, but it’s a fun way to experiment with colors and get creative! Natural food coloring can be a great alternative!
How long do decorated eggs last?
Generally, decorated eggs can last about a week in the fridge if you used hard-boiled eggs. Just remember to handle them gently and keep them in a cool spot to maintain their freshness.
Can I eat the eggs after decorating them?
Absolutely! Just make sure to keep them refrigerated and consume them within a week. It’s a great way to enjoy your artistic efforts while having a tasty snack!
What’s the best way to clean up after dyeing?
Ah, the cleanup! First, it’s a good idea to cover your work surface with newspaper or an old tablecloth to catch any spills. Use warm, soapy water to clean your tools, and for any stubborn stains, a little vinegar can help lift the dye. And remember, gloves are your best friend during this process!
Can I use stickers or tape on the eggs?
Yes! Stickers and tape can add some fun designs and patterns to your eggs. Just be careful when dyeing; you might want to apply them after the dyeing process for the best results.
Hopefully, these answers help you feel more prepared for your egg-decorating adventure! Enjoy the process, and let your creativity run wild as you make those stunning easter aesthetic eggs!
Print
Easter Aesthetic Eggs: 6 Steps to Stunning Decor
- Prep Time: 15 minutes
- Cook Time: 10 minutes
- Total Time: 25 minutes
- Yield: 10 decorated eggs 1x
- Category: Dessert
- Method: Boiling and dyeing
- Cuisine: American
- Diet: Vegetarian
Description
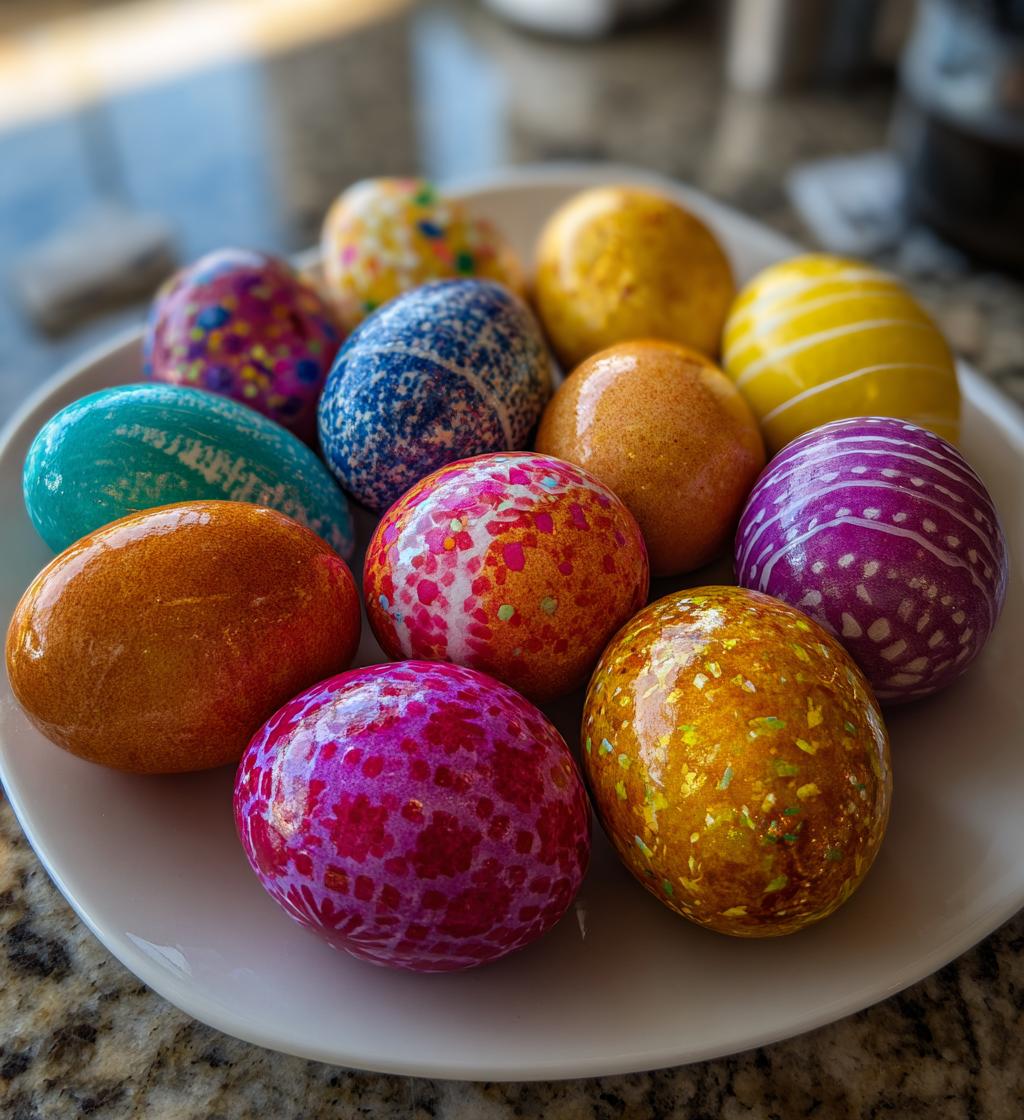
Colorful and decorative Easter eggs for festive celebrations.
Ingredients
- 10 large eggs
- 1 cup white vinegar
- 1 cup water
- Food coloring
- 2 tablespoons vegetable oil
Instructions
- Boil the eggs for 10 minutes.
- Let the eggs cool completely.
- Mix vinegar, water, and food coloring in bowls.
- Dip eggs in the dye for desired color.
- Allow eggs to dry on a rack.
- Apply vegetable oil for shine.
Notes
- Use gloves to prevent staining your hands.
- Store decorated eggs in a cool place.
- Experiment with different colors and patterns.
Nutrition
- Serving Size: 1 egg
- Calories: 70
- Sugar: 0g
- Sodium: 70mg
- Fat: 5g
- Saturated Fat: 1.5g
- Unsaturated Fat: 3.5g
- Trans Fat: 0g
- Carbohydrates: 1g
- Fiber: 0g
- Protein: 6g
- Cholesterol: 186mg
Keywords: Easter, eggs, decoration, festive