
Oh my goodness, let me tell you about this amazing coconut milk ice cream! Seriously, it’s like a creamy, dreamy scoop of paradise that just melts in your mouth. I love making this dairy-free treat because it’s not only super easy, but it also has that rich texture that makes you feel like you’re indulging in something truly special. Honestly, it’s hard to believe it’s vegan! The coconut milk gives it that luscious creaminess, and you can taste the freshness of the ingredients in every bite. You’ll want to whip this up for your next gathering—or just treat yourself after a long day. Plus, it’s a fantastic option for anyone who’s avoiding dairy, so everyone can enjoy a scoop (or two!). Trust me, once you try this coconut milk ice cream, it’ll become your go-to dessert for hot summer days, cozy nights in, or any occasion where you want to impress your friends. You’re going to fall in love!
Why You’ll Love This Recipe
- Quick and easy preparation—just 10 minutes of mixing!
- Rich, creamy texture that rivals traditional ice cream
- Dairy-free and vegan, making it perfect for everyone
- Adjustable sweetness—make it as sweet as you like
- Perfect for hot summer days or cozy nights in
- Versatile base to add your favorite mix-ins or toppings
- Made with simple, wholesome ingredients you can feel good about
- A delicious treat that’s also a guilt-free indulgence
- Great for parties—everyone loves a scoop of homemade ice cream!
Ingredients List
(Tip: You’ll find the full list of ingredients and measurements in the recipe card below.)
- 2 cans of full-fat coconut milk
- 1/2 cup of granulated sugar
- 1 teaspoon of pure vanilla extract
- 1/4 teaspoon of salt
How to Prepare Coconut Milk Ice Cream
Alright, let’s dive into making this luscious coconut milk ice cream! It’s really super simple, so don’t worry if you’ve never made ice cream before. Just follow these easy steps, and you’ll be savoring your own creamy treat in no time!
Mixing the Base
First things first, grab a mixing bowl and toss in those two cans of full-fat coconut milk. You want that rich creaminess to shine through! Then, add in the 1/2 cup of granulated sugar, 1 teaspoon of pure vanilla extract, and 1/4 teaspoon of salt. Now, here’s the fun part—grab a whisk and stir everything together until the sugar completely dissolves. It might take a minute, but you want a smooth mixture that’s perfectly blended. And trust me, the aroma of vanilla mixed with coconut is absolutely heavenly!
Churning the Ice Cream
Once your base is smooth and ready, it’s time to pour that goodness into your ice cream maker. Follow the manufacturer’s instructions for churning—most machines will take about 20-30 minutes. You’ll know it’s ready when it starts to thicken up and has a soft-serve texture. If you like it a bit firmer, you can let it churn a little longer, but be careful not to overdo it! The texture should be creamy and just a touch fluffy—oh, it’s so exciting watching it come together!
Freezing for Perfection
Now, transfer your churned ice cream into a suitable container, making sure to smooth the top down. Cover it tightly with a lid or some plastic wrap, and pop it in the freezer for at least 4 hours. This step is crucial because it allows the ice cream to firm up properly. After about 4 hours, check the consistency by scooping a little out—if it’s nice and firm yet still creamy, you’re ready to dig in! If it’s too soft, just give it a bit more time in the freezer. Enjoy the anticipation; it’ll be worth the wait!
Tips for Success
Now that you’re ready to make your own coconut milk ice cream, here are some pro tips to ensure it turns out perfectly every time! First off, always opt for full-fat coconut milk—this is key for that luxurious creaminess. I love using brands that have a good reputation for quality, as it really makes a difference in both flavor and texture.
Next, don’t be shy about adjusting the sugar! Taste the mixture before churning to find that sweet spot that suits your palate. If you’re feeling adventurous, you can even add a splash of coconut extract for an extra boost of flavor.
When it comes to storage, be sure to keep your ice cream in an airtight container to prevent ice crystals from forming. If you notice it starting to harden too much, just let it sit at room temperature for a few minutes before scooping. Trust me, these little tips will help you achieve that perfect scoop every time!
Nutritional Information
Before you dive into this delightful coconut milk ice cream, it’s good to know that nutritional values can vary based on the specific ingredients and brands you choose. The values below are approximate and based on a typical serving size of 1/2 cup.
- Calories: 200
- Fat: 18g
- Saturated Fat: 15g
- Unsaturated Fat: 3g
- Trans Fat: 0g
- Carbohydrates: 15g
- Fiber: 0g
- Sugar: 10g
- Protein: 2g
- Sodium: 50mg
- Cholesterol: 0mg
Always remember to check your specific ingredients for the most accurate nutritional information, especially if you’re keeping an eye on certain dietary needs. Enjoy your creamy treat, guilt-free!
FAQ Section
Can I use low-fat coconut milk?
While you can use low-fat coconut milk, it might affect the creaminess and texture of your ice cream. Full-fat coconut milk provides that rich, velvety feel that makes this dessert so indulgent. If you go for low-fat, just keep in mind that the ice cream may end up a bit icier and less smooth. But hey, if it’s what you have on hand, give it a try!
How long does it last in the freezer?
Your homemade coconut milk ice cream can last in the freezer for about 1 to 2 weeks if stored properly in an airtight container. Just make sure to keep it tightly sealed to prevent ice crystals from forming, which can ruin that lovely texture. If you find it’s getting a bit too hard, let it sit at room temperature for a few minutes before scooping!
What can I add to the recipe?
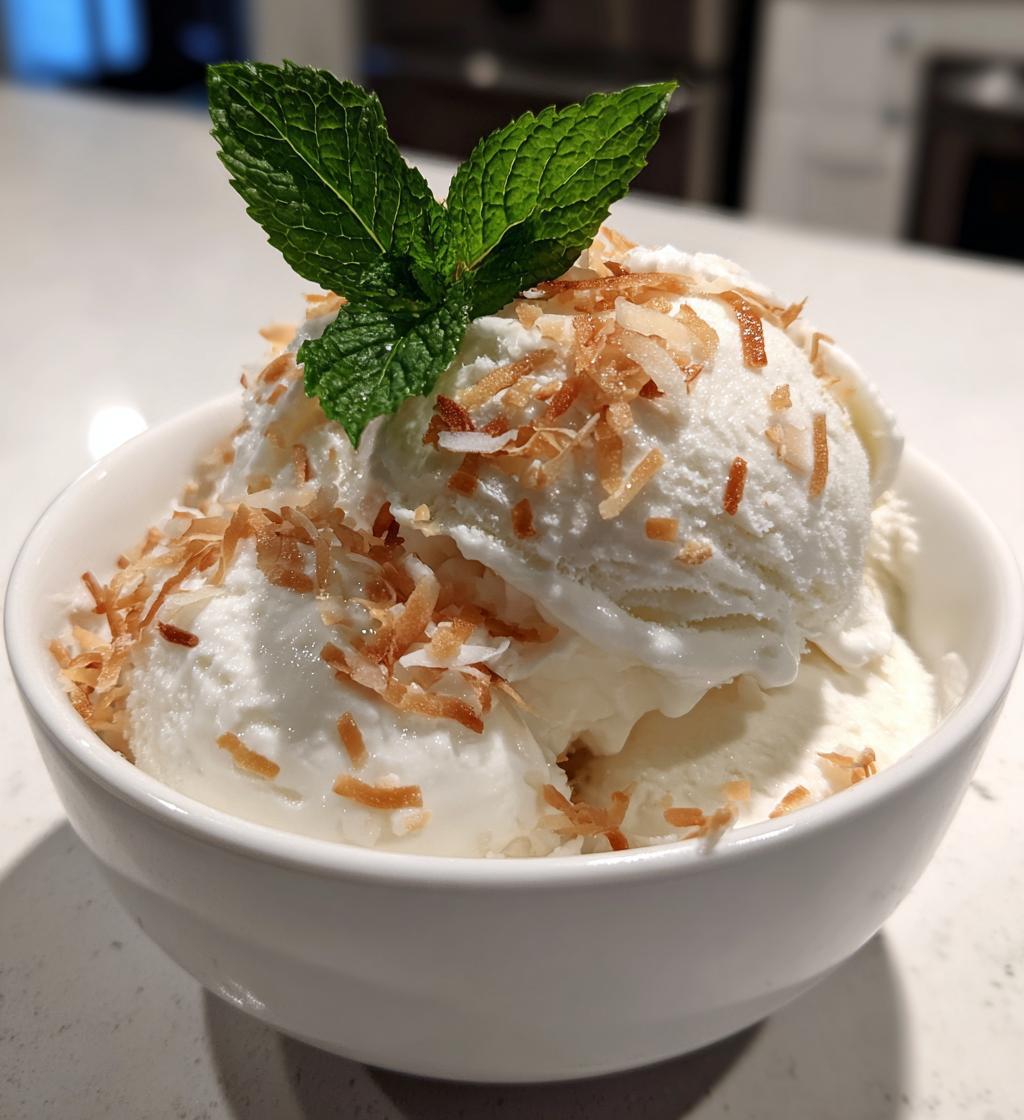
The possibilities are endless! You can mix in some chocolate chips, shredded coconut, or fresh fruit for a fun twist. Feeling adventurous? Try adding a swirl of peanut butter or a hint of coffee for a flavor boost. You could even play with spices like cinnamon or nutmeg for a cozy vibe. Just remember to keep the total volume consistent so your ice cream churns perfectly!
Serving Suggestions
Oh, let me tell you, this coconut milk ice cream is just begging to be paired with some delicious accompaniments! For a refreshing twist, serve it alongside fresh tropical fruits like mango, pineapple, or berries. The contrast of flavors is just divine! You could also drizzle some rich chocolate sauce or homemade caramel over the top for an indulgent treat that’ll impress anyone. And if you’re feeling fancy, scoop it into a warm chocolate brownie or pie crust for a decadent dessert experience. Seriously, there’s no wrong way to enjoy this ice cream—get creative and have fun with it!
For more delicious dessert recipes, check out our recipe collection!
Additionally, if you’re interested in the health benefits of coconut milk, you can learn more from Healthline.
Print
Delicious Coconut Milk Ice Cream: A Comforting 4-Ingredient Treat
- Prep Time: 10 minutes
- Cook Time: 0 minutes
- Total Time: 4 hours 10 minutes
- Yield: 4 servings 1x
- Category: Dessert
- Method: Churning
- Cuisine: Vegan
- Diet: Vegan
Description
A smooth and creamy coconut milk ice cream that’s dairy-free and delicious.
Ingredients
- 2 cans of coconut milk
- 1/2 cup of sugar
- 1 teaspoon of vanilla extract
- 1/4 teaspoon of salt
Instructions
- In a mixing bowl, combine coconut milk, sugar, vanilla extract, and salt.
- Whisk until the sugar is dissolved.
- Pour the mixture into an ice cream maker.
- Churn according to the manufacturer’s instructions.
- Transfer to a container and freeze for at least 4 hours.
Notes
- Use full-fat coconut milk for creaminess.
- Adjust sugar to taste.
- Store in an airtight container.
Nutrition
- Serving Size: 1/2 cup
- Calories: 200
- Sugar: 10g
- Sodium: 50mg
- Fat: 18g
- Saturated Fat: 15g
- Unsaturated Fat: 3g
- Trans Fat: 0g
- Carbohydrates: 15g
- Fiber: 0g
- Protein: 2g
- Cholesterol: 0mg
Keywords: coconut milk ice cream, dairy-free ice cream, vegan dessert