
Ah, Christmas! It’s that magical time of year when the air is filled with the scent of pine, and homes are aglow with twinkling lights. One of my fondest traditions is baking Christmas sugar cookies decorated with icing and sprinkles. There’s something so special about gathering with loved ones, rolling out the dough, and letting our creativity run wild as we decorate each cookie. These cookies are not just a treat; they’re a canvas for festive expressions! This recipe is super easy, making it perfect for anyone, whether you’re a seasoned baker or just starting out. Trust me, the joy of seeing those beautifully decorated cookies come to life is unmatched. Plus, they make for delightful gifts or sweet additions to your holiday table. Let’s dive in and create some edible magic together!
Ingredients for Christmas Sugar Cookies Decorated
- 2 3/4 cups all-purpose flour
- 1 teaspoon baking soda
- 1/2 teaspoon baking powder
- 1 cup unsalted butter, softened
- 1 1/2 cups white sugar
- 1 large egg
- 1 teaspoon vanilla extract
- 3 to 4 tablespoons milk, as needed
- Royal icing for decoration
- Sprinkles for decoration
How to Prepare Christmas Sugar Cookies Decorated
Prepping the Dough
Let’s get this cookie party started! First, preheat your oven to 375°F (190°C) while you gather your ingredients. In a mixing bowl, combine the flour, baking soda, and baking powder—this is your dry mix. In another bowl, beat the softened butter and white sugar together until it’s light and fluffy; this step is key for that melt-in-your-mouth texture. Now, add in the egg and vanilla extract, and mix until everything’s well combined. Gradually blend in your dry ingredients—don’t rush this part! If the dough feels too crumbly, just add a tablespoon of milk at a time until it forms a soft, manageable dough. This is the moment you’re going to want to taste a little bit—just a tiny bit, of course!
Shaping and Baking
Now comes the fun part! On a floured surface, roll out your dough to about 1/4 inch thick. If it’s sticking, don’t be shy with the flour! Use your favorite cookie cutters to cut out shapes—think stars, trees, or even gingerbread men. Place these on ungreased cookie sheets, giving them a little space to spread. Bake them in the oven for about 8 to 10 minutes, but keep an eye on them! You want golden edges but still soft centers. When they’re done, let them cool on the sheets for a few minutes before transferring them to wire racks. This cooling time is crucial, so resist the urge to dive in just yet!
Decorating the Cookies
Once your cookies are completely cooled, it’s time to unleash your inner artist! Prepare your royal icing as per the instructions, and grab those sprinkles. I like to use a piping bag for precision, but a simple zip-top bag with a corner snipped off works just as well. Decorate your cookies with icing—don’t hold back! Let each cookie dry completely before stacking them up; this can take a couple of hours. If you’re feeling adventurous, experiment with different colors and patterns—no two cookies need to look the same! The joy of decorating is just as sweet as the cookies themselves, so enjoy every moment of it!
Nutritional Information for Christmas Sugar Cookies Decorated
Now, I have to tell you that the nutritional information can vary quite a bit based on the specific brands and ingredients you use. So, while I can’t give you exact numbers, I can share some estimated values for these delightful treats. Each cookie is roughly:
- Calories: 150
- Fat: 7g
- Saturated Fat: 4g
- Trans Fat: 0g
- Sodium: 50mg
- Carbohydrates: 20g
- Fiber: 0g
- Sugar: 10g
- Protein: 2g
- Cholesterol: 20mg
Remember, these values are just rough estimates, so if you’re counting macros or calories, it’s always a good idea to double-check based on what you’ve got in your pantry. Now, let’s not get too caught up in the numbers—just enjoy the cookies and all the joy they bring to your holiday celebrations!
Tips for Success
Alright, let’s make sure your Christmas sugar cookies turn out absolutely perfect! Here are some of my favorite tips to help you succeed:
- Use the Right Flour: Always go for all-purpose flour. It gives your cookies that classic texture we all love. If you want to experiment, a bit of cake flour mixed in can add a lighter touch!
- Room Temperature Butter: Make sure your butter is softened at room temperature for that perfect creaminess. Cold butter can lead to tough cookies, and we definitely don’t want that!
- Chill Your Dough: If your dough feels too soft or sticky, don’t hesitate to chill it for about 30 minutes. This helps with rolling out and cutting shapes, and it can prevent spreading during baking.
- Watch the Baking Time: Keep an eye on your cookies as they bake. Every oven is different, so they might need a minute or two more or less. You want those lovely golden edges without sacrificing the soft centers!
- Let Them Cool: Be patient! Allow your cookies to cool completely on wire racks before decorating. This will ensure the icing doesn’t melt and makes decorating a whole lot easier.
- Storing Your Cookies: Once decorated, store your cookies in an airtight container to keep them fresh. If you’re stacking them, place parchment paper between layers to protect the icing.
- Have Fun with Sprinkles: Don’t be shy with the sprinkles! They’re the finishing touch that brings joy to your cookies—mix and match colors for an extra festive flair.
With these tips in your back pocket, you’re all set to create beautiful, delicious sugar cookies that will wow your family and friends. Happy baking!
Variations on Christmas Sugar Cookies Decorated
Now, if you’re anything like me, you love to get a little creative in the kitchen! These Christmas sugar cookies are the perfect base for experimenting with flavors and decorations. Here are some fun variations to consider:
- Citrus Zest: Add a little zing to your dough by mixing in some grated lemon or orange zest. It brightens up the flavor and gives your cookies a delightful aroma!
- Flavored Icing: Switch things up by adding extracts to your royal icing. Try almond, lemon, or peppermint for a festive twist that complements the sweetness of the cookies.
- Chocolate-Dipped: For a decadent touch, melt some chocolate and dip half of each cooled cookie. You can even sprinkle crushed candy canes or nuts on top while the chocolate is still warm!
- Sprinkle Variety: Get colorful! Use a mix of sprinkles—like holiday-themed shapes, edible glitter, or even colored sanding sugar—to make each cookie unique and festive.
- Nutty Addition: Fold in some finely chopped nuts, like walnuts or pecans, into the dough for added texture and flavor. They pair beautifully with the sweetness of the cookies!
- Stuffed Cookies: Make your cookies even more indulgent by stuffing them with a small piece of chocolate or a dollop of jam before baking. Just be careful not to overfill!
These variations let you personalize your cookies and make them truly your own. So, gather your loved ones, experiment with these ideas, and have a blast decorating! The best part? Each batch will be a delicious surprise for everyone who gets to enjoy them.
Frequently Asked Questions
Can I freeze these cookies? Absolutely! Once your cookies are baked and cooled, you can freeze them in an airtight container for up to three months. Just make sure to separate layers with parchment paper to avoid sticking. When you’re ready to enjoy them, let them thaw at room temperature, and then decorate!
How should I store decorated cookies? After decorating, let the icing dry completely. Then, store your cookies in an airtight container at room temperature. If you need to stack them, use parchment paper between layers to keep the icing intact. They’ll stay fresh for about a week—if they last that long!
What if my dough is too sticky? If your dough feels sticky and hard to work with, don’t panic! Just sprinkle a little extra flour on your work surface and rolling pin as you roll it out. Alternatively, you can chill the dough for about 30 minutes to make it easier to handle.
Can I use a different type of icing? Of course! While royal icing is traditional, you can use buttercream or glaze if you prefer a softer texture or different flavor. Just keep in mind that the drying time will vary with different icings, so plan accordingly!
How can I make my cookies more festive? Get creative with your decorations! Use a mix of sprinkles, edible glitter, or even colored sugar. You can also try different shapes and colors for the icing to match your holiday theme. The more colorful and varied, the merrier!
What should I do if my cookies spread too much while baking? If your cookies spread out and lose their shape, it could be that your dough is too warm. Make sure to chill the dough for at least 30 minutes before rolling it out. Also, ensure that your baking sheets are ungreased as greased sheets can lead to spreading.
Is there a way to make these cookies healthier? If you’re looking to lighten things up a bit, you can substitute some of the butter with applesauce or a light margarine. You can also use whole wheat flour instead of all-purpose flour for added fiber. Just keep in mind that it might change the texture a bit!
Why You’ll Love This Recipe
Let me tell you why these Christmas sugar cookies decorated with icing and sprinkles are a total game-changer! First off, they’re incredibly easy to whip up, making them perfect for bakers of all levels. Seriously, even if you’ve never baked a cookie before, you’ll find the steps simple and straightforward. Plus, the joy of rolling out dough and cutting it into festive shapes is like a warm hug for your holiday spirit!
Another reason to love this recipe? The versatility! You can customize these cookies in so many ways—switch up the flavors, mix in different extracts, or try out various sprinkles. Each batch can be a unique masterpiece, making it a fun activity for the whole family. Children and adults alike will delight in decorating their creations, and trust me, the laughter and creativity that fills the kitchen are just as sweet as the cookies themselves.
And let’s not forget the satisfaction of sharing these beauties with friends and family! Whether you’re gifting them or serving them at a holiday gathering, these cookies are sure to bring smiles and happy memories. So grab your loved ones, roll up your sleeves, and let’s make some delightful holiday magic together!
Serving Suggestions
When it comes to enjoying your beautifully decorated Christmas sugar cookies, the right accompaniments can really elevate the festive experience! Here are some delightful ideas to consider:
- Warm Beverages: Nothing pairs better with cookies than a steaming cup of hot cocoa or spiced apple cider. The rich chocolate or warm spices will complement the sweetness of the cookies perfectly, making each bite even more comforting.
- Milk: A classic choice! Serve your cookies with a glass of cold milk—it’s a timeless combination that never fails to please. You can even try flavored milks, like chocolate or strawberry, for a fun twist!
- Tea: If you’re looking for something cozy yet sophisticated, a cup of herbal tea or chai can be a lovely pairing. The aromatic spices in chai will harmonize beautifully with the sugary goodness of your cookies.
- Holiday Desserts: If you’re hosting a holiday gathering, why not create a dessert spread? Include your sugar cookies alongside gingerbread men, peppermint bark, or even a classic yule log. It’ll be a feast for both the eyes and the taste buds!
- Fruit Platters: Balance out the sweetness with a fresh fruit platter. Slices of crisp apples, juicy oranges, or festive berries can provide a refreshing contrast to the richness of the cookies.
- Cheese Board: For a more adventurous pairing, try a cheese board with a selection of cheeses, nuts, and dried fruits. The savory flavors can create a delightful balance with the sweetness of your cookies!
These serving suggestions will not only enhance the cookie experience but also bring a festive spirit to your gatherings. So, gather your loved ones, set up a cozy corner with your treats, and enjoy the sweet moments together!
Print
Christmas Sugar Cookies Decorated: 7 Sweet Tips & Tricks
- Prep Time: 30 minutes
- Cook Time: 10 minutes
- Total Time: 40 minutes
- Yield: 24 cookies 1x
- Category: Dessert
- Method: Baking
- Cuisine: American
- Diet: Vegetarian
Description
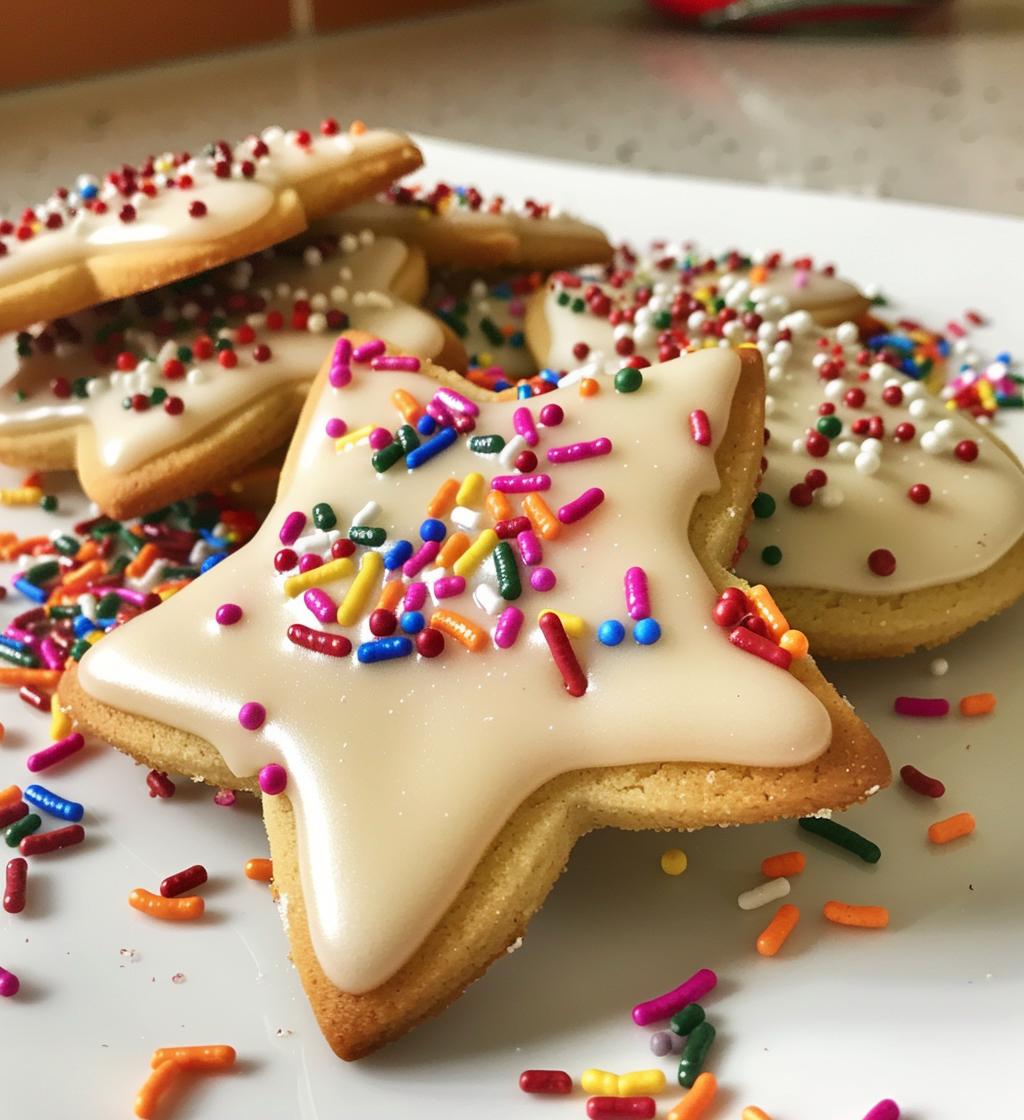
Delicious Christmas sugar cookies decorated with icing and sprinkles.
Ingredients
- 2 3/4 cups all-purpose flour
- 1 teaspoon baking soda
- 1/2 teaspoon baking powder
- 1 cup unsalted butter, softened
- 1 1/2 cups white sugar
- 1 egg
- 1 teaspoon vanilla extract
- 3 to 4 tablespoons milk
- Royal icing for decoration
- Sprinkles for decoration
Instructions
- Preheat the oven to 375°F (190°C).
- In a bowl, mix flour, baking soda, and baking powder.
- In another bowl, cream together butter and sugar until smooth.
- Beat in the egg and vanilla extract.
- Gradually blend in the dry ingredients.
- Add milk as needed to make a soft dough.
- Roll out the dough on a floured surface to 1/4 inch thick.
- Cut into desired shapes and place on ungreased cookie sheets.
- Bake for 8 to 10 minutes, or until golden.
- Let cool before decorating with royal icing and sprinkles.
Notes
- Store cookies in an airtight container.
- Use different shapes for varied designs.
- Let icing dry completely before stacking cookies.
Nutrition
- Serving Size: 1 cookie
- Calories: 150
- Sugar: 10g
- Sodium: 50mg
- Fat: 7g
- Saturated Fat: 4g
- Unsaturated Fat: 2g
- Trans Fat: 0g
- Carbohydrates: 20g
- Fiber: 0g
- Protein: 2g
- Cholesterol: 20mg
Keywords: christmas sugar cookies decorated