
Oh my goodness, let me tell you about the absolute joy of making Cake Pops! These little treats are like tiny bundles of happiness on a stick. Seriously, they’re so much fun to make and even more fun to eat! I’ve whipped these up for birthday parties, holiday gatherings, and even just for a cozy night in. Every time I bring them out, I’m met with smiles and excitement. You can get super creative with flavors and decorations, which is such a blast. Trust me, once you start rolling those cake balls and dipping them in chocolate, you’ll be hooked! They’re not just delicious; they’re also a great way to get everyone involved in the kitchen. So gather your friends or family, and let’s dive into this deliciously fun adventure of Cake Pops!
Ingredients List
Here’s what you’ll need to whip up these delightful Cake Pops! Don’t worry, it’s all super simple and straightforward.
- 1 box cake mix – You can choose any flavor that tickles your fancy! Chocolate, vanilla, or red velvet are all fabulous options.
- 3 eggs – These are essential for binding everything together and giving your cake that perfect rise.
- 1/2 cup vegetable oil – This will keep your cake moist and delicious. You can also use melted butter if you prefer!
- 1 cup water – Just plain old water to mix with your cake mix. It helps create that lovely batter.
- 1 cup frosting – Any kind you adore! I love using buttercream, but cream cheese frosting also works wonders.
- 16 oz chocolate coating – You can go for melting wafers, chocolate chips, or even white chocolate if you’re feeling adventurous!
- Sprinkles (optional) – Because who doesn’t want a little extra color and fun on their Cake Pops? You can get as creative as you like!
How to Prepare Cake Pops
Now, let’s get into the nitty-gritty of making these scrumptious Cake Pops! I promise, once you follow these steps, you’ll be well on your way to creating these adorable treats. Let’s roll up our sleeves and get started!
Step-by-Step Instructions
Preheat and Prepare
First things first, let’s get that oven preheating to 350°F (175°C). While that’s warming up, grab your box of cake mix. Follow the package instructions and mix it all together in a bowl. This usually involves adding your eggs, vegetable oil, and water. Stir until it’s nice and smooth—you don’t want any lumps in there!
Baking the Cake
Pour that beautiful batter into a greased baking pan and pop it in the oven. Bake for about 25-30 minutes, or until a toothpick inserted in the center comes out clean. Once it’s done, take it out and let it cool completely. This is the hardest part—waiting—but I promise it’s worth it!
Crumbling and Mixing
Once your cake has cooled down, it’s crumbling time! Grab a large bowl and crumble the cake into small pieces. You can use your hands or a fork—whatever feels right! Now, add your cup of frosting to the crumbled cake. Mix it all together until it’s well combined. You want it to be moist but not overly sticky. It should hold together nicely when you form it into balls.
Forming Cake Balls
Now, let’s get those hands working! Scoop out small portions of the cake mixture and roll them into balls, about one inch in diameter. Place them on a baking sheet lined with parchment paper. Once you’ve got all your balls formed, pop them in the refrigerator for about 30 minutes to chill. This helps them firm up and makes dipping a breeze!
Melting the Chocolate
While your cake balls are chilling, it’s time to melt the chocolate coating! You can do this in the microwave or using a double boiler on the stove. If you’re using the microwave, heat it in short bursts of 30 seconds, stirring in between until it’s nice and smooth. Just be careful not to overheat it—burnt chocolate is a sad sight!
Dipping and Decorating
Once your chocolate is melted and your cake balls are chilled, it’s dipping time! Take a lollipop stick and dip one end into the melted chocolate before inserting it into the center of a cake ball. This helps hold everything together. Then, dip the entire cake ball into the chocolate coating, letting any excess drip off. If you want to get fancy, sprinkle some decorations on top before the chocolate sets. Once decorated, place the cake pops upright in a styrofoam block or a piece of cardboard to let them set completely. And there you have it—delicious Cake Pops ready to be devoured!
Why You’ll Love This Recipe
Oh boy, where do I even start? Making Cake Pops is just a blast! Here are a few reasons why you’ll fall head over heels for this recipe:
- Quick and Easy: Seriously, you can whip these up in no time! With just a box of cake mix and some frosting, you’re halfway there. It’s perfect for when you need a sweet treat in a hurry.
- Fun to Decorate: This is where the creativity kicks in! You can go wild with all the sprinkles, candies, or edible glitter. It’s like a mini art project that you can eat—what’s not to love?
- Perfect for Any Occasion: Whether it’s a birthday party, a holiday gathering, or just because you want something sweet, Cake Pops fit right in. They’re great for kids and adults alike!
- Customizable: You can easily switch up the flavors, coatings, and decorations. Want chocolate cake with vanilla frosting? Go for it! Feeling adventurous? Try red velvet with cream cheese frosting!
- Great for Sharing: These little treats are perfectly portioned, making them easy to share. You can bring them to potlucks or make them as party favors. Everyone loves a good Cake Pop!
- Kid-Friendly: Get the little ones involved! Rolling the cake balls and decorating them is a fun activity for kids. Trust me, they’ll love being part of the baking magic!
With all these fantastic reasons, you’ll find yourself making Cake Pops again and again. They’re not just a dessert; they’re a delightful experience!
Tips for Success
Before you dive into making your Cake Pops, here are some tried-and-true tips to help you achieve that perfect balance of taste and presentation. Trust me, these little nuggets of wisdom will make all the difference!
- Let the Cake Cool Completely: This is super important! If you try to crumble the cake while it’s still warm, it’ll turn into a gooey mess. Patience is key here—let it cool completely for the best results.
- Use the Right Ratio of Frosting: When mixing in your frosting, start with less and add more as needed. You want the cake mixture to hold together but not be too sticky. It should easily form into balls without falling apart.
- Chill the Cake Balls: Don’t skip the chilling step! This helps the cake balls firm up, making them easier to dip in chocolate. If they’re too soft, they’ll fall off the sticks, and that’s just heartbreaking!
- Be Careful with the Chocolate: When melting your chocolate, keep an eye on it! Chocolate can go from perfectly melted to burnt in seconds. Stir often and use shorter time intervals in the microwave to avoid this mishap.
- Decorate While Wet: Once you’ve dipped the cake pops in chocolate, add your sprinkles and decorations while the coating is still wet. This helps them stick better and gives you that gorgeous finish!
- Use Styrofoam for Easy Drying: To let your Cake Pops set, stick them upright in a styrofoam block or something similar. This keeps the chocolate coating intact and prevents any messy drips.
- Don’t Overcrowd the Baking Sheet: When forming your cake balls, give them some space on the baking sheet. This prevents them from sticking together and makes it easier to dip later.
- Experiment with Flavors: Feel free to mix and match! You can add extracts, like vanilla or almond, to the cake batter for an extra flavor punch. The possibilities are endless!
These tips will help you conquer any challenges you might face while making Cake Pops. With a little practice and these handy secrets, you’ll be a Cake Pop pro in no time!
Nutritional Information
Alright, let’s talk nutrition! Keep in mind that these values are estimates, but here’s a rough breakdown per Cake Pop:
- Calories: 150
- Fat: 7g
- Saturated Fat: 3g
- Trans Fat: 0g
- Cholesterol: 30mg
- Sodium: 30mg
- Carbohydrates: 20g
- Fiber: 1g
- Sugar: 12g
- Protein: 2g
These little treats can definitely satisfy your sweet tooth without going overboard. Just remember, moderation is key, especially when it comes to those delightful toppings! Enjoy your Cake Pops guilt-free, knowing they bring both joy and a little bit of indulgence to your day!
FAQ Section
Got questions about Cake Pops? Don’t worry, I’ve got you covered! Here are some common queries I hear, along with my best answers to help you navigate your Cake Pop journey.
Can I use a different flavor of cake mix?
Absolutely! One of the best things about Cake Pops is their versatility. You can use any flavor of cake mix that you love—chocolate, vanilla, lemon, or even funfetti! The sky’s the limit, so get creative!
How do I store leftover Cake Pops?
To keep your Cake Pops fresh, store them in an airtight container in the refrigerator. They should stay good for about a week. Just make sure they’re not squished together, or you might end up with a bit of a mess!
Can I freeze Cake Pops?
Yes, you can freeze them! Just make sure they’re properly wrapped in plastic wrap or stored in a freezer-safe container. They’ll last for about 2-3 months in the freezer. When you’re ready to enjoy, let them thaw in the fridge overnight.
What can I use for decorating?
Oh, the decorating options are endless! You can use sprinkles, crushed cookies, edible glitter, or even melt some white chocolate and drizzle it on top. Get the kids involved and let them unleash their creativity—it’s a fun way to personalize your Cake Pops!
Do I need to chill the cake balls before dipping?
Yes, definitely! Chilling the cake balls for about 30 minutes helps them firm up, making them easier to dip in chocolate. If they’re too soft, they might fall off the sticks, and that’s no fun!
Can I make Cake Pops without frosting?
While frosting is key for binding the cake together, if you want a healthier option, you could try using yogurt or cream cheese. Just remember, the texture and sweetness might vary a bit, so experiment to find the right balance!
What’s the best way to melt chocolate?
The microwave works great for melting chocolate! Just heat it in short bursts of 30 seconds and stir in between until it’s smooth. If you prefer a double boiler, that works well too. Just be careful not to overheat it—burnt chocolate is a bummer!
Hopefully, these answers help clear up any Cake Pop mysteries you might have! If you have more questions, feel free to ask. Happy baking!
Storage & Reheating Instructions
Now that you’ve got your delicious Cake Pops ready to enjoy, let’s talk about how to keep them fresh and tasty! Storing them properly is key if you want to savor that delightful flavor later on.
First off, to store your leftover Cake Pops, place them in an airtight container. I like to layer them with parchment paper to prevent them from sticking together. They’ll stay fresh in the fridge for about a week, but I bet they won’t last that long once everyone gets a taste!
If you find yourself with a surplus, you can also freeze them! Just wrap each Cake Pop tightly in plastic wrap or store them in a freezer-safe container. They can hang out in the freezer for about 2-3 months. When you’re ready to indulge, just pull them out and let them thaw in the fridge overnight. No need to worry about reheating—Cake Pops are best enjoyed chilled!
So, whether you’re enjoying them fresh or saving them for later, just remember these tips, and you’ll keep the Cake Pop joy going strong!
Print
Cake Pops: 7 Joyful Steps to Sweeten Your Day
- Prep Time: 30 minutes
- Cook Time: 30 minutes
- Total Time: 1 hour 30 minutes
- Yield: 24 cake pops 1x
- Category: Dessert
- Method: Baking and Coating
- Cuisine: American
- Diet: Vegetarian
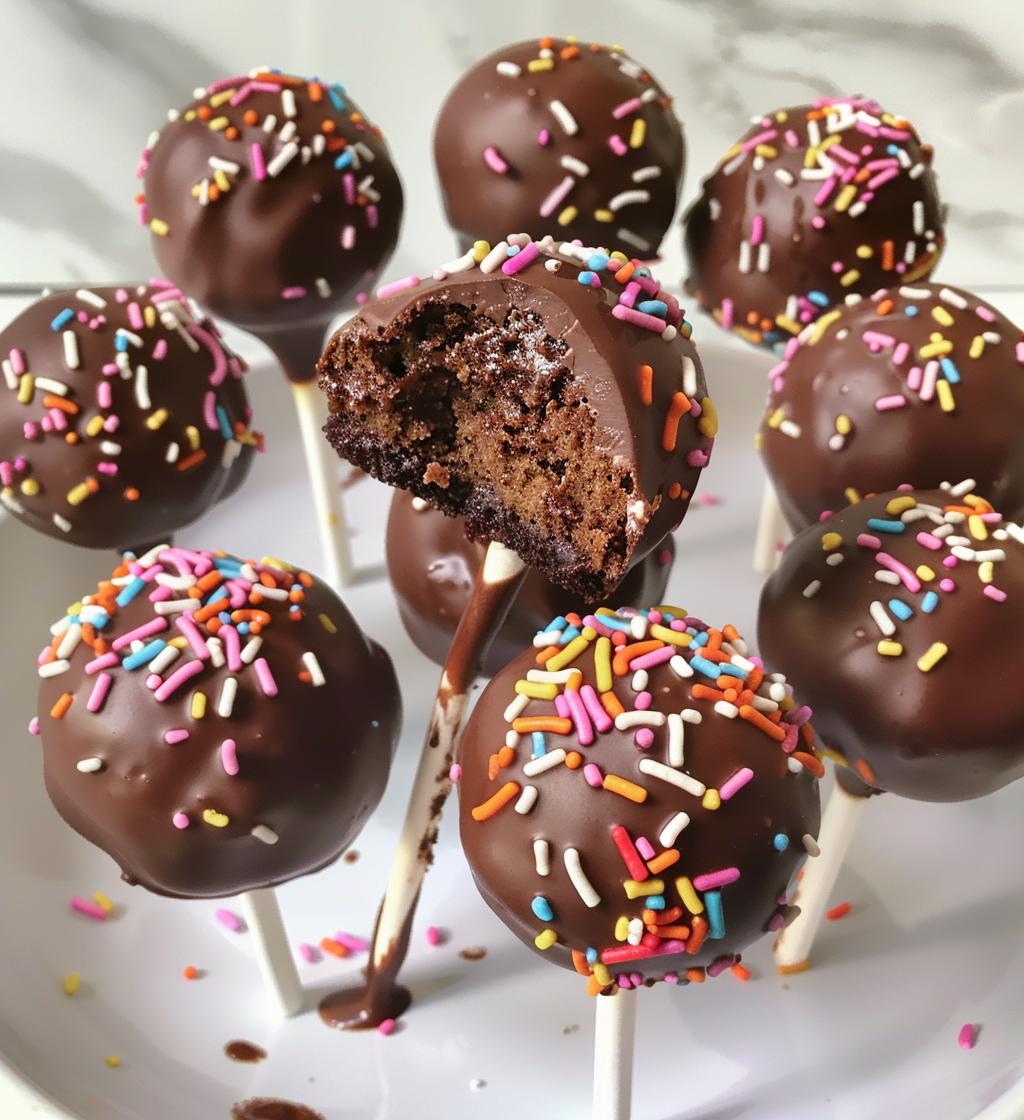
Description
Delicious and fun cake pops coated in chocolate.
Ingredients
- 1 box cake mix
- 3 eggs
- 1/2 cup vegetable oil
- 1 cup water
- 1 cup frosting
- 16 oz chocolate coating
- Sprinkles (optional)
Instructions
- Preheat your oven to 350°F (175°C).
- Prepare the cake mix according to the package instructions.
- Bake the cake for 25-30 minutes.
- Let the cake cool completely.
- Crumble the cooled cake into a large bowl.
- Add frosting to the crumbled cake and mix until combined.
- Form small balls with the mixture and place them on a baking sheet.
- Chill the cake balls in the refrigerator for 30 minutes.
- Melt the chocolate coating in a microwave or double boiler.
- Dip the end of a lollipop stick into the melted chocolate and insert it into a cake ball.
- Dip the cake ball into the chocolate coating, then tap off the excess.
- Decorate with sprinkles if desired.
- Place the cake pops upright in a styrofoam block to set.
Notes
- Use any flavor of cake mix you prefer.
- Store cake pops in the refrigerator.
- Get creative with decorations.
Nutrition
- Serving Size: 1 cake pop
- Calories: 150
- Sugar: 12g
- Sodium: 30mg
- Fat: 7g
- Saturated Fat: 3g
- Unsaturated Fat: 4g
- Trans Fat: 0g
- Carbohydrates: 20g
- Fiber: 1g
- Protein: 2g
- Cholesterol: 30mg
Keywords: Cake Pops, Dessert, Chocolate