
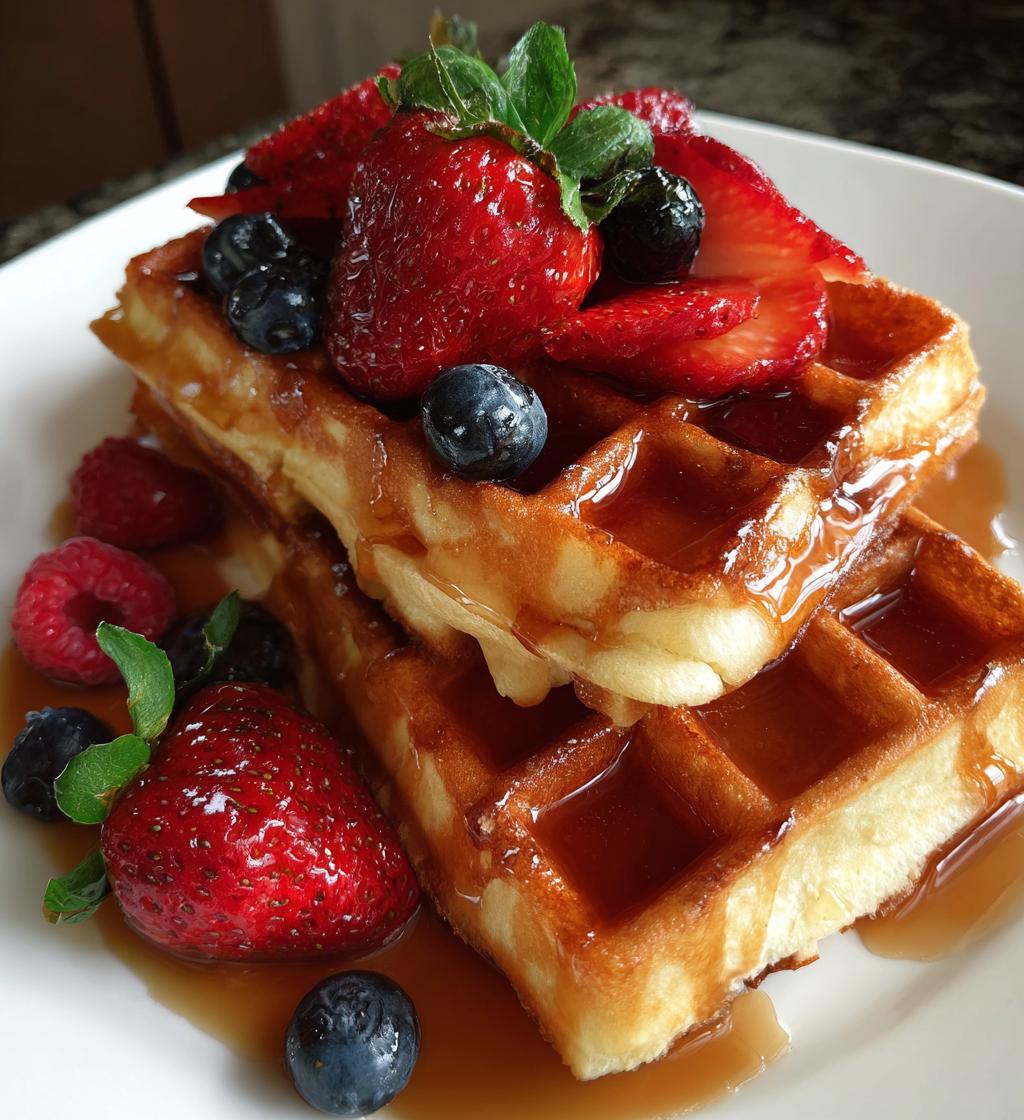
Oh my goodness, let me tell you about the sheer joy of making buttermilk waffles! There’s just something magical about that first bite, isn’t there? The way they’re perfectly fluffy and golden, making them feel like a warm hug on a plate. I remember the first time I made these for breakfast on a lazy Sunday morning. I could hardly wait for the waffle iron to do its thing, and when I finally pulled them out, the aroma filled the kitchen—it was pure bliss! Every forkful was a delight, and I topped them with maple syrup and fresh berries. Trust me, you’ll fall in love with these buttermilk waffles just as I did!
Ingredients List
(Tip: You’ll find the full list of ingredients and measurements in the recipe card below.)
- 2 cups all-purpose flour
- 2 tablespoons sugar
- 1 tablespoon baking powder
- 1/2 teaspoon baking soda
- 1/2 teaspoon salt
- 2 large eggs
- 1 3/4 cups buttermilk
- 1/2 cup melted butter
How to Prepare Buttermilk Waffles
Making buttermilk waffles is super simple and oh-so-rewarding! Just follow these steps, and you’ll have a delicious breakfast ready in no time. Let’s get started!
- First things first, preheat your waffle iron. This is key for that perfect golden crust!
- In a large bowl, whisk together the flour, sugar, baking powder, baking soda, and salt. This will give your waffles that fluffy texture we all love.
- In another bowl, crack those 2 large eggs and whisk them up. Then add in the buttermilk and melted butter, stirring until it’s all combined. Wow, that buttermilk is going to make such a difference!
- Now, pour the wet ingredients into the dry ingredients. Gently mix until just combined—don’t overdo it! A few lumps are perfectly fine. If you can, let the batter rest for about 5 minutes. This little pause helps create even fluffier waffles!
- Once your waffle iron is ready, scoop the batter onto the preheated iron. Use about 1/2 to 3/4 cup of batter per waffle, depending on the size of your iron.
- Close the lid and cook according to your waffle iron’s instructions, usually around 4 to 5 minutes, or until they’re golden brown and crisp. You might want to peek to see how they’re doing—there’s nothing quite like the sight of a perfectly cooked waffle!
- Once they’re done, remove the waffles carefully and serve them warm with your favorite toppings, like syrup, whipped cream, or fresh fruit. Yum!
And there you have it! Buttermilk waffles that are fluffy, golden, and utterly delightful! Enjoy every bite!
Why You’ll Love This Recipe
- Quick preparation: You can whip these up in just 10 minutes of prep time!
- Fluffy texture: The buttermilk gives these waffles that light and airy quality we all crave.
- Delicious taste: They’re perfectly sweet and buttery, making each bite a delight!
- Customizable: Top them with anything you love—fruit, syrup, or even a dollop of whipped cream!
- Great for any occasion: Whether it’s a weekend brunch or a weekday breakfast, these waffles fit right in.
- Family-friendly: Everyone loves waffles, and they’re so easy to make together!
Tips for Success
Alright, let’s make sure your buttermilk waffles turn out absolutely perfect! Here are some of my favorite tips to keep in mind:
- Let the batter rest: Giving the batter a 5-minute rest is a game-changer! It helps the gluten relax, resulting in even fluffier waffles. Trust me, you won’t regret it!
- Use fresh ingredients: Fresh buttermilk, eggs, and baking powder make a huge difference in taste and texture. If your baking powder is old, your waffles might not rise as beautifully.
- Don’t overmix: It’s okay to have a few lumps in your batter! Overmixing can lead to dense waffles, and we definitely don’t want that!
- Preheat your waffle iron: Make sure your waffle iron is fully heated before you pour in your batter. This ensures that lovely golden crust we all love and helps the waffles cook evenly.
- Experiment with add-ins: Feel free to get creative! Adding things like chocolate chips, nuts, or even blueberries can elevate your waffles to a whole new level of deliciousness.
- Keep them warm: If you’re making a stack, keep the waffles warm in a low oven (around 200°F or 93°C) while you finish cooking the rest. That way, everyone can enjoy them hot!
With these tips in your back pocket, you’re all set to whip up some amazing buttermilk waffles that’ll impress everyone at the breakfast table!
Nutritional Information
Let’s talk numbers! Here’s the estimated nutritional breakdown for these scrumptious buttermilk waffles. Keep in mind, these values can vary a bit based on how you prepare them, but it gives you a good idea:
- Serving Size: 1 waffle
- Calories: 250
- Fat: 10g
- Saturated Fat: 5g
- Unsaturated Fat: 3g
- Trans Fat: 0g
- Cholesterol: 60mg
- Sodium: 300mg
- Carbohydrates: 36g
- Fiber: 1g
- Sugar: 4g
- Protein: 6g
These buttermilk waffles are not only delightful but also pack a decent amount of protein and carbs to fuel your day! Enjoy guilt-free, knowing you’re treating yourself to a delicious breakfast that hits the spot!
FAQ Section
Got questions about buttermilk waffles? No worries! I’m here to help you with all the ins and outs of making these delightful breakfast treats. Here are some common questions I get, along with my best answers:
Can I use regular milk instead of buttermilk?
Absolutely! If you don’t have buttermilk on hand, you can make a substitute by mixing 1 cup of regular milk with 1 tablespoon of vinegar or lemon juice. Let it sit for about 5 minutes, and you’ll have a lovely buttermilk alternative!
What can I add to the batter for extra flavor?
Oh, the possibilities are endless! You can sprinkle in some vanilla extract, cinnamon, or even a touch of nutmeg. If you’re feeling adventurous, add in some chocolate chips or fresh blueberries for a sweet twist!
How do I store leftovers?
If you happen to have any leftover waffles (which is rare, I know!), just let them cool completely and store them in an airtight container in the fridge for up to 2 days. They’re perfect for reheating later!
Can I freeze buttermilk waffles?
Yes, you can! Just wrap each waffle in plastic wrap or place them in a freezer-safe bag. They’ll keep well for up to 2 months. When you’re ready to enjoy, simply pop them in the toaster or microwave to warm them up.
What toppings do you recommend?
You can’t go wrong with classic maple syrup, but I also love fresh fruit like strawberries, blueberries, or bananas. A dollop of whipped cream or a drizzle of chocolate sauce can take it to a whole new level of deliciousness!
Can I make these waffles gluten-free?
Definitely! Just substitute the all-purpose flour with a gluten-free flour blend, and you’re all set! Just keep an eye on the consistency, as some blends may absorb liquid differently.
There you go! I hope these FAQs help you navigate the wonderful world of buttermilk waffles. If you have any other questions, just ask! I’m always here to help you make breakfast a little more special.
Serving Suggestions
Now that you’ve got your delicious buttermilk waffles ready, it’s time to take them to the next level with some fabulous toppings and sides! Here are some of my favorite ideas to create a complete breakfast experience that’ll make everyone at the table smile:
- Maple syrup: You can’t go wrong with classic maple syrup drizzled over those fluffy waffles. It adds that perfect touch of sweetness!
- Fresh fruit: Top your waffles with a medley of fresh berries like strawberries, blueberries, or raspberries. They add a burst of flavor and a beautiful pop of color!
- Whipped cream: A dollop of whipped cream can elevate your waffles to a whole new level of indulgence. It’s like adding a cloud of happiness on top!
- Nut butter: Spread some almond butter or peanut butter for a nutty twist. It’s delicious and adds a nice protein boost to your breakfast!
- Chocolate sauce: For a decadent treat, drizzle some warm chocolate sauce over the top. Oh boy, is that a game-changer!
- Yogurt: Serve a side of Greek yogurt with honey and nuts for a refreshing contrast. It’s creamy and adds a nice tang to balance the sweetness of the waffles.
- Bacon or sausage: If you’re looking for something savory to balance the sweetness, crispy bacon or sausage links are a perfect side. The salty, savory flavor pairs beautifully with the sweet waffles!
- Powdered sugar: A light dusting of powdered sugar can make your waffles look like they came straight from a fancy café. It’s simple, yet so elegant!
Feel free to mix and match these toppings to create your perfect plate! With all these delicious options, your buttermilk waffles will be a breakfast that everyone will remember. Enjoy the feast!
Storage & Reheating Instructions
Alright, let’s talk about keeping those buttermilk waffles fresh and delicious for later! If you happen to have any leftovers (which is a rare treat, I know!), here’s how to store and reheat them to maintain that delightful texture.
First things first, let the waffles cool completely on a wire rack. This prevents them from getting soggy in storage. Once they’re cooled, stack them up with a piece of parchment paper in between each waffle to keep them from sticking together.
Next, transfer the stacked waffles into an airtight container or a resealable plastic bag. They’ll stay fresh in the refrigerator for up to 2 days. Just remember to label the container with the date so you know when they were made!
Now, if you want to keep your buttermilk waffles even longer, you can freeze them! Just follow the same cooling and stacking method, then wrap each waffle tightly in plastic wrap or place them in a freezer-safe bag. They’ll be good for up to 2 months in the freezer.
When you’re ready to enjoy your waffles, reheating them is a breeze! For refrigerated waffles, pop them in the toaster or toaster oven until they’re heated through and crispy again—about 3 to 5 minutes should do the trick. If they’re frozen, you can toast them straight from the freezer; just give them a couple of extra minutes.
Alternatively, you can reheat them in the oven! Preheat your oven to 350°F (175°C) and place the waffles on a baking sheet. Heat for about 10 minutes, or until warmed through. This method really helps maintain their crispiness!
And there you have it! With these storage and reheating tips, you can savor your buttermilk waffles even on those busy mornings when you just need a quick breakfast fix. Enjoy every last bite!
Call to Action
Now that you’ve made (and hopefully enjoyed) these amazing buttermilk waffles, I’d love to hear from you! Did you try any fun toppings or variations? How did your waffles turn out? Please leave a comment below and share your thoughts or any tips you discovered along the way!
If you loved this recipe as much as I do, consider giving it a rating! Your feedback means the world to me and helps others find this delicious breakfast treat. And don’t forget to share your waffle-making adventures on social media—tag me, so I can see your beautiful creations! Let’s spread the joy of buttermilk waffles together!
Print
Fluffy Buttermilk Waffles: 7 Ways to Add Comfort Today
- Prep Time: 10 minutes
- Cook Time: 15 minutes
- Total Time: 25 minutes
- Yield: 4 servings 1x
- Category: Breakfast
- Method: Waffle
- Cuisine: American
- Diet: Vegetarian
Description
Delicious buttermilk waffles that are fluffy and golden.
Ingredients
- 2 cups all-purpose flour
- 2 tablespoons sugar
- 1 tablespoon baking powder
- 1/2 teaspoon baking soda
- 1/2 teaspoon salt
- 2 large eggs
- 1 3/4 cups buttermilk
- 1/2 cup melted butter
Instructions
- Preheat your waffle iron.
- In a bowl, mix flour, sugar, baking powder, baking soda, and salt.
- In another bowl, whisk eggs, buttermilk, and melted butter.
- Combine wet and dry ingredients until just mixed.
- Scoop batter onto the preheated waffle iron.
- Cook until golden brown and crisp.
- Serve warm with syrup or toppings of your choice.
Notes
- For crispier waffles, let the batter rest for 5 minutes.
- Add vanilla extract for extra flavor.
- Store leftovers in the refrigerator for up to 2 days.
Nutrition
- Serving Size: 1 waffle
- Calories: 250
- Sugar: 4g
- Sodium: 300mg
- Fat: 10g
- Saturated Fat: 5g
- Unsaturated Fat: 3g
- Trans Fat: 0g
- Carbohydrates: 36g
- Fiber: 1g
- Protein: 6g
- Cholesterol: 60mg
Keywords: buttermilk waffles, breakfast, waffles