
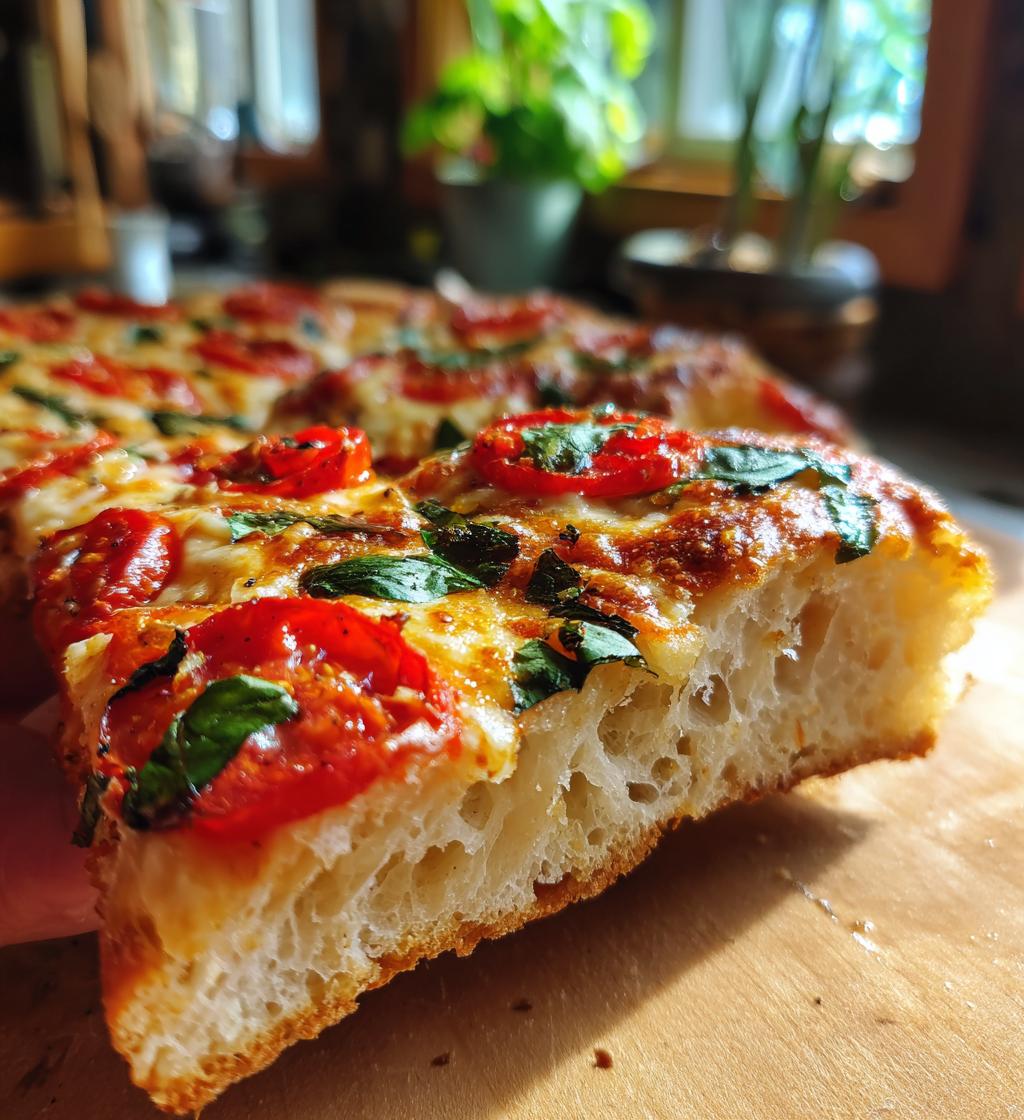
Let me tell you, I absolutely love the versatility of gluten-free options, and this potato pizza crust is a game changer! Using potatoes as the base for pizza crust not only gives it a unique flavor but also a delightful texture that’s hard to beat. Seriously, it’s a fantastic way to enjoy pizza without missing out on that satisfying crunch. The best part? It’s super easy to whip up! You don’t need to be a master chef or have any fancy equipment—just some simple ingredients and a bit of love, and you’ll have a delicious pizza crust in no time. Trust me, once you try this, you’ll be hooked! Your pizza nights will never be the same again!
Ingredients List
- 2 cups mashed potatoes (make sure they’re nice and fluffy!)
- 1 cup gluten-free flour (I love using a blend for the best texture)
- 1 large egg (this helps bind everything together)
- 1 teaspoon salt (for that perfect seasoning)
- 1 teaspoon garlic powder (adds a lovely depth of flavor)
- 1 teaspoon onion powder (because who doesn’t love the taste of onion?)
How to Prepare Potato Pizza Crust
Alright, let’s dive into making this amazing potato pizza crust! It’s super simple, and I promise, you’ll feel like a pro by the end of it. Just follow these steps, and you’ll have a crust that’s ready for all your favorite toppings!
Preheat the Oven
First things first, you’ll want to preheat your oven to 425°F (220°C). This step is crucial because a hot oven helps the crust get that lovely golden brown color and crispy texture we all crave. So go ahead and turn it on now while you’re mixing the ingredients!
Mixing the Ingredients
Now, grab a large mixing bowl and combine your fluffy mashed potatoes, gluten-free flour, egg, salt, garlic powder, and onion powder. I like to use a sturdy spatula or wooden spoon to mix everything together until it’s well combined. You want a nice, thick batter that holds together but isn’t too dry. If it feels a bit too sticky, a sprinkle more of flour can help, but don’t go overboard! Just keep mixing until you can see no more dry flour.
Shaping the Crust
Once your mixture is ready, it’s time to shape the crust! Line a baking sheet with parchment paper (trust me, this makes clean-up a breeze!). Then, using your hands or a spatula, spread the potato mixture evenly onto the baking sheet. Aim for about half an inch thick, so it bakes nicely. Don’t worry if it feels a bit sticky; just keep smoothing it out until it’s even. You got this!
Baking the Crust
Pop that baking sheet into your preheated oven and let it bake for about 20 minutes. Keep an eye on it—you’re looking for a lovely golden brown color and a slight crispiness around the edges. If you poke it gently with a fork, it should feel firm. If it’s still too soft, give it a couple more minutes, but don’t overdo it. We want a perfect base for our toppings!
Adding Toppings and Final Baking
Once your crust is beautifully baked, let it cool for just a minute before adding your favorite toppings. This is where the fun begins! Load it up with sauce, cheese, veggies, or whatever your heart desires! Then, pop it back in the oven for an additional 10 minutes to melt everything and get that perfect finish. You’ll know it’s ready when the cheese is bubbly and slightly golden. Wow, it’s going to smell amazing!
Tips for Success
Now that you’re ready to make your potato pizza crust, here are some of my favorite tips to ensure it turns out perfectly every time!
- Use dry mashed potatoes: If you’re making your mashed potatoes from scratch, make sure they’re not too watery. Excess moisture can lead to a soggy crust, and nobody wants that! If you have leftover mashed potatoes, try to drain any excess liquid before using them.
- Check your flour: Depending on the brand of gluten-free flour you use, you might need to adjust the amount slightly. Start with the recommended amount, but if the mixture feels too sticky, add a tablespoon more at a time until it holds together nicely.
- Let it cool: After baking the crust, let it cool for a few minutes before adding your toppings. This helps it firm up a bit more and prevents the toppings from sliding off when you cut into it.
- Experiment with spices: Feel free to get creative! You can add herbs like oregano or basil to the mixture for an extra flavor boost. It’s all about making it your own!
- Don’t skip the parchment paper: Seriously, this stuff is a lifesaver! It prevents sticking and makes for an easy clean-up. You’ll thank me later!
With these tips in your back pocket, you’re all set to create a delicious potato pizza crust that’s sure to impress! Happy cooking!
Storage & Reheating Instructions
So, you’ve whipped up this fantastic potato pizza crust and you’ve got some leftovers? No worries! Storing them properly is key to keeping that deliciousness intact for your next pizza night.
First, let your crust cool completely at room temperature. This is super important because if you store it warm, it can get all soggy from condensation. Once it’s cool, wrap it tightly in plastic wrap or place it in an airtight container. You can keep it in the refrigerator for up to 3 days. Just remember, the sooner you enjoy it, the better the taste!
Now, when you’re ready to reheat, preheat your oven to 350°F (175°C). Place the crust on a baking sheet and pop it in the oven for about 10-15 minutes, or until it’s warmed through and maybe even a little crisp again. You can add your toppings before reheating if you want everything to be nice and melty. Just keep an eye on it so it doesn’t overbake!
If you want to store it for longer, you can freeze it! Just wrap the crust tightly in plastic wrap, then place it in a freezer-safe bag or container. It’ll stay fresh for up to 2 months. When you’re ready to enjoy it, let it thaw in the fridge overnight before reheating. Trust me, you’ll love having this little gem waiting for you in the freezer!
Nutritional Information
Alright, let’s talk numbers! Here’s a breakdown of the typical nutritional values for one slice of this delicious potato pizza crust. Keep in mind, these values are estimates and can vary based on the specific ingredients you use and how you top your pizza!
- Calories: 150
- Fat: 3g
- Saturated Fat: 1g
- Unsaturated Fat: 2g
- Trans Fat: 0g
- Cholesterol: 30mg
- Sodium: 200mg
- Carbohydrates: 28g
- Fiber: 2g
- Sugar: 1g
- Protein: 4g
This makes for a satisfying slice that’s both tasty and guilt-free! Enjoy knowing that you’re indulging in something a little healthier while still being oh-so-delicious!
FAQ Section
Can I use fresh potatoes instead of mashed potatoes?
Absolutely! If you’d like to use fresh potatoes, just boil them until tender, then mash them up. Make sure they’re well-drained to avoid excess moisture, which could make your crust soggy.
What gluten-free flour works best for this recipe?
I recommend a gluten-free all-purpose flour blend that contains xanthan gum. It really helps with the texture and binding. Just check the packaging; some blends work better than others!
Can I make the crust ahead of time?
Yes! You can prepare the crust in advance and store it in the refrigerator for up to 3 days before baking. Just make sure to cover it well, so it doesn’t dry out. You can also freeze it for longer storage, as mentioned earlier!
What toppings do you recommend?
Oh, the possibilities are endless! I love classic marinara sauce with mozzarella cheese and fresh basil. You can also try BBQ sauce with chicken and red onions, or even a veggie-packed option with spinach and feta. Get creative!
How do I know when the crust is done baking?
You’ll know it’s ready when it’s golden brown around the edges and feels firm to the touch. A gentle poke with a fork should show that it’s not soft anymore. If it’s still a bit mushy, give it a few more minutes.
Why You’ll Love This Recipe
- Gluten-free: Perfect for anyone avoiding gluten while still enjoying a delicious pizza night.
- Easy to make: With just a few simple ingredients and steps, you’ll have a homemade crust ready in no time!
- Deliciously versatile: Top it with your favorite sauces, cheeses, and veggies for endless flavor combinations.
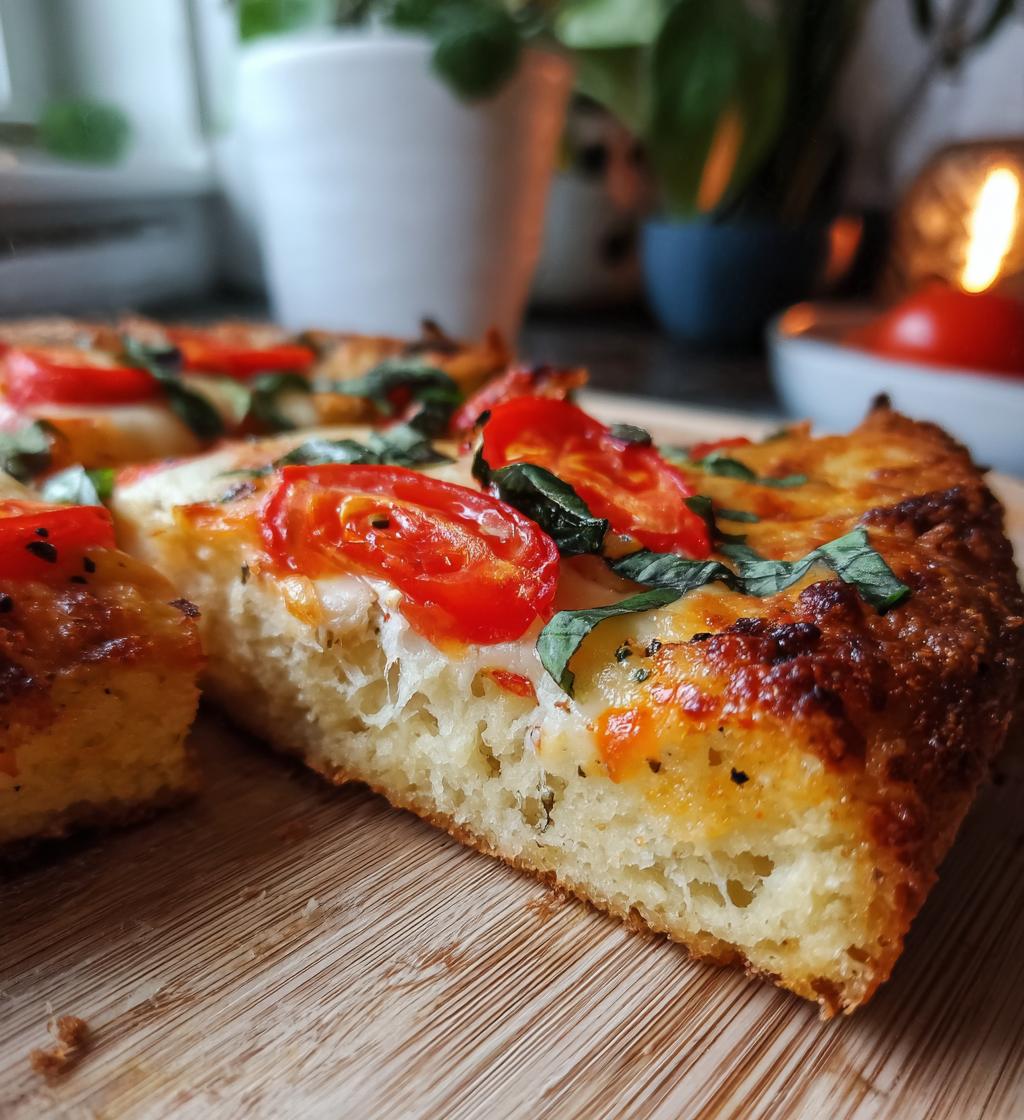
- Unique texture: The potato base gives a delightful and satisfying chew that’s totally different from traditional crusts.
- Kid-friendly: Kids love helping to customize their own pizzas, making it a fun family activity!
- Meal prep friendly: Make a batch ahead of time and store them for quick meals throughout the week.
Potato Pizza Crust: 5 Reasons You’ll Love This Recipe
- Prep Time: 15 minutes
- Cook Time: 30 minutes
- Total Time: 45 minutes
- Yield: 1 pizza crust 1x
- Category: Main Dish
- Method: Baking
- Cuisine: Italian
- Diet: Gluten Free
Description
A gluten-free pizza crust made from potatoes.
Ingredients
- 2 cups mashed potatoes
- 1 cup gluten-free flour
- 1 egg
- 1 teaspoon salt
- 1 teaspoon garlic powder
- 1 teaspoon onion powder
Instructions
- Preheat your oven to 425°F (220°C).
- In a bowl, mix mashed potatoes, gluten-free flour, egg, salt, garlic powder, and onion powder.
- Spread the mixture onto a parchment-lined baking sheet.
- Bake for 20 minutes or until golden brown.
- Add your favorite toppings and bake for an additional 10 minutes.
Notes
- Let the crust cool slightly before adding toppings.
- Store leftover crust in the refrigerator for up to 3 days.
Nutrition
- Serving Size: 1 slice
- Calories: 150
- Sugar: 1g
- Sodium: 200mg
- Fat: 3g
- Saturated Fat: 1g
- Unsaturated Fat: 2g
- Trans Fat: 0g
- Carbohydrates: 28g
- Fiber: 2g
- Protein: 4g
- Cholesterol: 30mg
Keywords: potato pizza crust