
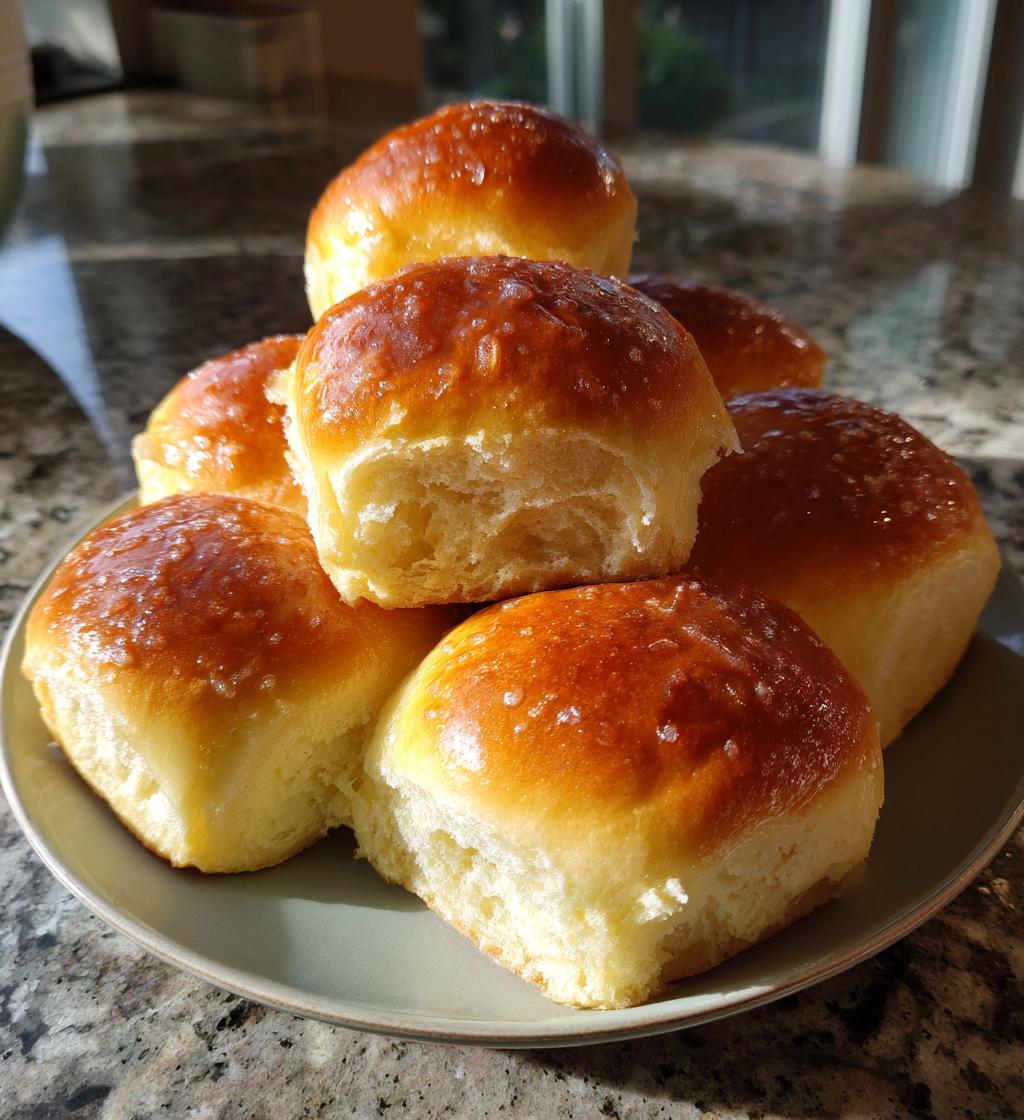
There’s just something magical about the smell of homemade dinner rolls baking in the oven, isn’t there? The warm, buttery aroma fills your kitchen and makes your heart (and stomach) sing. Whether it’s a cozy family dinner, a holiday feast, or simply a Sunday meal, these soft and fluffy rolls can truly elevate any occasion. Trust me, when you serve these at your table, your loved ones will be raving about them long after the last bite! That’s why I’m thrilled to share my hands down the best homemade dinner rolls recipe with you. It’s simple, satisfying, and oh-so-delicious. Get ready to impress everyone with these little pillows of joy!
Ingredients List
Gathering the right ingredients is key to making these rolls absolutely divine. Here’s what you’ll need:
- 4 cups all-purpose flour: This will give your rolls that perfect soft texture. Make sure to spoon it into your measuring cup and level it off—no one likes a dense roll!
- 1 packet (2 1/4 tsp) active dry yeast: This is what makes your rolls rise beautifully. Always check the expiration date to ensure it’s still good!
- 1/4 cup sugar: Just enough sweetness to balance the flavors and help activate the yeast.
- 1 tsp salt: Salt enhances the flavor, so don’t skip it! Just a little goes a long way.
- 1 cup warm milk: Warm it up to about 110°F (43°C)—too hot and it’ll kill the yeast, too cold and it won’t activate.
- 1/4 cup unsalted butter, melted: This adds richness and flavor to your rolls. Let it cool slightly before adding.
- 1 large egg: This helps bind everything together and gives your rolls a lovely golden color.
Once you’ve got these ingredients ready, you’re all set to create some fluffy, mouthwatering dinner rolls!
How to Prepare Instructions
Now, let’s dive into the step-by-step process of making these fluffy dinner rolls! I promise it’s easier than it sounds, and your kitchen will smell heavenly. Here we go!
Step 1: Activate Yeast
Start by combining the warm milk, sugar, and yeast in a bowl. Give it a gentle stir and let it sit for about 5 minutes. This is super important! You want to see bubbles forming, which means your yeast is alive and ready to work its magic. If you don’t see bubbles, it might be time to grab a new packet!
Step 2: Mix Ingredients
Once your yeast is bubbling away, add the melted butter, egg, and salt to the mixture. Stir everything together until it’s well combined. This is where the rich flavor starts to come together, and the excitement begins to build!
Step 3: Form Dough
Next, gradually add the flour, about a cup at a time, mixing until a dough starts to form. You want to mix until it’s no longer sticky and can be handled. Don’t worry if it seems a bit messy at first; that’s part of the fun!
Step 4: Knead the Dough
Now, it’s time to knead! Turn your dough out onto a floured surface and knead it for about 5 minutes. This is a great way to relieve stress—just push, fold, and turn the dough until it’s smooth and elastic. You’ll know it’s ready when it springs back when poked!
Step 5: First Rise
Place your beautifully kneaded dough in a greased bowl, cover it with a clean kitchen towel, and let it rise in a warm spot for about 1 hour. Just let it do its thing! It should double in size, which is always so satisfying to see.
Step 6: Preheat Oven
While your dough is rising, go ahead and preheat your oven to 375°F (190°C). This ensures that it’s nice and hot when your rolls are ready to bake, giving them that perfect golden crust!
Step 7: Shape Rolls
Once the dough has risen, punch it down gently (yes, it’s fun!) and divide it into 12 equal pieces. Shape each piece into a small roll by rolling it between your palms. They don’t have to be perfect—each roll has its own character!
Step 8: Second Rise
Place the shaped rolls on a greased baking sheet, making sure to leave a little space between each one. Cover them with a towel again and let them rise for another 30 minutes. This helps make them extra fluffy!
Step 9: Bake the Rolls
Pop those rolls into your preheated oven and bake for 15-20 minutes, or until they’re golden brown and your kitchen smells like heaven. Keep an eye on them—every oven is a little different!
Step 10: Brush with Butter
As soon as they come out of the oven, brush the tops of the rolls with melted butter. This gives them that gorgeous shine and extra flavor. Now, let them cool for just a few minutes before devouring!
Why You’ll Love This Recipe
- Soft Texture: These rolls are incredibly soft and fluffy, making them a delight to tear and share.
- Easy Preparation: With simple ingredients and straightforward steps, you’ll feel like a baking pro in no time!
- Versatile Flavors: You can easily customize them with herbs, garlic, or even cheese to suit your taste.
- Perfect for Any Occasion: Whether it’s a holiday feast, family dinner, or just a cozy weeknight, these rolls are always a hit.
Trust me, once you try this recipe, it’ll become a staple at your table!
Tips for Success
To make sure your dinner rolls turn out absolutely perfect every time, here are my top tips! First, always use fresh yeast—nothing beats the magic of active yeast that’s ready to rise! If you’re not sure, just check the expiration date before you start. Next, knead the dough properly; this helps develop the gluten, which gives your rolls that wonderful structure. Don’t rush this step; a good 5 minutes of kneading will do wonders.
Lastly, when cooling your rolls, cover them with a kitchen towel. This keeps them soft and fluffy instead of letting them dry out. Trust me, your rolls will be the talk of the dinner table when you follow these simple tips! Happy baking!
Variations
One of the best things about this hands down the best homemade dinner rolls recipe is how easily you can customize it to suit your taste! If you want to add a little kick, try mixing in some minced garlic or garlic powder into the dough. It’ll give your rolls a savory twist that pairs beautifully with butter.
Feeling herby? Toss in some chopped fresh herbs like rosemary or thyme for a fragrant addition that’s just delightful! For a cheesy flavor, fold in some grated cheese—Parmesan, cheddar, or even feta work wonders. You could also sprinkle some cheese on top before baking for a delicious, melty crust.
Don’t be afraid to get creative! These rolls can easily adapt to different flavors, so have fun experimenting until you find your perfect combination!
Storage & Reheating Instructions
Once you’ve made these delicious dinner rolls, you might be wondering how to keep them fresh. To store leftovers, simply place them in an airtight container or a resealable plastic bag. They can be kept at room temperature for up to 2 days, but if you want them to last longer, pop them in the fridge for up to a week. Just remember, the fridge can dry them out a bit!
When it’s time to enjoy those rolls again, reheating is a breeze. Preheat your oven to 350°F (175°C) and place the rolls on a baking sheet. Cover them loosely with aluminum foil to prevent them from getting too crispy. Warm them for about 10 minutes, or until they’re heated through. Trust me, a little warmth and butter, and they’ll taste like they just came out of the oven!
Nutritional Information
These fluffy dinner rolls are not only delicious but also pack a reasonable amount of nutrition! Each roll is estimated to contain approximately 150 calories, with 5g of fat and 4g of protein. They also have about 22g of carbohydrates and 3g of sugar. Keep in mind, these values are estimates and can vary based on the specific ingredients used. So, if you’re counting calories or just curious about your food, this gives you a good starting point. Enjoy the rolls guilt-free, knowing they’re a delightful addition to your meal!
FAQ Section
Can I use instant yeast instead of active dry yeast?
Absolutely! You can use instant yeast in place of active dry yeast without needing to activate it first. Just mix it directly with your dry ingredients, and you’re good to go!
What should I do if my dough doesn’t rise?
If your dough isn’t rising, it might be due to old yeast or the milk being too hot or too cold. Make sure your milk is warm (about 110°F or 43°C) and check the yeast’s expiration date. If it’s expired, it’s time for a new packet!
Can I make the dough ahead of time?
Yes! You can make the dough and let it rise in the fridge overnight. Just cover it tightly, and when you’re ready to bake, let it come to room temperature before shaping and rising again.
How do I know when the rolls are done baking?
Your rolls are perfectly baked when they’re golden brown on top and sound hollow when you tap the bottom. If you’re unsure, you can always use a toothpick to check the center; it should come out clean!

Hands Down the Best Homemade Dinner Rolls Recipe to Delight
- Prep Time: 10 minutes
- Cook Time: 20 minutes
- Total Time: 1 hour 40 minutes
- Yield: 12 rolls 1x
- Category: Bread
- Method: Baking
- Cuisine: American
- Diet: Vegetarian
Description
This recipe provides a simple guide to making soft and fluffy homemade dinner rolls.
Ingredients
- 4 cups all-purpose flour
- 1 packet (2 1/4 tsp) active dry yeast
- 1/4 cup sugar
- 1 tsp salt
- 1 cup warm milk
- 1/4 cup unsalted butter, melted
- 1 large egg
Instructions
- In a bowl, combine warm milk, sugar, and yeast. Let it sit for 5 minutes.
- Add melted butter, egg, and salt to the yeast mixture.
- Gradually add flour and mix until a dough forms.
- Knead the dough on a floured surface for about 5 minutes.
- Place the dough in a greased bowl and cover. Let it rise for 1 hour.
- Preheat the oven to 375°F (190°C).
- Divide the dough into 12 pieces and shape into rolls.
- Place rolls on a greased baking sheet and let rise for another 30 minutes.
- Bake for 15-20 minutes until golden brown.
- Brush with melted butter before serving.
Notes
- For softer rolls, cover them with a kitchen towel while they cool.
- You can add herbs or garlic for extra flavor.
Nutrition
- Serving Size: 1 roll
- Calories: 150
- Sugar: 3g
- Sodium: 150mg
- Fat: 5g
- Saturated Fat: 3g
- Unsaturated Fat: 2g
- Trans Fat: 0g
- Carbohydrates: 22g
- Fiber: 1g
- Protein: 4g
- Cholesterol: 25mg
Keywords: homemade dinner rolls, soft dinner rolls, best dinner rolls