
Ah, Easter biscuits! These delightful little treats have a special place in my heart and my kitchen, especially as we approach the springtime festivities. Traditionally enjoyed during the Easter season, these sweet, spiced cookies have been a part of British culture for centuries. I love how they bring together unique flavors of cinnamon and nutmeg, giving them that warm, cozy vibe that just screams celebration. You’ll find that the addition of mixed dried fruit adds a lovely texture and bursts of sweetness with every bite. Trust me, there’s nothing quite like the smell of these baking in the oven to get you in the mood for the holiday!

Whether you’re sharing them with family, gifting them to friends, or just indulging yourself, these Easter biscuits are a must-make. They’re easy to whip up, and the joy they bring is simply unmatched. So, let’s dive into the recipe and make some magical memories this Easter!
Ingredients List
Gathering your ingredients is half the fun! Here’s everything you’ll need to create your delightful Easter biscuits:
- 200g all-purpose flour
- 100g sugar
- 100g butter (softened, for easy mixing)
- 1 egg (large, at room temperature)
- 1 tsp baking powder
- 1 tsp ground cinnamon
- 1 tsp ground nutmeg
- 1/2 tsp vanilla extract
- 100g mixed dried fruit (I love using a mix of raisins, sultanas, and currants for that festive touch!)
Make sure to measure everything out before you start, so you’re all set to mix and bake without any interruptions. Trust me, it makes the whole process smoother and more enjoyable!
How to Prepare Easter Biscuits
Now that you’ve got all your ingredients ready, it’s time to roll up your sleeves and get baking! Preparing these Easter biscuits is simple and oh-so-rewarding. I promise, the process is quick, and soon you’ll have a delightful batch of cookies to enjoy! Let’s break it down step by step:
Step-by-Step Instructions
- Preheat the oven: Start by preheating your oven to 180°C (350°F). This ensures that your biscuits will bake evenly and come out perfectly golden.
- Cream the butter and sugar: In a mixing bowl, take your softened butter and sugar, and cream them together using a hand mixer or a wooden spoon until the mixture is light and fluffy. This should take about 2-3 minutes—don’t rush this step; it’s key for a nice texture!
- Add the egg and vanilla: Crack in the egg and pour in the vanilla extract, mixing well until everything is combined smoothly. You want a lovely, creamy consistency here.
- Mix the dry ingredients: In a separate bowl, whisk together the all-purpose flour, baking powder, ground cinnamon, and ground nutmeg. This step helps to evenly distribute the baking powder and spices throughout your dough.
- Combine wet and dry mixtures: Gradually add the dry mixture to the wet mixture, stirring gently until just combined. Be careful not to overmix; we want tender biscuits, not tough ones!
- Fold in the dried fruit: Now, it’s time to add the mixed dried fruit. Gently fold it into the dough, ensuring it’s evenly distributed for those delightful bursts of sweetness.
- Shape the dough: Using your hands, shape the dough into small balls (about the size of a tablespoon) and place them spaced apart on a baking tray lined with parchment paper. Don’t worry about them being perfect; they’ll spread a little while baking!
- Bake: Pop the tray into your preheated oven and bake for about 12-15 minutes, or until the edges are golden and the centers are just set. Keep an eye on them, as ovens can vary!
- Cool: Once baked, remove the tray from the oven and allow the biscuits to cool on the tray for a few minutes before transferring them to a wire rack to cool completely. This helps them firm up nicely!
And there you have it! Follow these steps, and you’ll have a batch of delightful Easter biscuits ready to munch on. The whole house will smell amazing, and I can’t wait for you to experience that joy!
Nutritional Information
Now, let’s talk about the nutritional side of these delicious Easter biscuits! Each biscuit is a sweet treat that brings a little joy to your day. Here’s a quick breakdown of what you can expect in terms of nutrition:
- Serving Size: 1 biscuit
- Calories: 120
- Sugar: 10g
- Sodium: 50mg
- Fat: 5g
- Saturated Fat: 3g
- Unsaturated Fat: 2g
- Trans Fat: 0g
- Carbohydrates: 18g
- Fiber: 1g
- Protein: 2g
- Cholesterol: 20mg
Keep in mind that these values are estimates and can vary depending on the specific ingredients and brands you use. It’s always good to be aware, especially if you’re counting anything in your diet. But hey, a little indulgence during the Easter season is totally worth it, right? Enjoy every bite of these festive delights!
Why You’ll Love This Recipe
Let me tell you, these Easter biscuits are not just any cookies—they’re a delightful blend of quick preparation, fabulous flavors, and the perfect addition to any festive celebration. Here are just a few reasons why you’re going to fall head over heels for this recipe:
- Quick to Make: With just 30 minutes from start to finish, you can whip up a batch of these scrumptious biscuits in no time!
- Easy to Follow: The steps are straightforward, making it perfect for both seasoned bakers and newbies alike. You’ll be a pro in no time!
- Flavorful and Spiced: The warm spices of cinnamon and nutmeg combined with the sweet bursts of dried fruit create a flavor explosion that’s simply irresistible.
- Perfect for Sharing: These biscuits are ideal for Easter gatherings, whether you’re hosting family or bringing treats to a friend’s house. Everyone will love them!
- Customizable: Feel free to get creative with your mix-ins or decorations, making each batch uniquely yours!
- Great for Snacking: They make a lovely snack with a cup of tea or coffee, perfect for those cozy afternoons.
So go ahead, give them a try! I’m sure you’ll find that these Easter biscuits will quickly become a beloved staple in your baking repertoire!
Tips for Success
Making delicious Easter biscuits is a joy, but there are a few handy tips to ensure everything goes smoothly and your cookies turn out perfectly every time! Here’s what I’ve learned from my own kitchen adventures:
- Use softened butter: It’s super important to start with butter that’s at room temperature. This helps achieve that light and fluffy texture when creaming with sugar. If your butter is too cold, it won’t mix well, and your biscuits might turn out dense.
- Don’t overmix: When combining the wet and dry ingredients, mix just until everything is combined. Overmixing can lead to tough biscuits, and we definitely want them tender and melt-in-your-mouth delicious!
- Watch the baking time: Every oven is different, so keep a close eye on your biscuits as they bake. They should be golden around the edges but still soft in the center when you take them out. If they look too brown, they might be overdone!
- Allow for cooling: After baking, let your biscuits cool on the tray for a few minutes before transferring them to a wire rack. This helps them set up nicely and prevents them from breaking apart.
- Experiment with spices: Feel free to adjust the spices according to your taste! If you love a stronger cinnamon flavor, add a bit more, or try a pinch of ginger for an extra kick. Make these biscuits truly your own!
- Store properly: To keep your biscuits fresh, store them in an airtight container at room temperature. This will help maintain their lovely texture. If they last that long, they can be enjoyed for up to a week!
With these tips up your sleeve, you’ll be well on your way to baking the most scrumptious Easter biscuits. Happy baking, and enjoy the sweet smells wafting through your kitchen!
Variations
One of the best things about Easter biscuits is how versatile they are! You can easily customize them to suit your taste or to use up whatever you have in your pantry. Here are some fun ideas to switch things up:
- Dried Fruits Galore: Instead of the usual mix, try using chopped apricots, cranberries, or even candied ginger for a delightful twist. Each fruit adds its own unique flavor and texture!
- Spice It Up: While cinnamon and nutmeg are classic, you could experiment with ground ginger, allspice, or even cardamom for a fragrant boost. Just remember to adjust the amounts to your liking!
- Zesty Lemon: Add the zest of one lemon to your dough for a bright, citrusy flavor that pairs beautifully with the spices. You could even drizzle a simple lemon icing on top for an extra touch!
- Nutty Goodness: Toss in some chopped nuts like walnuts or pecans for a lovely crunch. Just be sure to chop them finely so they blend well into the dough.
- Chocolate Chips: For a sweet surprise, fold in some chocolate chips or chunks. Dark chocolate pairs wonderfully with the spices, but feel free to use milk or white chocolate for a sweeter treat!
- Festive Icing: Get creative with decorations! Once your biscuits are cooled, you can pipe royal icing on them for a festive look or sprinkle with colored sugar for some extra sparkle.
- Gluten-Free Option: If you need a gluten-free version, swap out the all-purpose flour for a gluten-free blend. Just make sure it contains xanthan gum for the best texture!
With these variations, you can make each batch of Easter biscuits uniquely yours! I can’t wait for you to experiment and find your favorite combinations. Happy baking!
Storage & Reheating Instructions
Now that you’ve baked a batch of these delicious Easter biscuits, you might be wondering how to store them properly. Trust me, you’ll want to keep them fresh so you can enjoy them for days to come!
To store your leftover Easter biscuits, simply place them in an airtight container at room temperature. This helps maintain their lovely texture and flavor. If you stack them, I recommend adding a piece of parchment paper between layers to prevent them from sticking together. They should stay fresh for about a week—if they last that long!
If you find yourself with a large batch and want to save some for later, you can also freeze them! Just make sure they’re completely cooled before wrapping each biscuit individually in plastic wrap and placing them in a freezer-safe bag. They’ll keep well in the freezer for up to two months. When you’re ready to enjoy one (or a few!), simply thaw them overnight in the refrigerator. No need to reheat—just let them come to room temperature, and they’ll taste like they were just baked!
And if you prefer them warm, you can pop them in the microwave for a few seconds or in the oven at a low temperature (about 150°C/300°F) for a few minutes. This will bring back that fresh-baked warmth and make your kitchen smell heavenly again! Enjoy every delicious bite!
FAQ Section
Got questions about making these delightful Easter biscuits? Don’t worry, I’ve got you covered! Here are some common queries I often hear, along with my best tips and tricks:
Can I make these Easter biscuits ahead of time?
Absolutely! You can prepare the dough in advance and store it in the fridge for up to 24 hours before baking. Just make sure to let it sit at room temperature for a bit before shaping and baking. You can also bake them a day or two ahead and store them in an airtight container.
Can I use fresh fruit instead of dried fruit?
While fresh fruit is delicious, I recommend sticking with dried fruit for this recipe. Fresh fruit contains more moisture and can affect the texture of your biscuits. If you’re feeling adventurous, try using dried fruit that’s been soaked in a little orange juice or rum for extra flavor!
What can I substitute for butter?
If you need a dairy-free option, you can substitute the butter with a vegan margarine or coconut oil. Just make sure to use a type that’s suitable for baking. The texture might be slightly different, but they’ll still be tasty!
How do I know when my biscuits are done baking?
The biscuits should be golden around the edges and just set in the center. They’ll firm up as they cool, so don’t worry if they seem a bit soft at first. Just keep an eye on them, as baking times can vary based on your oven!
Why did my biscuits spread too much?
If your biscuits spread too much, it could be because the butter was too warm or not enough flour was used. Make sure to measure your flour accurately and keep your butter at room temperature—not melted—when creaming with sugar.
Can I freeze these Easter biscuits?
Yes, you can! Once they’re completely cooled, wrap each biscuit individually in plastic wrap and place them in a freezer-safe bag. They’ll stay fresh for up to two months. Just thaw them overnight in the fridge when you’re ready to enjoy them!
What’s the best way to decorate my Easter biscuits?
Get creative! You can use royal icing, colored sugar, or even melted chocolate to drizzle over the top. For a festive touch, try adding sprinkles or edible glitter. The possibilities are endless, and it’s a fun way to personalize your biscuits!
Hopefully, these FAQs have cleared up any questions you had about making your Easter biscuits! If you have any more queries or tips of your own, feel free to share. Happy baking!
Print
Easter Biscuits: 5 Joyful Tips for Perfect Cookies
- Prep Time: 15 minutes
- Cook Time: 15 minutes
- Total Time: 30 minutes
- Yield: 20 biscuits 1x
- Category: Dessert
- Method: Baking
- Cuisine: British
- Diet: Vegetarian
Description
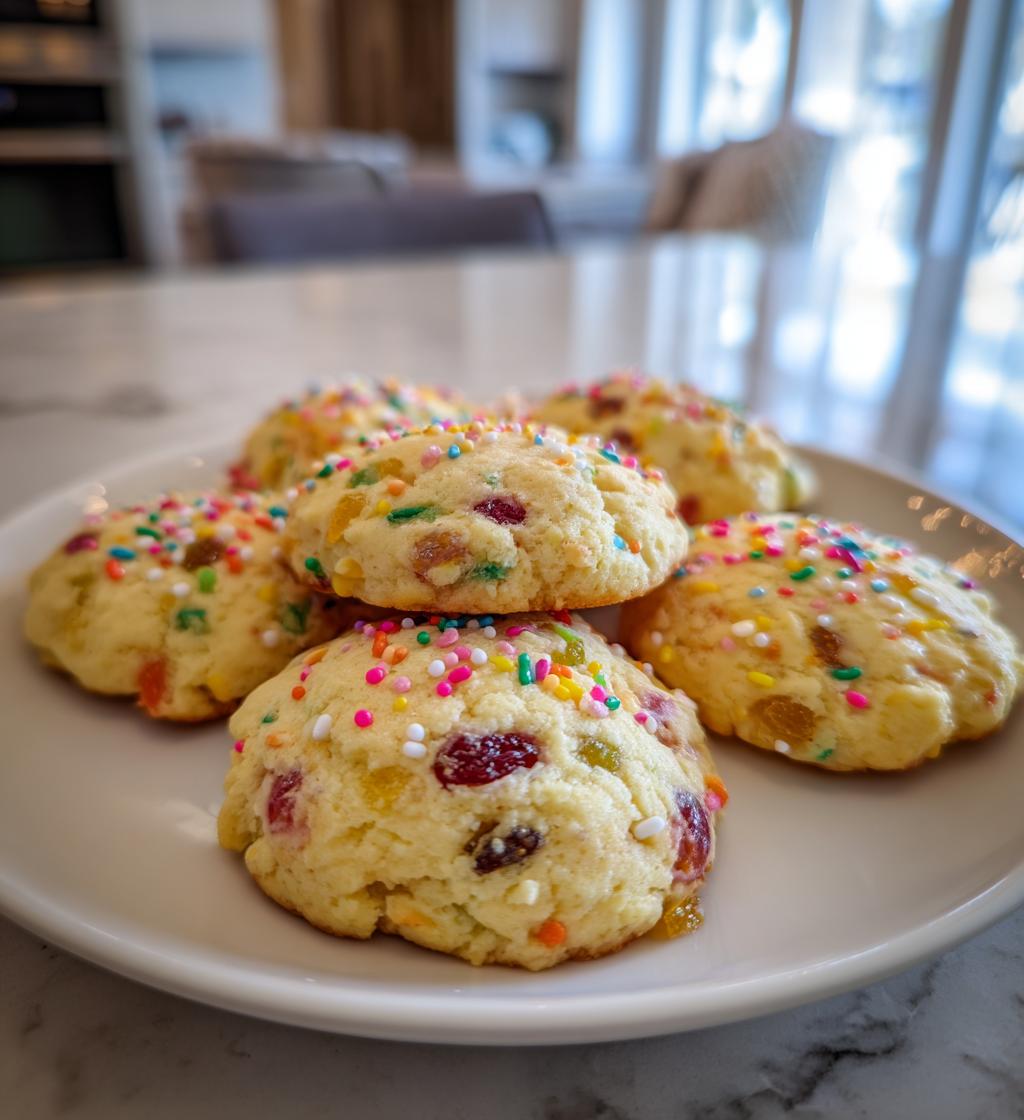
Easter biscuits are sweet, spiced cookies typically enjoyed during the Easter season.
Ingredients
- 200g all-purpose flour
- 100g sugar
- 100g butter
- 1 egg
- 1 tsp baking powder
- 1 tsp ground cinnamon
- 1 tsp ground nutmeg
- 1/2 tsp vanilla extract
- 100g mixed dried fruit
Instructions
- Preheat your oven to 180°C (350°F).
- In a bowl, cream together the butter and sugar.
- Add the egg and vanilla extract, mixing well.
- In another bowl, combine the flour, baking powder, cinnamon, and nutmeg.
- Gradually add the dry mixture to the wet mixture.
- Fold in the dried fruit.
- Shape the dough into small balls and place them on a baking tray.
- Bake for 12-15 minutes until golden.
- Allow to cool before serving.
Notes
- Store in an airtight container.
- Can be decorated with icing for more festive appeal.
- Adjust spices according to your taste.
Nutrition
- Serving Size: 1 biscuit
- Calories: 120
- Sugar: 10g
- Sodium: 50mg
- Fat: 5g
- Saturated Fat: 3g
- Unsaturated Fat: 2g
- Trans Fat: 0g
- Carbohydrates: 18g
- Fiber: 1g
- Protein: 2g
- Cholesterol: 20mg
Keywords: easter biscuits, cookies, festive treats