
There’s just something magical about making your own homemade strawberry jam! The moment you mash those fresh strawberries, the sweet aroma fills your kitchen, and you can’t help but smile. Trust me, when you taste that first spoonful, you’ll understand why this simple fruit spread brings so much joy. It’s all about the vibrant flavor and the freshness of the strawberries that make this jam stand out from anything store-bought. Plus, you get to control the sweetness, and let me tell you, nothing beats the satisfaction of spreading your very own homemade strawberry jam on a warm slice of bread or a fluffy pancake. So, let’s dive in and create something delicious together!
Ingredients for Homemade Strawberry Jam
- 2 pounds fresh strawberries, hulled
- 4 cups granulated sugar
- 1/4 cup lemon juice
- 1 package fruit pectin
How to Prepare Homemade Strawberry Jam
- First things first, wash and hull the strawberries. It’s super important to get rid of those green tops! I like to use a small paring knife for this job, and it’s the perfect excuse to snack on a few strawberries while you work. Yum!
- Next, grab a large bowl and mash those strawberries with a fork. You want a mix of chunky and smooth, so don’t overdo it. Just a few good mashes should do the trick, letting the juices flow while still keeping some texture.
- Now it’s time to sweeten things up! Add the granulated sugar and lemon juice to the mashed strawberries. Mix it all together really well. This is where the magic starts, and you’ll notice how the sugar pulls out even more juice from the berries.
- Let that mixture sit for about 10 minutes. This waiting game is crucial because it allows the strawberries to release their juices, creating a lovely syrupy base for your jam.
- While you’re waiting, take a moment to prepare your cooking space. Get a medium saucepan and place it on the stove over medium heat. Once the 10 minutes are up, pour the strawberry mixture into that saucepan.
- Now, bring the mixture to a gentle heat, stirring occasionally. This is where you’ll see all those beautiful strawberry juices begin to bubble and steam—oh, the smell is heavenly!
- Once it’s bubbling nicely, add the fruit pectin. Stir it in until it’s completely dissolved. It’s important to keep stirring so that it blends well and doesn’t clump. Just a minute or two of this should do it.
- Now, let’s bring this concoction to a rolling boil! Keep stirring constantly for about 1 minute. You want it to boil vigorously, but make sure it doesn’t splatter everywhere—careful now!
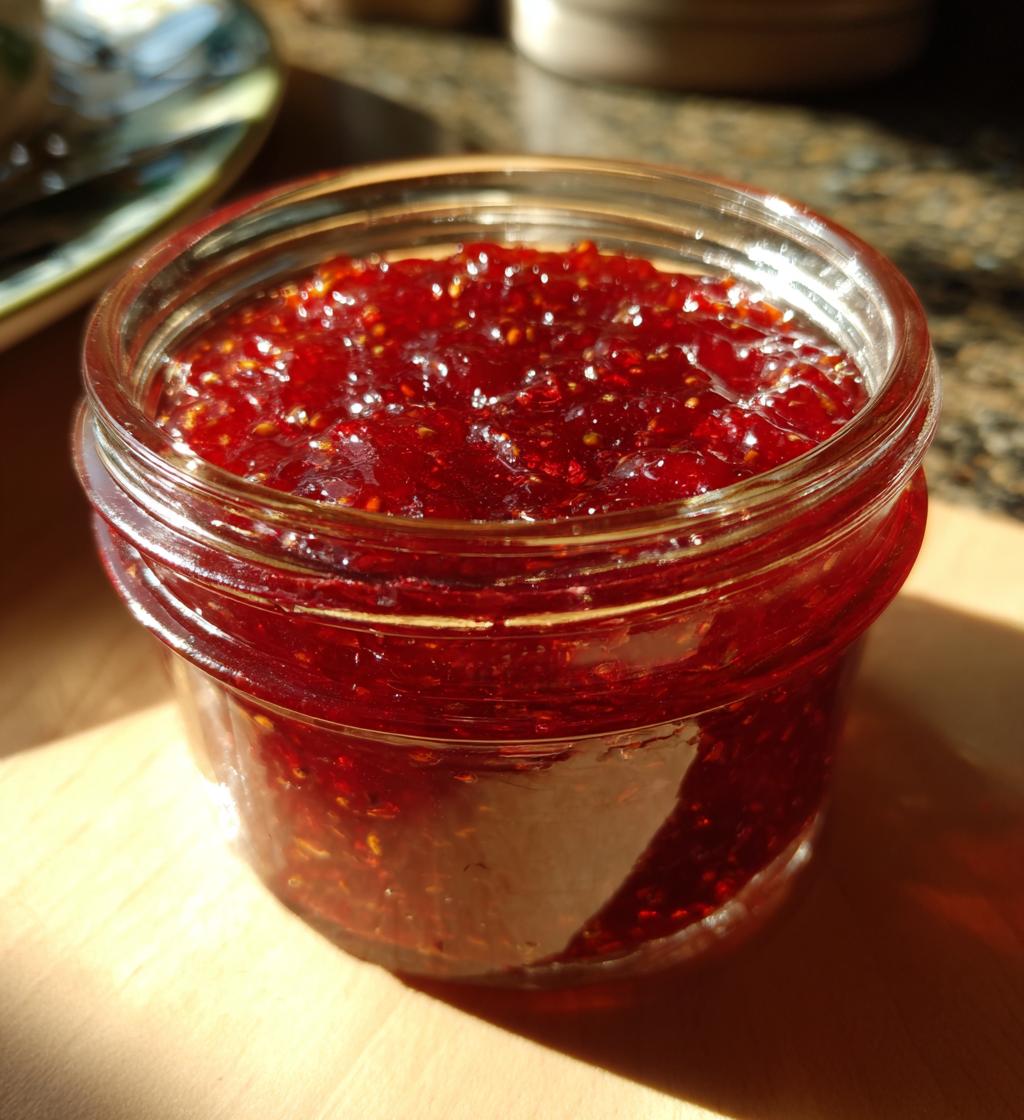
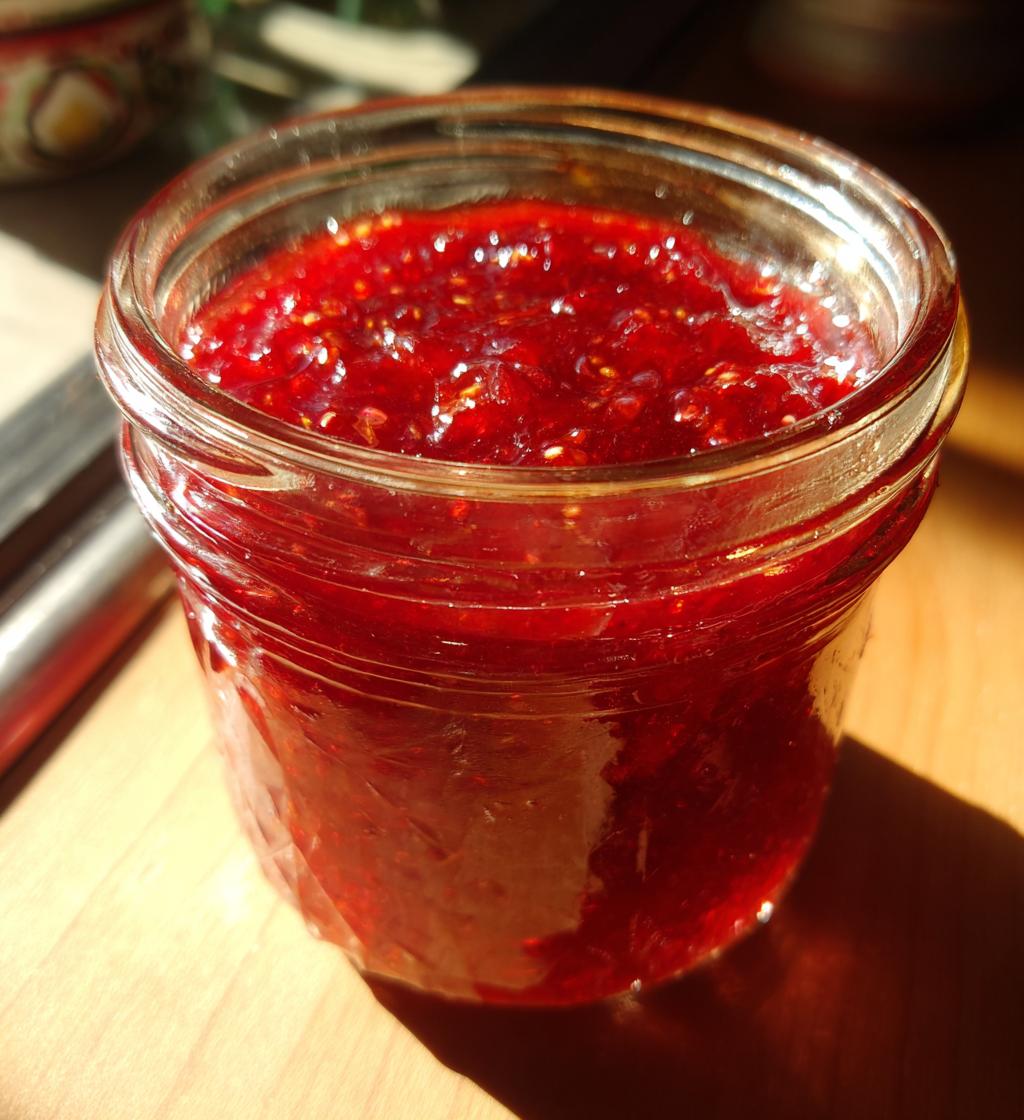
- Finally, it’s time to pour your gorgeous homemade strawberry jam into sterilized jars. I always recommend using a funnel to make this easier and less messy. Seal the jars tightly and let them cool completely at room temperature.
Why You’ll Love This Recipe
- Incredible Freshness: There’s nothing quite like the taste of homemade strawberry jam made from fresh, ripe strawberries. You can really taste the difference!
- Simple to Make: With just a few easy steps, you’ll have your own delicious jam ready to enjoy. It’s a fun project that’s perfect for beginners!
- Customizable Sweetness: You have full control over the sugar, so you can adjust it to your liking. Want it sweeter? Go for it! Prefer it a bit tart? You can do that too!
- Versatile Uses: This homemade strawberry jam is perfect for spreading on toast, drizzling over pancakes, or even adding to desserts. The possibilities are endless!
- Gifts from the Heart: Jars of homemade strawberry jam make delightful gifts for friends and family. Just imagine their smiles when they receive such a thoughtful treat!
Tips for Success with Homemade Strawberry Jam
Alright, my fellow jam enthusiasts! Let’s ensure your homemade strawberry jam turns out absolutely perfect. Here are my top tips for achieving jam-making success:
- Choose Ripe Strawberries: This is key! The riper the strawberries, the sweeter and more flavorful your jam will be. Look for berries that are bright red and fragrant. Trust me, you’ll notice the difference!
- Proper Sterilization: Before you fill those jars, it’s super important to sterilize them. You can do this by placing them in a boiling water bath for 10 minutes or running them through the dishwasher. Clean jars mean your jam will stay fresh longer!
- Consistency Check: If you like your jam a bit thicker, don’t hesitate to let it boil for another minute or two. Just keep stirring! You can also test the consistency by placing a spoonful on a plate and seeing how it holds up. If it runs off too quickly, give it a bit more time!
- Don’t Rush the Cooling: After pouring the jam into jars, let them cool at room temperature completely before sealing. This allows for the flavors to settle in and ensures a nice seal. Patience is a virtue here!
- Adjusting Sweetness: Remember, you can always tweak the sugar levels according to your taste. If you find the jam is too sweet, add a little more lemon juice to balance it out. It’s all about finding that perfect harmony!
With these tips in your back pocket, you’re all set to whip up a batch of delicious homemade strawberry jam that you’ll be proud to share. Happy jamming!
Storage & Reheating Instructions
Now that you’ve made your scrumptious homemade strawberry jam, let’s talk about how to store it so you can enjoy it for weeks to come! Proper storage is key to keeping that fresh flavor intact.
First off, once your jars are completely cool, make sure to seal them tightly. I usually recommend keeping your homemade strawberry jam in a cool, dark place, like a pantry or cupboard. It should last for about 6 to 12 months if stored correctly. Just imagine reaching for a jar in the middle of winter and enjoying that taste of summer!
If you happen to have an open jar, you’ll want to refrigerate it. It should be good for up to 3 weeks in the fridge. Just remember to use a clean spoon each time you scoop some out—this helps prevent any unwanted bacteria from sneaking in!
As for reheating, you really don’t need to! Just spread it right from the fridge onto your toast or pancakes. If you find the jam has thickened a bit too much after being in the fridge, you can gently warm it up in a saucepan over low heat, stirring until it reaches your desired consistency. Wow, the smell of it warming up will bring you right back to that glorious jam-making day!
So, keep your jars sealed, store them properly, and you’ll have a delightful homemade strawberry jam ready to brighten your breakfast or sweeten your snacks for months ahead. Enjoy every last spoonful!
Nutritional Information for Homemade Strawberry Jam
Let’s take a quick look at the nutritional breakdown for this delightful homemade strawberry jam! Each tablespoon of this sweet goodness packs a burst of flavor along with some essential numbers:
- Serving Size: 1 tablespoon
- Calories: 50
- Sugar: 12g
- Sodium: 0mg
- Fat: 0g
- Saturated Fat: 0g
- Unsaturated Fat: 0g
- Trans Fat: 0g
- Carbohydrates: 13g
- Fiber: 0g
- Protein: 0g
- Cholesterol: 0mg
Keep in mind that these values are estimates based on the ingredients used, and actual amounts can vary slightly depending on the exact strawberries and sugar you choose. But, regardless of the numbers, you can feel good about enjoying this homemade treat! It’s all about balance, and a little bit of this delicious jam can brighten up your day without guilt. Enjoy every sweet spoonful!
FAQ About Homemade Strawberry Jam
Got questions about making your own homemade strawberry jam? I’ve got you covered! Here are some of the most common queries I hear, along with my answers to help you on your jam-making journey.
Can I use frozen strawberries for this recipe?
Yes, you can absolutely use frozen strawberries! Just make sure to thaw them completely and drain any excess liquid before mashing. The flavor will still be great, though fresh is always best!
How do I know if my jam has set properly?
A good test is to put a spoonful of the jam on a plate and tilt it. If it holds its shape and doesn’t run off too quickly, you’re good to go! If it’s still too runny, let it boil for another minute or two while stirring.
Can I reduce the sugar in the recipe?
Absolutely! You can reduce the sugar to your liking, but keep in mind that sugar also helps with the preservation of the jam. If you cut back too much, it may not last as long. Consider using a sugar substitute designed for canning if you want to go that route!
What if I don’t have fruit pectin?
No worries! If you’re looking for a more natural approach, you can make jam without pectin by cooking the strawberries and sugar longer to help them thicken. Just be prepared for a different texture, as it might be less firm than traditional jam.
How long can I store my homemade strawberry jam?
When stored in a cool, dark place, your homemade strawberry jam should last for about 6 to 12 months. Once opened, keep it in the fridge and use it within 3 weeks. Trust me, it won’t be hard to finish it off!
Variations of Homemade Strawberry Jam
If you’re feeling adventurous and want to mix things up a bit, I’ve got some delicious variations for your homemade strawberry jam that’ll keep your taste buds excited! Here are a few of my favorite twists:
- Strawberry-Basil Jam: Add a handful of fresh basil leaves to the strawberry mixture as it cooks. The herbaceous notes paired with the sweetness of the strawberries create a delightful balance that’s perfect for spreading on bruschetta or pairing with cheese.
- Strawberry-Lemon Zest Jam: For an extra zing, mix in the zest of a lemon along with the juice. This will brighten up the flavor and give your jam a refreshing twist that’s perfect for summertime!
- Strawberry-Rhubarb Jam: Combine equal parts of hulled strawberries and chopped rhubarb for a tart and sweet jam that’s a classic combo! Just adjust the sugar to taste, since rhubarb can be quite tangy.
- Spicy Strawberry Jam: If you love a little heat, try adding a pinch of crushed red pepper flakes or finely chopped jalapeños to your jam as it cooks. It’s an unexpected surprise that pairs beautifully with savory dishes!
- Mixed Berry Jam: Why stop at strawberries? Combine strawberries with blueberries, raspberries, or blackberries! Just remember to adjust the sugar if you’re using sweeter or tarter berries to find that perfect balance.
These variations are not only fun to make, but they also add a unique touch to your homemade strawberry jam. Experimenting with flavors is part of the joy, so feel free to get creative and find your perfect blend!
Serving Suggestions for Homemade Strawberry Jam
Now that you have a jar (or two) of your delightful homemade strawberry jam, let’s talk about all the delicious ways to enjoy it! This sweet spread is incredibly versatile, and I can’t wait to share some of my favorite serving ideas with you:
- Classic Toast: Nothing beats a warm slice of buttered toast slathered with homemade strawberry jam. It’s the perfect breakfast or afternoon snack!
- Pancakes and Waffles: Drizzle that jam over fluffy pancakes or waffles for a fruity twist. Add a dollop of whipped cream on top, and you’re in for a treat!
- Yogurt Parfait: Layer your homemade strawberry jam with yogurt and granola for a quick and delicious breakfast or a refreshing snack. The combination of flavors and textures is simply delightful!
- Cheesecake Topping: Spread a generous layer of jam over a slice of cheesecake for a burst of fruity flavor that complements the creamy goodness perfectly. Wow, it’s heavenly!
- Ice Cream Sundae: Add a spoonful of strawberry jam to your favorite ice cream for a tasty sundae. Top it with some fresh strawberries and a drizzle of chocolate sauce for a decadent dessert!
- Sandwich Spread: Try using homemade strawberry jam as a spread in sandwiches, especially with creamy peanut butter or mascarpone cheese. It’s an unexpected yet delightful combination!
- Glaze for Meats: Use your jam as a glaze for grilled chicken or pork. The sweetness pairs beautifully with savory dishes, creating a fantastic flavor contrast!
These are just a few ideas to get you started, but honestly, the sky’s the limit! I encourage you to get creative and find your own favorite ways to enjoy your homemade strawberry jam. Every spoonful will remind you of that wonderful jam-making experience!
Print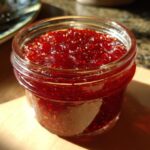
Homemade Strawberry Jam: 5 Simple Steps to Joyful Flavors
- Prep Time: 20 minutes
- Cook Time: 10 minutes
- Total Time: 30 minutes
- Yield: 4 cups 1x
- Category: Condiment
- Method: Stovetop
- Cuisine: American
- Diet: Vegetarian
Description
Homemade strawberry jam is a sweet and fruity spread made from fresh strawberries.
Ingredients
- 2 pounds fresh strawberries, hulled
- 4 cups granulated sugar
- 1/4 cup lemon juice
- 1 package fruit pectin
Instructions
- Wash and hull the strawberries.
- In a large bowl, mash the strawberries with a fork.
- Add sugar and lemon juice to the strawberries and mix well.
- Let the mixture sit for 10 minutes.
- In a saucepan, heat the strawberry mixture over medium heat.
- Add fruit pectin and stir until dissolved.
- Boil the mixture for 1 minute, stirring constantly.
- Pour the jam into sterilized jars.
- Seal the jars and let them cool completely.
Notes
- Use ripe strawberries for the best flavor.
- Store the jam in a cool, dark place.
Nutrition
- Serving Size: 1 tablespoon
- Calories: 50
- Sugar: 12g
- Sodium: 0mg
- Fat: 0g
- Saturated Fat: 0g
- Unsaturated Fat: 0g
- Trans Fat: 0g
- Carbohydrates: 13g
- Fiber: 0g
- Protein: 0g
- Cholesterol: 0mg
Keywords: homemade strawberry jam, fruit spread, preserves