
Oh, let me tell you about cheese curds! These little nuggets of joy are not just any snack; they’re a delightful treat that’s fresh, soft, and slightly tangy. You might have seen them at fairs or cheese shops, and trust me, once you try them, you’ll be hooked! Cheese curds are incredibly versatile, making them a fantastic ingredient in so many dishes, from poutine to salads. They’re perfect for snacking on their own, too—just pop them in your mouth and enjoy that satisfying squeak! Seriously, there’s something so fun about that texture that you can’t get enough of. Plus, making your own cheese curds at home is a rewarding experience that fills your kitchen with the most wonderful smell. It’s easier than you might think, and you’ll be amazed at how fresh and tasty they are compared to store-bought versions. So, gather your ingredients, and let’s dive into this simple yet delicious recipe that will elevate your snacking game!
Ingredients List
For making the most delicious cheese curds, you’ll need just a few simple ingredients. Trust me, fresh is key here! Here’s what you’ll gather:
- 2 gallons of whole milk – Make sure it’s fresh for the best flavor and texture.
- 1/4 cup white vinegar – This helps in curdling the milk, giving you those lovely curds!
- 1 teaspoon salt – This is for seasoning; feel free to adjust to your taste!
These ingredients come together to create a mouthwatering treat that’s way better than anything you’ll find at the store. You’ll love how simple it is to whip up your own cheese curds with these basics!
How to Prepare Cheese Curds
Making cheese curds at home is a fun and rewarding process! Follow these steps, and you’ll be on your way to enjoying your very own fresh cheese curds in no time. It’s a straightforward method, and I promise the smell of warm milk will have you grinning from ear to ear. So, let’s get started!
Step 1: Heat the Milk
First things first, you’ll want to heat your two gallons of fresh whole milk in a large pot. Use a thermometer to get the milk up to 190°F (that’s just below boiling). This is crucial because it helps the curds form properly. Keep an eye on it, and stir gently to prevent the milk from scorching at the bottom. Once it reaches that perfect temperature, you’re ready for the next step!
Step 2: Add Vinegar and Stir
Now, here comes the magic! Add 1/4 cup of white vinegar to the hot milk and stir gently for about 5 minutes. You’ll start to notice the milk separating into curds and whey, which is exactly what you want. Don’t rush this step; the gentle stirring helps everything combine beautifully and ensures that those lovely curds form evenly.
Step 3: Let It Sit
After stirring, remove the pot from heat and let it sit for 10 minutes. This is an important resting period where the curds continue to separate from the whey. You’ll see the curds start to clump together, which means you’re on the right track! Just be patient; good things come to those who wait!
Step 4: Strain the Curds
Once the 10 minutes are up, it’s time to strain! Grab some cheesecloth and place it over a fine-mesh strainer set over a bowl. Pour the curds and whey mixture into the cheesecloth carefully. The curds will stay in the cloth while the whey drains away. You can even give the curds a gentle squeeze to help with the draining process!
Step 5: Rinse and Drain
Now, it’s time to rinse those curds under cold water. This step is super important because it helps cool them down and removes any lingering acidity from the vinegar. Just run cold water over the curds while gently breaking them apart with your fingers. Once they’re rinsed, let them drain for a bit to get rid of excess water.
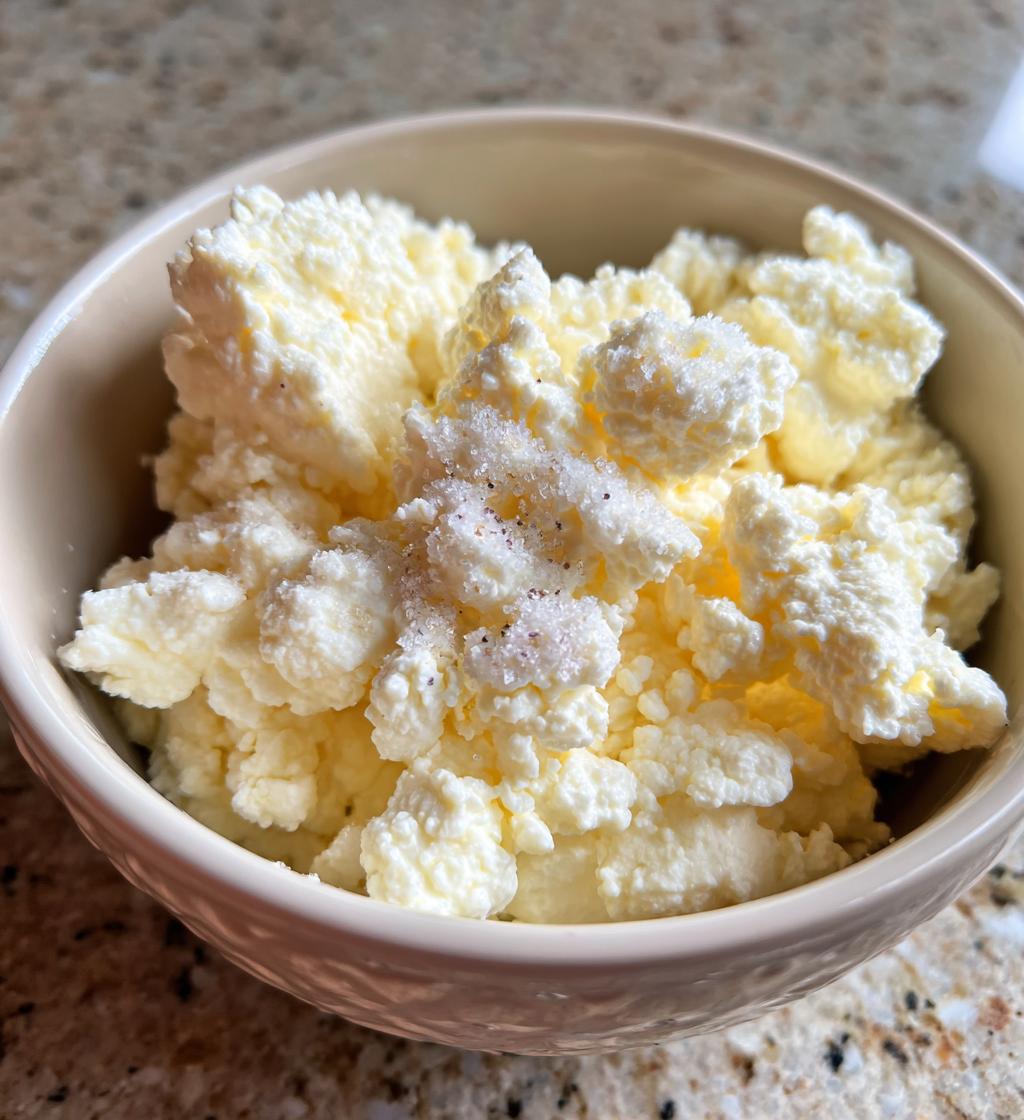
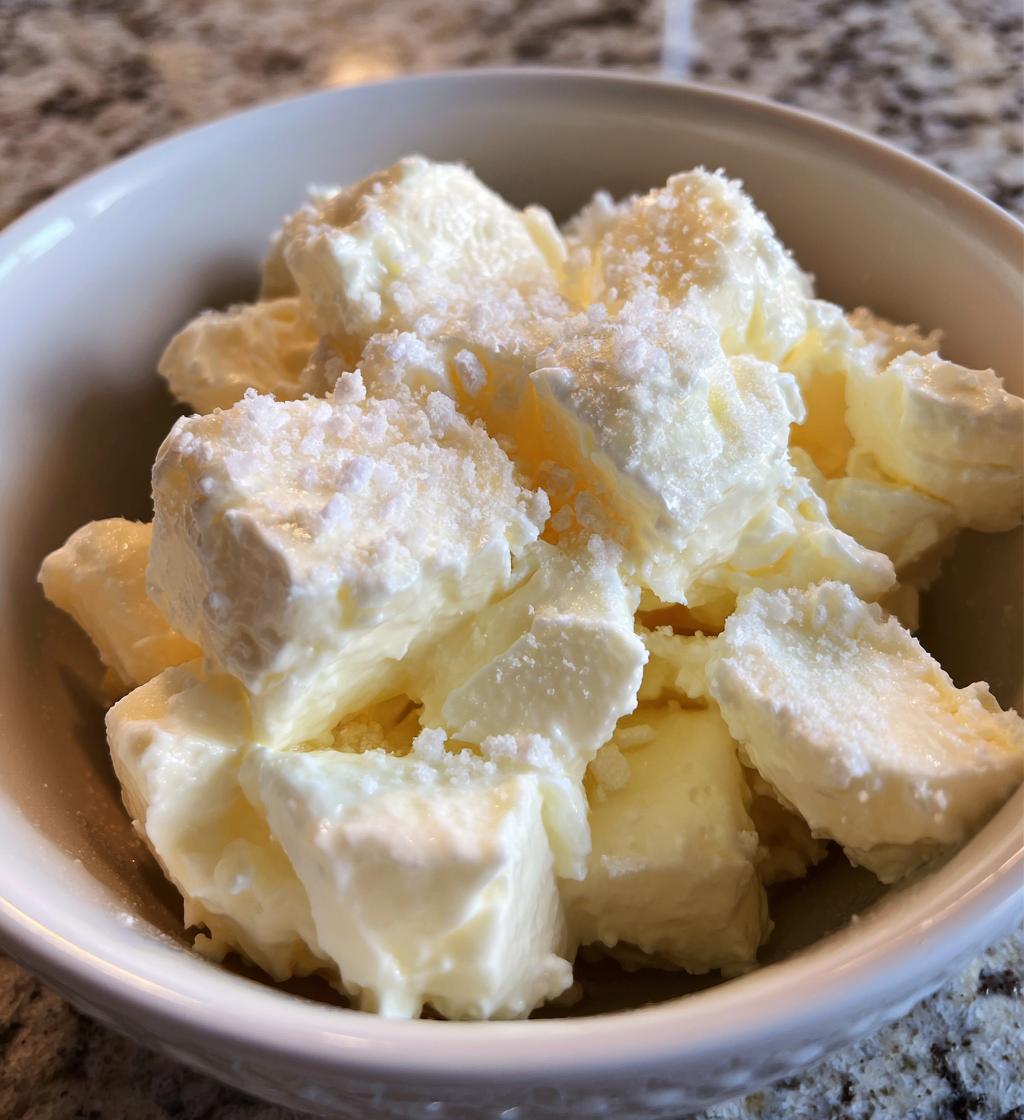
Step 6: Mix in Salt and Refrigerate
Finally, transfer the curds to a bowl and mix in 1 teaspoon of salt. This adds flavor and really brings out the best in your cheese curds! Once combined, cover the bowl and pop it in the fridge. Let them chill for at least an hour before diving in. Trust me, the wait is worth it when you taste the freshness!
Nutritional Information
Before you dive into these delightful cheese curds, it’s good to know what you’re indulging in! Keep in mind that nutritional values can vary based on the ingredients and brands you use, but here’s a typical breakdown for a serving size of 1/2 cup:
- Calories: 200
- Sugar: 1g
- Sodium: 400mg
- Fat: 16g
- Saturated Fat: 10g
- Unsaturated Fat: 4g
- Trans Fat: 0g
- Carbohydrates: 2g
- Fiber: 0g
- Protein: 12g
- Cholesterol: 60mg
These cheese curds are not only a tasty snack but also packed with protein, making them a satisfying treat. Enjoy them in moderation, and you’ll feel great about indulging in this homemade delight!
Tips for Success
To ensure your cheese curds turn out perfectly, here are some handy tips that I’ve learned along the way. Follow these, and you’ll be a cheese curd pro in no time!
- Use the freshest milk: The quality of your milk makes a huge difference. Go for whole milk from a local dairy if you can!
- Monitor the temperature closely: Use a reliable thermometer to get that milk to 190°F—too low, and the curds won’t form well.
- Be gentle: When stirring and handling the curds, be gentle to avoid breaking them apart too much.
- Experiment with salt: Start with a teaspoon, but feel free to adjust according to your taste. A little extra can really enhance the flavor!
- Store properly: Keep your cheese curds in an airtight container in the fridge to maintain their freshness and flavor.
With these tips in your back pocket, you’ll be well on your way to making the best cheese curds! Enjoy the process and, of course, the delicious results!
Serving Suggestions
Now that you’ve got your delicious homemade cheese curds, let’s talk about how to enjoy them! They’re perfect as a snack on their own, but I love getting a bit creative with serving them. One of my favorite ways is to toss them onto a fresh salad for an extra burst of flavor and texture. Imagine the delightful squeak of cheese curds mingling with crisp greens!
If you’re feeling adventurous, try making a classic poutine by layering cheese curds over hot fries and drizzling with rich gravy. It’s comfort food at its finest! Or, simply serve them with a side of marinara sauce for dipping—a fun twist that both kids and adults will love. You can even melt them on top of a warm, gooey grilled cheese sandwich for a cheesy upgrade. The possibilities are endless, and I can’t wait for you to explore your own favorite ways to savor these curds!
FAQ About Cheese Curds
Got questions about cheese curds? Don’t worry, I’ve got you covered! Here are some common questions I hear, along with my answers to help you on your cheese-curd journey.
What are cheese curds?
Cheese curds are fresh lumps of curdled milk that have a mild, slightly tangy flavor. They’re the building blocks of cheese and are often enjoyed as a snack or used in various dishes, like poutine!
How do I know if my cheese curds are fresh?
Fresh cheese curds should have a pleasant aroma and a slight squeak when you bite into them. If they start to smell off or lose their texture, it’s best to toss them out.
Can I use low-fat milk to make cheese curds?
While you can use low-fat milk, I recommend whole milk for the best flavor and texture. Whole milk yields creamier and more delicious cheese curds, so it’s worth it!
What can I do with leftover whey?
Don’t throw away that whey! You can use it in smoothies, pancakes, or even as a base for soups. It’s packed with nutrients and adds a nice flavor boost!
How long do cheese curds last in the fridge?
When stored properly in an airtight container, cheese curds can last about a week in the fridge. Enjoy them fresh for the best taste, but they can still be delicious for a few days!
I hope these FAQs help you feel more confident in your cheese curd-making adventure. Enjoy every cheesy bite!
Print
Homemade Cheese Curds: 5 Steps to Pure Comfort!
- Prep Time: 15 minutes
- Cook Time: 30 minutes
- Total Time: 45 minutes
- Yield: 2 cups of cheese curds 1x
- Category: Snack
- Method: Stovetop
- Cuisine: American
- Diet: Vegetarian
Description
Delicious cheese curds are fresh, soft, and slightly tangy. They are a popular snack and ingredient in various dishes.
Ingredients
- 2 gallons of whole milk
- 1/4 cup white vinegar
- 1 teaspoon salt
Instructions
- Heat the milk in a large pot to 190°F.
- Add the vinegar and stir gently for 5 minutes.
- Remove from heat and let it sit for 10 minutes.
- Strain the curds through cheesecloth.
- Rinse the curds under cold water and drain.
- Mix in salt and refrigerate.
Notes
- Use fresh milk for the best results.
- Adjust salt to taste.
- Store in an airtight container in the fridge.
Nutrition
- Serving Size: 1/2 cup
- Calories: 200
- Sugar: 1g
- Sodium: 400mg
- Fat: 16g
- Saturated Fat: 10g
- Unsaturated Fat: 4g
- Trans Fat: 0g
- Carbohydrates: 2g
- Fiber: 0g
- Protein: 12g
- Cholesterol: 60mg
Keywords: cheese curds, fresh cheese, snack