
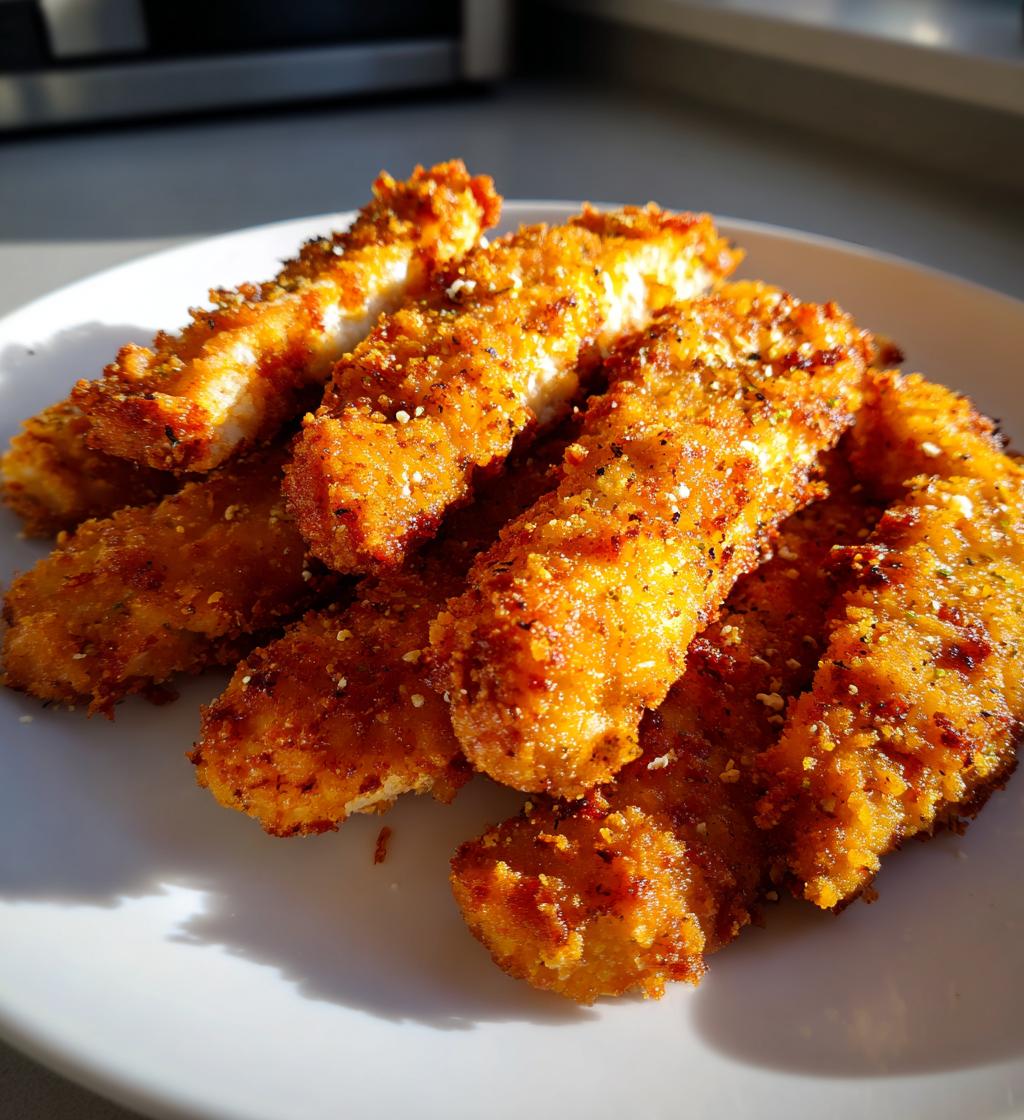
Oh my goodness, let me tell you about these *crispy baked chicken tenders*! They’re absolutely a game changer in my kitchen. You get all that delightful crunch on the outside while keeping the inside tender and juicy—just like the fried ones, but way healthier! I love whipping these up for a quick weeknight dinner or when friends come over. Seriously, who doesn’t love chicken tenders? They’re just so comforting and satisfying!
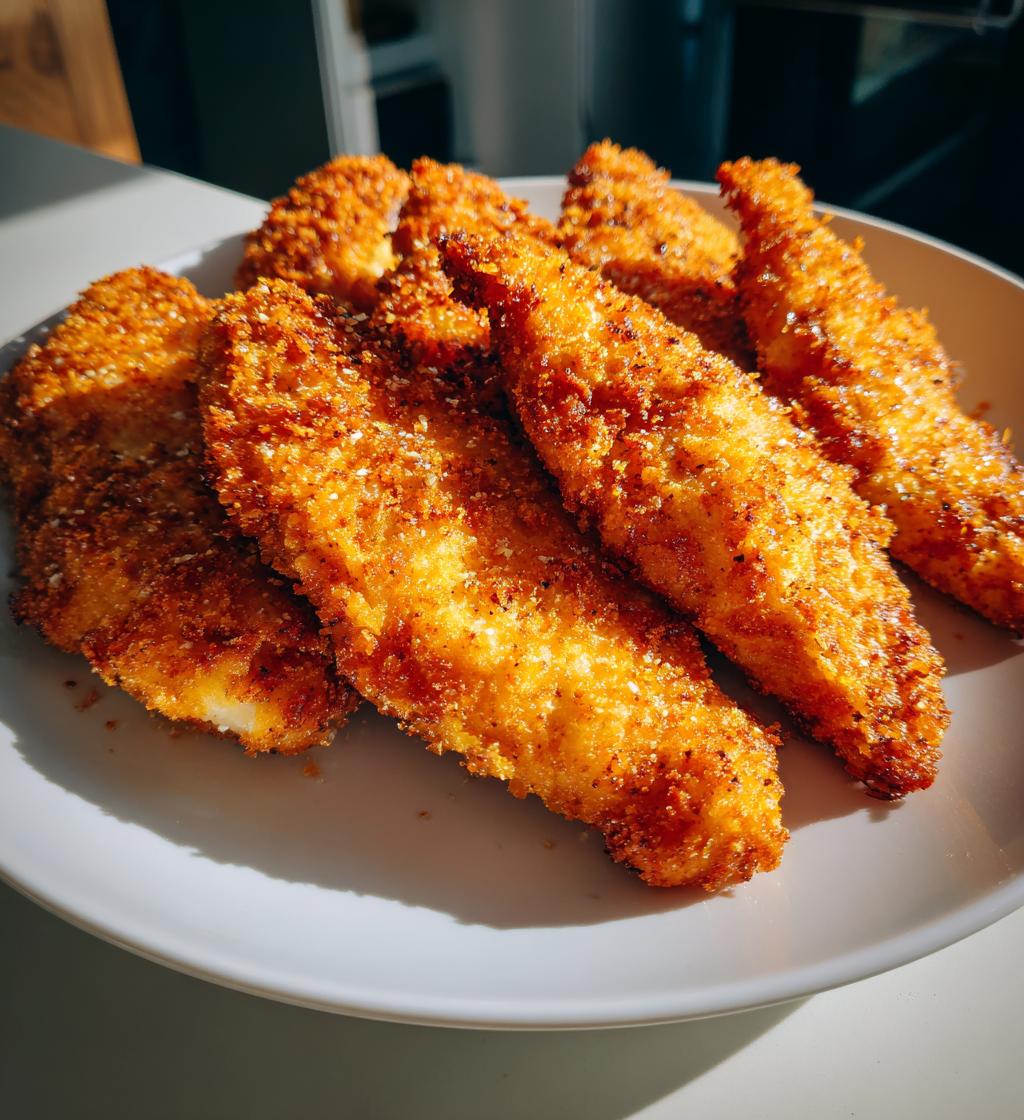
What I really adore about this recipe is how simple it is. You won’t believe how easy it is to make these crispy baked chicken tenders at home, and they’re baked, not fried! Trust me, once you try them, you’ll forget all about the greasy takeout version. Plus, they’re perfect for dipping in your favorite sauces—ketchup, ranch, or even some spicy mustard. Yum!
So, grab your apron, and let’s dive into making these delicious tenders that everyone in your family will love. I promise, they’ll become a regular on your dinner table!
Ingredients for Crispy Baked Chicken Tenders
Okay, let’s talk ingredients! You’ll want to gather the following for your crispy baked chicken tenders. Trust me, each one plays a crucial role in making these tenders irresistibly crunchy and delicious.
- 2 cups chicken breast, cut into strips: Fresh chicken breast is key here. I like to slice them into even strips so they cook uniformly. You can also use boneless, skinless thighs if you prefer a bit more flavor!
- 1 cup breadcrumbs: This is where the magic happens! Use regular breadcrumbs for a classic crunch or go for panko breadcrumbs if you want an extra crispy texture—my personal favorite!
- 1/2 cup flour: A light dusting of flour helps the egg stick to the chicken, creating a perfect base for the breadcrumbs.
- 2 eggs: Beaten eggs are essential for binding the breadcrumbs to the chicken. Make sure to whisk them well so they coat evenly.
- 1 teaspoon garlic powder: This adds a wonderful depth of flavor. I can’t get enough of that garlicky goodness!
- 1 teaspoon paprika: Not only does it give these tenders a beautiful color, but it also adds a subtle smokiness. You can use smoked paprika for an even deeper flavor.
- 1/2 teaspoon salt: Essential for enhancing all the other flavors. Adjust to your taste, of course!
- 1/2 teaspoon pepper: A little kick of black pepper goes a long way!
- Cooking spray: This is super important for that lovely, crispy finish. It helps the tenders brown nicely in the oven.
Once you have everything ready, you’ll be on your way to making the crispiest, most delicious chicken tenders ever! Let’s keep going, shall we?
How to Prepare Crispy Baked Chicken Tenders
Now that we have our ingredients ready, let’s get cooking! I promise, this process is both fun and easy. Just follow these steps, and you’ll have crispy baked chicken tenders that’ll impress everyone!
Prepping the Oven and Baking Sheet
First things first, you’ll want to preheat your oven to 400°F (200°C). This is the perfect temperature for getting that crispy exterior. While the oven is warming up, grab a baking sheet and line it with parchment paper. This not only helps with cleanup but also prevents the tenders from sticking. Trust me, a lined baking sheet is a game changer!
Setting Up the Breading Station
Next, it’s time to set up your breading station. You’ll need three bowls: one for the flour, one for the beaten eggs, and one for the breadcrumbs mixed with those delicious spices—garlic powder, paprika, salt, and pepper. I like to get everything in place before I start dipping; it makes the whole process smoother. Just whisk the eggs in their bowl until they’re nice and frothy, and mix your breadcrumbs and spices in the last bowl. You’re going to love how flavorful that breading will be!
Breading the Chicken Strips
Now for the fun part—breading the chicken! Take each chicken strip and dip it first into the flour, coating it evenly. Shake off any excess flour, then plunge it into the beaten eggs. Make sure it’s well coated; this is what helps the breadcrumbs stick! Finally, roll it in the breadcrumb mixture, pressing gently to make sure it adheres well. Place each coated strip on your prepared baking sheet. Repeat this process until all your chicken strips are breaded. It’s a bit of a messy process, but that’s half the fun, right?
Baking the Chicken Tenders
Once all your chicken strips are lined up on the baking sheet, it’s time to give them a little love with cooking spray. Lightly spray the tops of the chicken strips; this is key for getting that gorgeous golden brown color. Now, pop them in the oven and bake for about 20-25 minutes. You’ll know they’re done when they’re crispy and golden, and the internal temperature reaches 165°F (75°C). Oh, the smell of these baking is just heavenly—you’ll be counting down the minutes until you can dig in!
Tips for Success
Alright, let’s make sure you hit it out of the park with these *crispy baked chicken tenders*! Here are some of my top tips to ensure you achieve that perfect crunch and flavor:
- Use Panko Breadcrumbs: If you want that extra crunch, opt for panko breadcrumbs instead of regular ones. They’re lighter and give you that irresistible crispy texture that you’ll love!
- Don’t Skip the Cooking Spray: A light spray on the tops of your tenders before baking is crucial. It helps them brown beautifully and keeps that crispiness intact.
- Let Them Rest: After baking, give your chicken tenders a couple of minutes to rest before serving. This helps the juices settle and keeps them tender inside!
- Serve with Dipping Sauces: These tenders are fantastic on their own, but pairing them with your favorite dipping sauces can elevate the experience. Think honey mustard, ranch, or even a spicy sriracha mayo!
- Experiment with Seasonings: Feel free to play around with different spices in the breadcrumb mixture. A little cayenne for heat or some Italian seasoning can bring a fun twist to the flavor!
With these tips in your back pocket, you’ll be a chicken tender pro in no time! Enjoy the crispy goodness!
Nutritional Information
Now, let’s chat about the nutritional side of these *crispy baked chicken tenders*! Each serving is packed with goodness while keeping it on the healthier side. Here’s a rough estimate of what you can expect per serving (about 4 tenders):
- Calories: 320
- Fat: 10g
- Saturated Fat: 2g
- Unsaturated Fat: 8g
- Trans Fat: 0g
- Cholesterol: 100mg
- Sodium: 400mg
- Carbohydrates: 30g
- Fiber: 2g
- Sugar: 1g
- Protein: 30g
Keep in mind, these values can vary based on the specific ingredients you use and their quantities, so feel free to adjust as you see fit! But overall, these tenders are a fantastic option if you’re looking for a delicious meal without the guilt. Enjoy every crunchy bite, knowing they’re not only tasty but also nutritious!
Frequently Asked Questions
Got questions about making these delicious *crispy baked chicken tenders*? I’ve got you covered! Here are some of the most common inquiries I hear, along with my best answers.
Can I use chicken thighs instead of breasts?
Absolutely! Chicken thighs are a fantastic option if you prefer a bit more flavor and juiciness. Just make sure to remove the skin and bones before cutting them into strips!
How can I make these tenders gluten-free?
No problem at all! Just swap out the regular flour and breadcrumbs for gluten-free alternatives. There are plenty of great options available that will still give you that crispy texture you love!
What dipping sauces pair well with these chicken tenders?
Oh, the possibilities are endless! I love serving them with honey mustard, ranch dressing, or even a zesty BBQ sauce. If you’re feeling adventurous, try a spicy sriracha mayo for a little kick!
Can I prep these tenders in advance?
Yes, you can! If you want to save time, you can bread the chicken strips a few hours ahead of time and keep them in the fridge until you’re ready to bake. Just make sure to cover them tightly!
How do I know when the chicken tenders are done?
The best way to check is to use a meat thermometer; the internal temperature should reach 165°F (75°C). You’ll also want to look for that beautiful golden color. If they’re crispy and browned, you’re good to go!
Feel free to reach out if you have any more questions! Cooking should be fun and easy, so I’m here to help you enjoy every bite of these crispy baked chicken tenders!
Why You’ll Love This Recipe
- Healthier Alternative: These *crispy baked chicken tenders* are baked, not fried, so you get all the crunch without the extra calories. Perfect for guilt-free indulgence!
- Easy to Make: With simple ingredients and straightforward steps, even beginner cooks can whip these up with confidence. You’ll feel like a pro in no time!
- Kid-Friendly: Kids love chicken tenders, and these are no exception! Serve them up with their favorite dipping sauces for a meal that’s sure to please the whole family.
- Customizable: Feel free to get creative! Switch up the spices or try different dipping sauces to suit your taste. The options are endless!
- Quick Cooking Time: From prep to plate, you can have these tenders ready in about 40 minutes. Perfect for busy weeknights when you need a delicious meal fast!
- Great for Meal Prep: These tenders store well and reheat beautifully, making them an excellent option for meal prepping lunches or quick dinners throughout the week.
Storage & Reheating Instructions
Now, let’s talk about how to keep those crispy baked chicken tenders fresh and delicious after you’ve made them! Proper storage and reheating are key to maintaining that wonderful crunch and flavor.
First off, if you have any leftovers (which I hope you do because they’re so good!), let them cool completely before storing. Once they’re cool, place the chicken tenders in an airtight container. You can layer them with parchment paper to help prevent them from sticking together. They’ll last in the fridge for up to 3 days, but trust me, they probably won’t last that long!
When it’s time to reheat, I recommend using the oven to keep that crispy texture. Preheat your oven to 350°F (175°C) and place the chicken tenders on a baking sheet. Bake them for about 10-15 minutes, or until they’re heated through and crispy again. You can also give them a light spray of cooking spray before reheating to help regain that crunch!
If you’re in a hurry, you can use the microwave, but be careful! Microwaving can make them a bit soggy. If you must, place the tenders on a microwave-safe plate and heat them in short bursts of 30 seconds, checking frequently to avoid overheating.
With these storage and reheating tips, you can enjoy your crispy baked chicken tenders even days later! Enjoy every delicious bite!
Print
Comforting Crispy Baked Chicken Tenders in 30 Minutes
- Prep Time: 15 minutes
- Cook Time: 25 minutes
- Total Time: 40 minutes
- Yield: 4 servings 1x
- Category: Main Dish
- Method: Baking
- Cuisine: American
- Diet: Low Calorie
Description
Crispy baked chicken tenders are a healthy alternative to fried chicken. They are crunchy on the outside and tender on the inside.
Ingredients
- 2 cups chicken breast, cut into strips
- 1 cup breadcrumbs
- 1/2 cup flour
- 2 eggs
- 1 teaspoon garlic powder
- 1 teaspoon paprika
- 1/2 teaspoon salt
- 1/2 teaspoon pepper
- Cooking spray
Instructions
- Preheat the oven to 400°F (200°C).
- Prepare a baking sheet and line it with parchment paper.
- Set up a breading station with three bowls: one for flour, one for beaten eggs, and one for breadcrumbs mixed with garlic powder, paprika, salt, and pepper.
- Dip each chicken strip in flour, then in the egg, and finally coat with breadcrumbs.
- Place the coated chicken strips on the baking sheet.
- Spray the tops lightly with cooking spray.
- Bake for 20-25 minutes or until golden brown and cooked through.
Notes
- For extra crunch, use panko breadcrumbs.
- Serve with your favorite dipping sauce.
- Store leftovers in an airtight container in the fridge.
Nutrition
- Serving Size: 4 tenders
- Calories: 320
- Sugar: 1g
- Sodium: 400mg
- Fat: 10g
- Saturated Fat: 2g
- Unsaturated Fat: 8g
- Trans Fat: 0g
- Carbohydrates: 30g
- Fiber: 2g
- Protein: 30g
- Cholesterol: 100mg
Keywords: crispy baked chicken tenders, healthy chicken recipe, baked chicken