
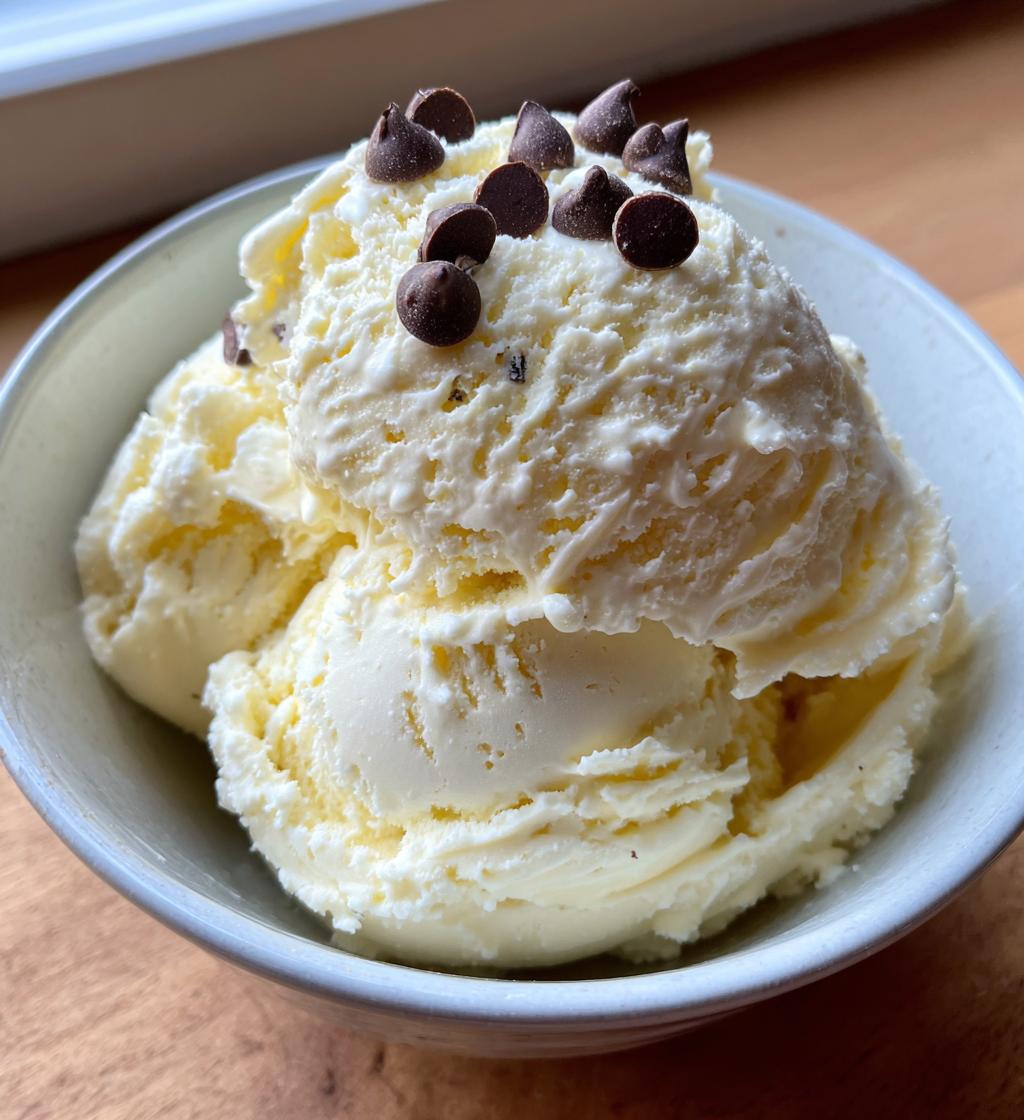
Oh my gosh, let me tell you about this no churn vanilla ice cream! It’s honestly one of the easiest and most delicious desserts I whip up. I still remember the first time I made it—scooping into that creamy, dreamy goodness took me right back to childhood summers spent with my family, homemade ice cream in hand, laughing and enjoying the moment. What I love about this recipe is that you don’t need an ice cream maker at all! Just a few simple ingredients and a little bit of patience while it freezes. The rich, velvety texture and the sweet vanilla flavor are absolutely irresistible. Plus, you can totally customize it with your favorite mix-ins or toppings, making it a fun treat for everyone. Trust me, once you try this no churn vanilla ice cream, you’ll be hooked!
Ingredients List
- 2 cups heavy cream (make sure it’s nice and cold for the best whip!)
- 1 cup sweetened condensed milk (the sweet stuff that makes it super creamy)
- 1 tablespoon vanilla extract (for that delightful vanilla flavor)
How to Prepare No Churn Vanilla Ice Cream
Making this no churn vanilla ice cream is as simple as it gets! Just follow these easy steps, and you’ll be savoring this creamy delight in no time.
Step 1: Whip the Heavy Cream
First things first, grab that chilled heavy cream and a large mixing bowl. Using an electric mixer, whip the cream on medium-high speed until stiff peaks form. This usually takes about 3-5 minutes. You’ll know it’s ready when you can lift the beaters and the peaks hold their shape. Be careful not to over-whip, though, or you’ll end up with butter! If you want, you can pop your mixing bowl and beaters in the freezer for 10 minutes before starting, which helps the cream whip up even better.
Step 2: Combine Condensed Milk and Vanilla
In another bowl, mix together the sweetened condensed milk and the vanilla extract. Use a whisk to blend them until they’re smooth and well combined. This sweet mixture is what makes this ice cream so decadently creamy and flavorful. It only takes a minute or two, so you can do this while your cream is whipping. Just don’t forget to keep an eye on it!
Step 3: Fold in Whipped Cream
Now comes the fun part! Gently fold the whipped cream into the condensed milk mixture. Start with a scoop of the whipped cream and stir it into the condensed milk to lighten it up. Then, gradually add the rest of the whipped cream in batches, using a spatula and folding carefully. You want to keep that lovely airy texture, so avoid stirring too vigorously. It’s like a dance—gentle and graceful!
Step 4: Transfer and Freeze
Once everything is combined and looks beautifully fluffy, transfer the mixture into an airtight container. Make sure to smooth the top with your spatula. Now, it’s time to freeze! Cover it tightly and pop it in the freezer for at least 6 hours or until it’s completely solid. I usually like to make it the night before, so it’s perfectly ready for a hot day treat. Just try to resist the urge to open the freezer every hour to check on it—trust me, it’s worth the wait!
Why You’ll Love This Recipe
- No ice cream maker needed—just whip, fold, and freeze!
- Quick prep time of only 10 minutes, making it perfect for last-minute dessert cravings.
- Rich and creamy flavor that rivals any store-bought ice cream.
- Customizable with your favorite mix-ins like chocolate chips, nuts, or fresh fruit.
- Perfect for summer gatherings, family BBQs, or a cozy night in.
- Leftovers (if there are any!) can be stored in the freezer for up to 2 weeks.
Tips for Success
To make sure your no churn vanilla ice cream turns out perfectly every time, here are a few tips that I swear by! First, always use cold utensils when whipping the cream; it helps achieve those lovely stiff peaks quicker. A chilled mixing bowl and beaters make a world of difference! Also, if you want to take your ice cream to the next level, don’t hesitate to mix in some fun add-ins like chocolate chips, crushed cookies, or even a swirl of caramel or fudge. Just fold them in gently to keep that airy texture intact. And remember, patience is key! Letting it freeze for the full 6 hours (or overnight, if you can resist) gives the flavors time to meld beautifully. Lastly, if you want a slightly different take, try adding a pinch of sea salt to enhance the sweetness—trust me, it’s a game changer!
Nutritional Information Section
Just a heads up, the nutritional values can vary based on the specific ingredients and brands you use, but here’s a general idea of what you can expect per serving (1/2 cup) of this delightful no churn vanilla ice cream:
- Calories: 250
- Fat: 18g
- Saturated Fat: 11g
- Protein: 2g
- Carbohydrates: 24g
- Sugar: 20g
- Sodium: 50mg
- Cholesterol: 70mg
This sweet treat is definitely a bit indulgent, but it’s so worth it for those creamy, dreamy bites! Enjoy it mindfully, and don’t forget to share with friends and family—if you can bear to part with it!
FAQ Section
I’ve got a few questions I hear often about this no churn vanilla ice cream, so let’s tackle them! First up, how do I store leftovers? Simply keep your ice cream in an airtight container in the freezer for up to 2 weeks. Just make sure to cover it tightly, so it doesn’t get freezer burn!
Next, can I make this dairy-free? Absolutely! Just swap out the heavy cream for a dairy-free whipped cream alternative and use a dairy-free condensed milk. It works beautifully and still tastes divine!
Another common question is, what variations can I try? Oh, the possibilities are endless! You can mix in crushed cookies, swirl in some fruit puree, or even add a splash of coffee for a mocha twist. Just remember to fold in any mix-ins gently to keep the airy texture intact!
Serving Suggestions
Now that you’ve made this creamy no churn vanilla ice cream, let’s talk about how to serve it up! It’s absolutely delicious on its own, but if you want to elevate your dessert experience, try pairing it with warm brownies or a slice of rich chocolate cake. The contrast of hot and cold is simply heavenly! You can also serve it alongside fresh fruit like berries or sliced peaches for a refreshing twist. Oh, and don’t forget about drizzling it with chocolate or caramel sauce for that extra touch of indulgence. Trust me, your taste buds will thank you! Enjoy every scoop!
Storage & Reheating Instructions
If you find yourself with any leftovers of this delicious no churn vanilla ice cream (which is a big if!), storing it is super simple. Just keep it in an airtight container in the freezer, and it’ll stay fresh for up to 2 weeks. Make sure the lid is on tight to prevent any pesky freezer burn from ruining that creamy goodness!
As for reheating, there’s really no need to heat this ice cream. Just scoop it straight from the freezer! If it’s too hard, let it sit out for a few minutes to soften before digging in. Enjoy every last bite!
Print
Delicious No Churn Vanilla Ice Cream for 6 Comforting Servings
- Prep Time: 10 minutes
- Cook Time: 0 minutes
- Total Time: 6 hours 10 minutes
- Yield: 4 servings 1x
- Category: Dessert
- Method: No Churn
- Cuisine: American
- Diet: Vegetarian
Description
A simple recipe for creamy no churn vanilla ice cream.
Ingredients
- 2 cups heavy cream
- 1 cup sweetened condensed milk
- 1 tablespoon vanilla extract
Instructions
- In a large bowl, whip the heavy cream until stiff peaks form.
- In another bowl, combine sweetened condensed milk and vanilla extract.
- Gently fold the whipped cream into the condensed milk mixture.
- Transfer the mixture to an airtight container.
- Freeze for at least 6 hours or until solid.
Notes
- For added flavor, mix in chocolate chips or fruit.
- Store in the freezer for up to 2 weeks.
Nutrition
- Serving Size: 1/2 cup
- Calories: 250
- Sugar: 20g
- Sodium: 50mg
- Fat: 18g
- Saturated Fat: 11g
- Unsaturated Fat: 7g
- Trans Fat: 0g
- Carbohydrates: 24g
- Fiber: 0g
- Protein: 2g
- Cholesterol: 70mg
Keywords: no churn vanilla ice cream