
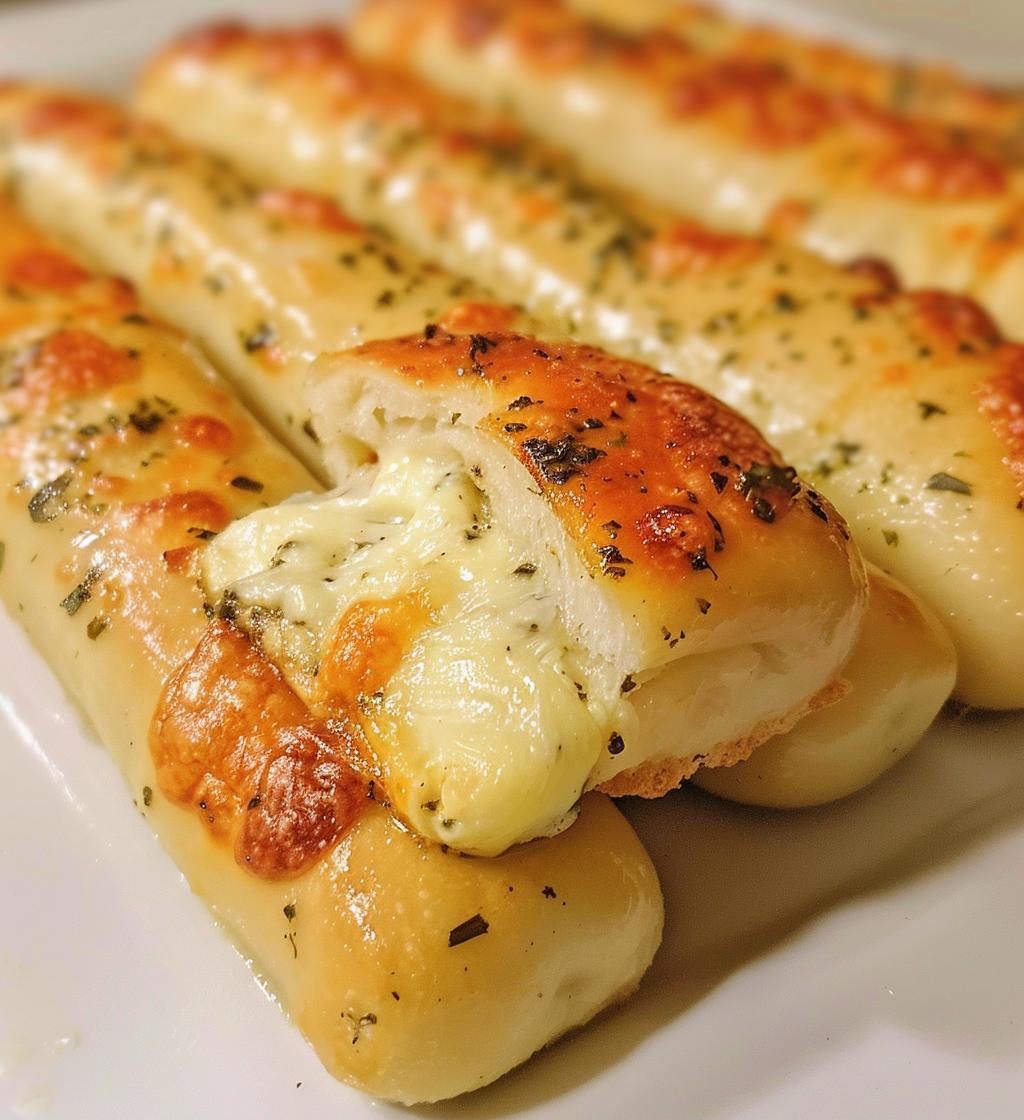
Oh my goodness, let me tell you about these Garlic Herb Cheese-Stuffed Breadsticks! They’re absolutely irresistible—soft, cheesy, and bursting with flavor! I whip these up for family gatherings, and they disappear faster than I can pull them out of the oven. Seriously, the mix of garlic and herbs combined with gooey mozzarella makes them the perfect snack or appetizer. I love serving them warm, straight from the oven, with a side of marinara sauce for dipping. Trust me, you’ll want to make a double batch because everyone will be asking for seconds (and thirds)!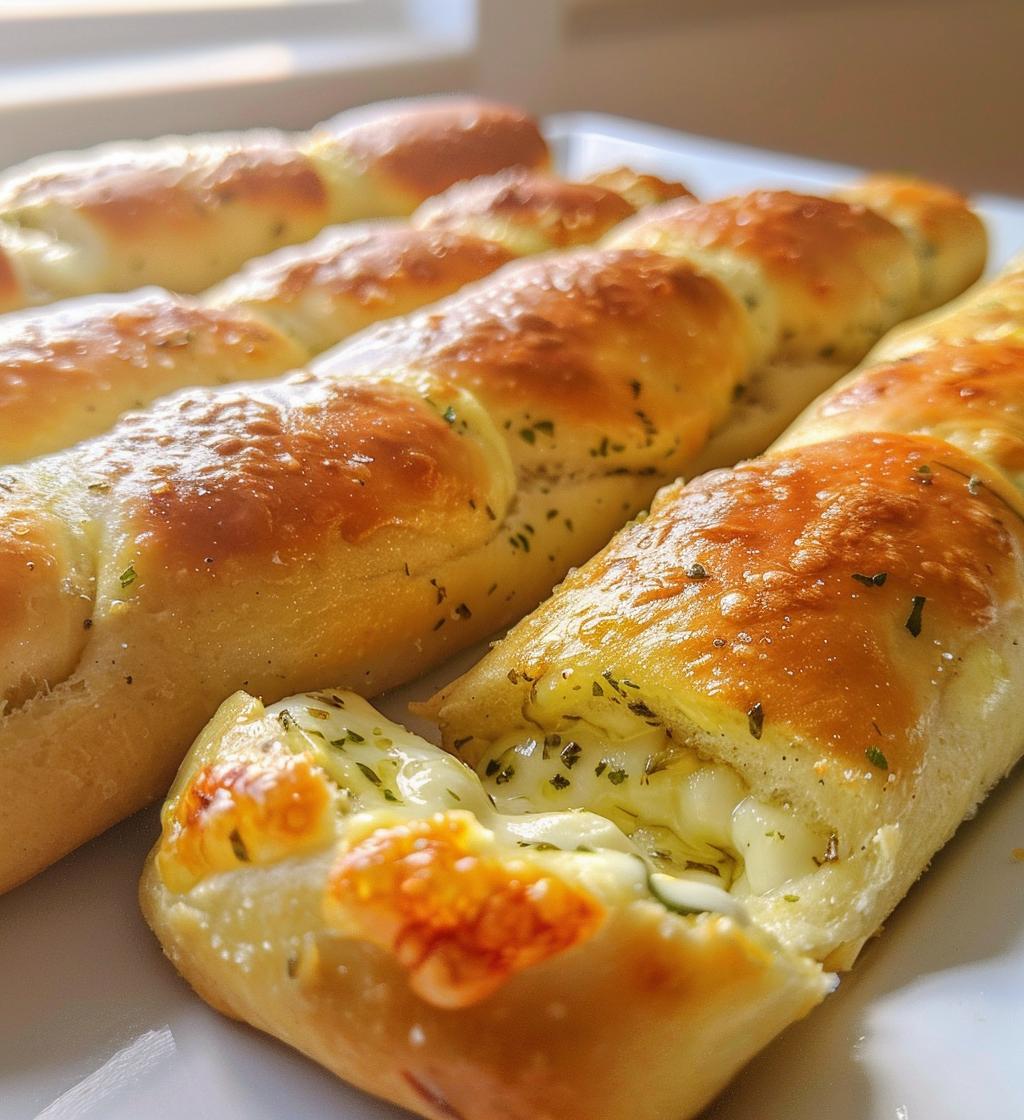
Ingredients List
- 1 cup warm water (make sure it’s just warm to the touch, not too hot!)
- 2 tablespoons sugar (this helps activate the yeast and gives a slight sweetness)
- 2 teaspoons active dry yeast (the magic ingredient for that fluffy dough)
- 2 tablespoons olive oil (for richness and flavor)
- 3 cups all-purpose flour (this is the base of our breadsticks)
- 1 teaspoon salt (to enhance all the delicious flavors)
- 1 cup shredded mozzarella cheese (the gooier, the better!)
- 2 cloves garlic, minced (for that aromatic punch)
- 1 tablespoon dried oregano (adds a lovely herbaceous note)
- 1 tablespoon dried basil (because we’re making Italian-style breadsticks!)
- 1/4 cup melted butter (to brush on top for that golden finish)
How to Prepare Garlic Herb Cheese-Stuffed Breadsticks
Step 1: Prepare the Yeast Mixture
First things first, let’s get that yeast going! In a medium bowl, combine 1 cup of warm water, 2 tablespoons of sugar, and 2 teaspoons of active dry yeast. Give it a little stir and then let it sit for about 5 minutes. You’ll see it start to bubble and foam—that’s when you know it’s ready to work its magic!
Step 2: Make the Dough
Now, let’s get to mixing! Add 2 tablespoons of olive oil, 3 cups of all-purpose flour, and 1 teaspoon of salt to your yeast mixture. Mix it all together until a dough starts to form. You want it to be a little shaggy at this point; don’t worry, we’ll smooth it out shortly!
Step 3: Knead the Dough
Time to get your hands dirty! Lightly flour your work surface and turn the dough out onto it. Knead the dough for about 5 minutes, which is just enough time to develop that lovely gluten. You want it to be smooth and elastic. If it’s too sticky, just sprinkle a little more flour as you go.
Step 4: Let the Dough Rise
Once your dough is kneaded, place it in a greased bowl and cover it with a clean kitchen towel. Now, let it rise in a warm spot for about 1 hour. This is the part where the magic happens—watch it double in size, and trust me, it’ll be worth the wait!
Step 5: Preheat the Oven
While your dough is rising, go ahead and preheat your oven to 375°F (190°C). This is super important, as you want your breadsticks to bake evenly and get that gorgeous golden color.
Step 6: Shape the Breadsticks
After the dough has risen, punch it down gently to release the air. Roll it out on a floured surface into a rectangle. Now, here comes the fun part! Spread your filling—1 cup of shredded mozzarella cheese, 2 cloves of minced garlic, 1 tablespoon of dried oregano, and 1 tablespoon of dried basil—on one half of the dough. Fold the other half over, sealing the edges well. Then, cut the dough into strips; I usually make mine about 1 inch wide, but you can adjust based on your preference!
Step 7: Bake
Place those beautiful strips on a baking sheet lined with parchment paper. Brush the tops with 1/4 cup of melted butter for that irresistible golden finish. Pop them in the oven and bake for 15-20 minutes until they’re golden brown and your kitchen smells amazing. Seriously, get ready for the compliments!
Why You’ll Love This Recipe
- Quick to prepare—perfect for unexpected guests or late-night cravings!
- Deliciously cheesy with a burst of garlic and herbs in every bite.
- Versatile as a snack, appetizer, or even a fun side dish for dinner.
- Customizable! You can easily swap in your favorite cheeses or herbs.
- Kids and adults alike can’t resist these warm, gooey treats.
- They make your kitchen smell heavenly while baking—seriously, just wow!
- An impressive dish to serve at gatherings that’s actually super simple to make.
Tips for Success
Alright, let’s make sure your Garlic Herb Cheese-Stuffed Breadsticks turn out perfectly every time! Here are some of my top tips to avoid common pitfalls:
- Don’t rush the yeast: Make sure your warm water isn’t too hot—if it is, it can kill the yeast! You want it to be cozy, like a warm bath. Let it bubble and foam for those 5 minutes to ensure it’s active.
- Pay attention to rising: When letting the dough rise, find a warm spot—maybe near your oven or in a sunny corner of your kitchen. If your kitchen is cool, it can take longer for the dough to double in size, so be patient!
- Flour wisely: When kneading, add flour gradually if the dough feels too sticky. But be careful not to over-flour, as you want that soft, pillowy texture.
- Seal those edges: When folding the dough over the filling, make sure to seal the edges well. This will keep all that cheesy goodness inside while baking—nobody wants a cheese explosion!
- Keep an eye on baking time: Ovens can vary, so start checking your breadsticks at the 15-minute mark. You want them golden brown but not too dark—perfectly baked breadsticks are a glorious sight!
- Serve them warm: These breadsticks are best enjoyed fresh out of the oven. If you have leftovers, reheat them in the oven for a few minutes to bring back that melty cheese texture.
With these tips in your back pocket, you’re going to nail these breadsticks every single time! Happy baking!
Storage & Reheating Instructions
So, you’ve made a batch of these mouthwatering Garlic Herb Cheese-Stuffed Breadsticks, and now you’re wondering how to store those delicious leftovers. First off, if you somehow have any left (I doubt it!), let them cool to room temperature. Then, place them in an airtight container or wrap them tightly in plastic wrap. They’ll keep well in the fridge for about 3-4 days.
Now, when it comes to reheating, I’ve got a little secret to keep them just as tasty as when they were fresh out of the oven! Preheat your oven to 350°F (175°C) and pop those breadsticks on a baking sheet. Heat them for about 5-10 minutes until they’re warmed through and that cheese gets all melty again. Trust me, this is the best way to revive their deliciousness! If you’re in a rush, you can also microwave them for about 20-30 seconds, but just know they won’t have that same crispy exterior.
Enjoy every last bite, and remember, these breadsticks are always better warm and cheesy!
Nutritional Information
Curious about what’s in these delicious Garlic Herb Cheese-Stuffed Breadsticks? Here’s a handy breakdown of the typical nutritional values per serving, which is one breadstick. Keep in mind these are estimates, but they give you a good idea of what you’re indulging in!
- Calories: 150
- Fat: 7g
- Saturated Fat: 4g
- Unsaturated Fat: 2g
- Trans Fat: 0g
- Cholesterol: 15mg
- Sodium: 200mg
- Carbohydrates: 18g
- Fiber: 1g
- Sugar: 1g
- Protein: 5g
These breadsticks are not only a delightful treat but also pack a good amount of flavor and comfort in every bite. Enjoy them guilt-free as a snack or appetizer!
FAQ Section
Can I make Garlic Herb Cheese-Stuffed Breadsticks ahead of time?
Absolutely! You can prepare the dough and let it rise, then shape the breadsticks and refrigerate them for up to 24 hours before baking. Just remember to let them come to room temperature before popping them in the oven.
What can I substitute for mozzarella cheese?
If you’re not a mozzarella fan or want to mix things up, feel free to use your favorite cheese! Cheddar, provolone, or even a blend of cheeses work wonderfully. Just make sure it melts well for that gooey goodness.
How do I store leftover breadsticks?
To keep those delicious Garlic Herb Cheese-Stuffed Breadsticks fresh, let them cool completely, then store them in an airtight container in the fridge for about 3-4 days. They’re best served warm, so a quick reheat in the oven is perfect!
Can I freeze the breadsticks?
Yes, you can definitely freeze them! Just wrap the baked breadsticks tightly in plastic wrap and store them in a freezer bag. They’ll be good for about 2 months. When you’re ready to enjoy them, thaw in the fridge and reheat in the oven!
Why are my breadsticks not rising?
If your Garlic Herb Cheese-Stuffed Breadsticks aren’t rising, it could be that the yeast was inactive. Make sure your warm water isn’t too hot or too cold when activating the yeast. Also, ensure you’re giving it enough time to rise in a warm spot for the best results!
Garlic Herb Cheese-Stuffed Breadsticks: 7 Irresistible Secrets
- Prep Time: 15 minutes
- Cook Time: 20 minutes
- Total Time: 1 hour 35 minutes
- Yield: 12 breadsticks 1x
- Category: Appetizer
- Method: Baking
- Cuisine: Italian
- Diet: Vegetarian
Description
Garlic herb cheese-stuffed breadsticks are a delicious snack or appetizer made with soft bread filled with cheese and infused with garlic and herbs.
Ingredients
- 1 cup warm water
- 2 tablespoons sugar
- 2 teaspoons active dry yeast
- 2 tablespoons olive oil
- 3 cups all-purpose flour
- 1 teaspoon salt
- 1 cup shredded mozzarella cheese
- 2 cloves garlic, minced
- 1 tablespoon dried oregano
- 1 tablespoon dried basil
- 1/4 cup melted butter
Instructions
- In a bowl, combine warm water, sugar, and yeast. Let it sit for 5 minutes.
- Add olive oil, flour, and salt. Mix until a dough forms.
- Knead the dough on a floured surface for 5 minutes.
- Place the dough in a greased bowl. Cover and let it rise for 1 hour.
- Preheat the oven to 375°F (190°C).
- Roll out the dough into a rectangle.
- Spread mozzarella cheese, garlic, oregano, and basil on one half of the dough.
- Fold the dough over and seal the edges.
- Cut into strips and place on a baking sheet.
- Brush melted butter on top and bake for 15-20 minutes until golden.
Notes
- Serve warm for best flavor.
- Can substitute cheese with your favorite type.
- Adjust garlic amount to taste.
Nutrition
- Serving Size: 1 breadstick
- Calories: 150
- Sugar: 1g
- Sodium: 200mg
- Fat: 7g
- Saturated Fat: 4g
- Unsaturated Fat: 2g
- Trans Fat: 0g
- Carbohydrates: 18g
- Fiber: 1g
- Protein: 5g
- Cholesterol: 15mg
Keywords: Garlic Herb Cheese-Stuffed Breadsticks, cheese breadsticks, garlic breadsticks