
Oh, the joy of the holiday season! There’s just something magical about baking cookies and sharing them with friends and family. It warms my heart to see the smiles on their faces as they bite into my homemade treats. But let me tell you, the fun doesn’t stop at baking! The way you package those delicious Christmas cookies can elevate your gift from lovely to absolutely unforgettable.
Trust me, the right *christmas cookies packaging* not only makes your cookies look delightful but also shows how much thought and care you put into the whole gift-giving experience. Whether it’s a simple bag decorated with a festive ribbon or an adorable little gift box, your presentation says a lot. It’s a chance to sprinkle a bit of your personality into the mix! So, let’s dive into some creative ideas to make your holiday cookie gifts as beautiful as they are tasty!
Ingredients for Creative Christmas Cookies Packaging
Before we jump into the fun part of packaging, let’s gather our supplies! Here’s a simple list of ingredients you’ll need to make your Christmas cookies look absolutely stunning:
- Cardstock paper: Choose festive colors or patterns that speak to the holiday spirit! You’ll want sheets that are at least 8.5 x 11 inches—perfect for making tags or wrapping small boxes.
- Clear plastic bags: These are a must for showcasing your cookies! I recommend using bags that are 4 x 6 inches or larger, depending on how many cookies you’re packing. They keep your treats fresh while letting their deliciousness shine through.
- Decorative ribbons: Grab some twine, satin, or even metallic ribbons to tie it all together. A width of about ½ inch works well for a nice touch without overwhelming the package.
- Labels: These can be pre-made or DIY! Look for labels that are around 2 x 3 inches to fit nicely on your bags or boxes. You can write the cookie names and even include a little note about the ingredients—your loved ones will appreciate the personal touch!
- Gift boxes: If you want to go all out, opt for small gift boxes that are 4 x 4 inches or so. They add a layer of elegance and can be decorated with your chosen cardstock and ribbons!
With these ingredients in hand, you’re all set to create beautiful packages that reflect your love for baking. Let’s make those cookies shine! 🎄
How to Prepare Your Christmas Cookies Packaging
Alright, let’s get down to the nitty-gritty of preparing your Christmas cookies for that special packaging! It’s all about making sure your treats are not only delicious but also look absolutely delightful when you gift them. Follow these steps, and we’ll have your cookies ready to impress in no time!
Choose Your Cookie Type
First things first, think about the type of cookies you’re making. Some cookies, like delicate sugar cookies or frosted treats, might need a bit more cushioning during transport, while sturdier cookies, like chocolate chip or oatmeal, can handle a little jostling. If you’re gifting a mix, consider how they’ll stack together in your packaging. You want to ensure they stay as lovely as they taste!
Bake and Cool the Cookies
This part is crucial, my friend! After baking your cookies, let them cool completely on a wire rack. Trust me, packaging warm cookies can lead to a soggy situation—yikes! Not only that, but cooling helps them firm up, making them less likely to break when you’re packing them up. Give them at least 30 minutes to cool down; it’s worth the wait!
Prepare Your Packaging Materials
Now that your cookies are cool, it’s time to get your packaging materials ready. Lay out your cardstock, bags, ribbons, and labels so you have everything at your fingertips. I like to set up a little assembly line on my kitchen counter. It makes the whole process smoother and more fun! Plus, you’ll feel like a pro while you’re at it.
Package Your Cookies
Let’s dive into the fun part—packaging those cookies! Whether you’re using bags or boxes, the goal is to showcase your tasty creations while keeping them safe.
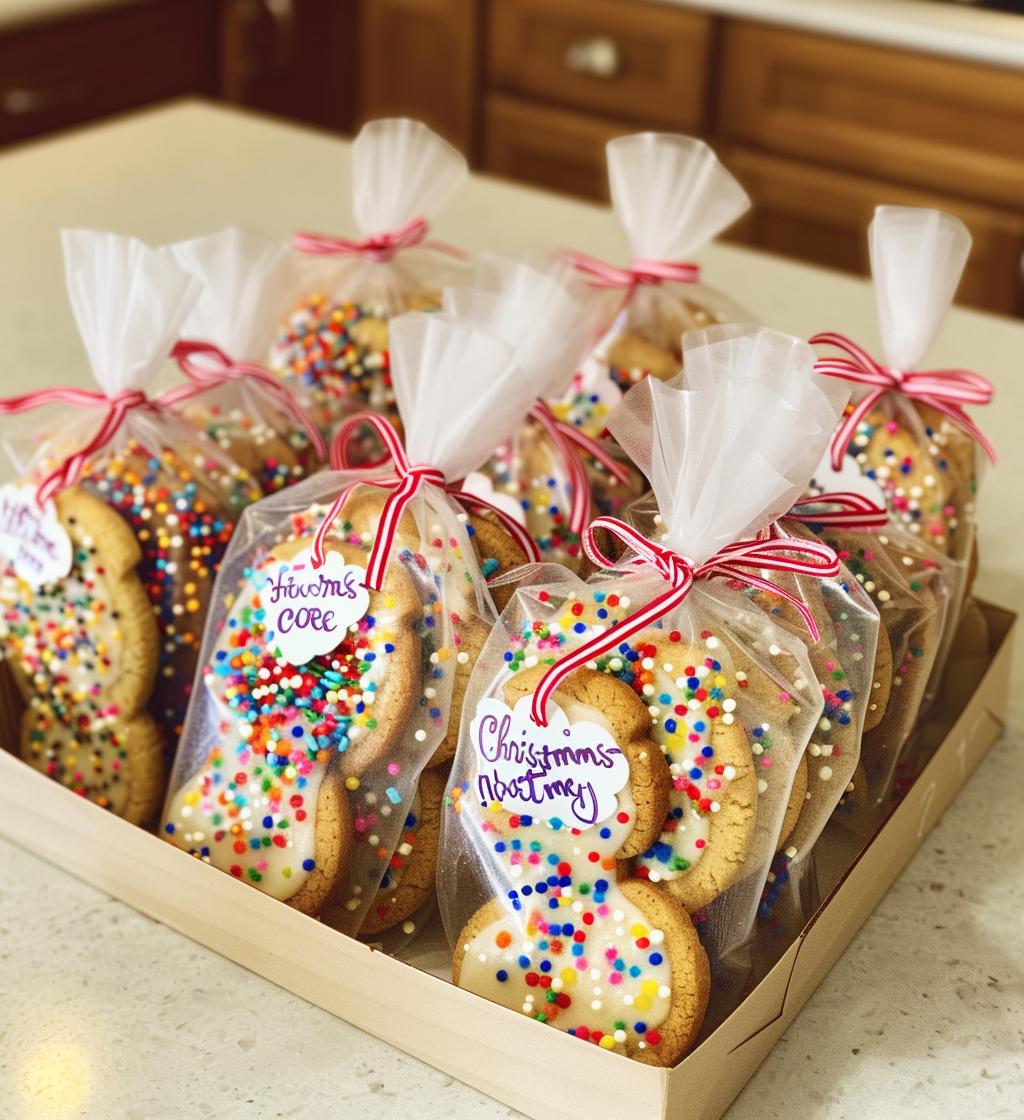
Using Clear Plastic Bags
These bags are fantastic for visibility! Just pop your cookies in, making sure not to overcrowd them. You want them to look inviting and delicious. Seal the bags tightly to keep air out, and maybe even add a little twist tie or clip to keep everything snug. The clear bags really let the cookies shine through—your loved ones will be drooling before they even open them!
Using Gift Boxes
If you’re going for a more polished look, gift boxes are the way to go! Choose boxes that are just the right size for your cookies—too big, and they might shift around; too small, and they might get squished. I love adding a layer of tissue paper or some festive filler at the bottom for cushioning. Then, arrange your cookies neatly inside, close the box, and voila! You’ve got a stunning package that feels special.
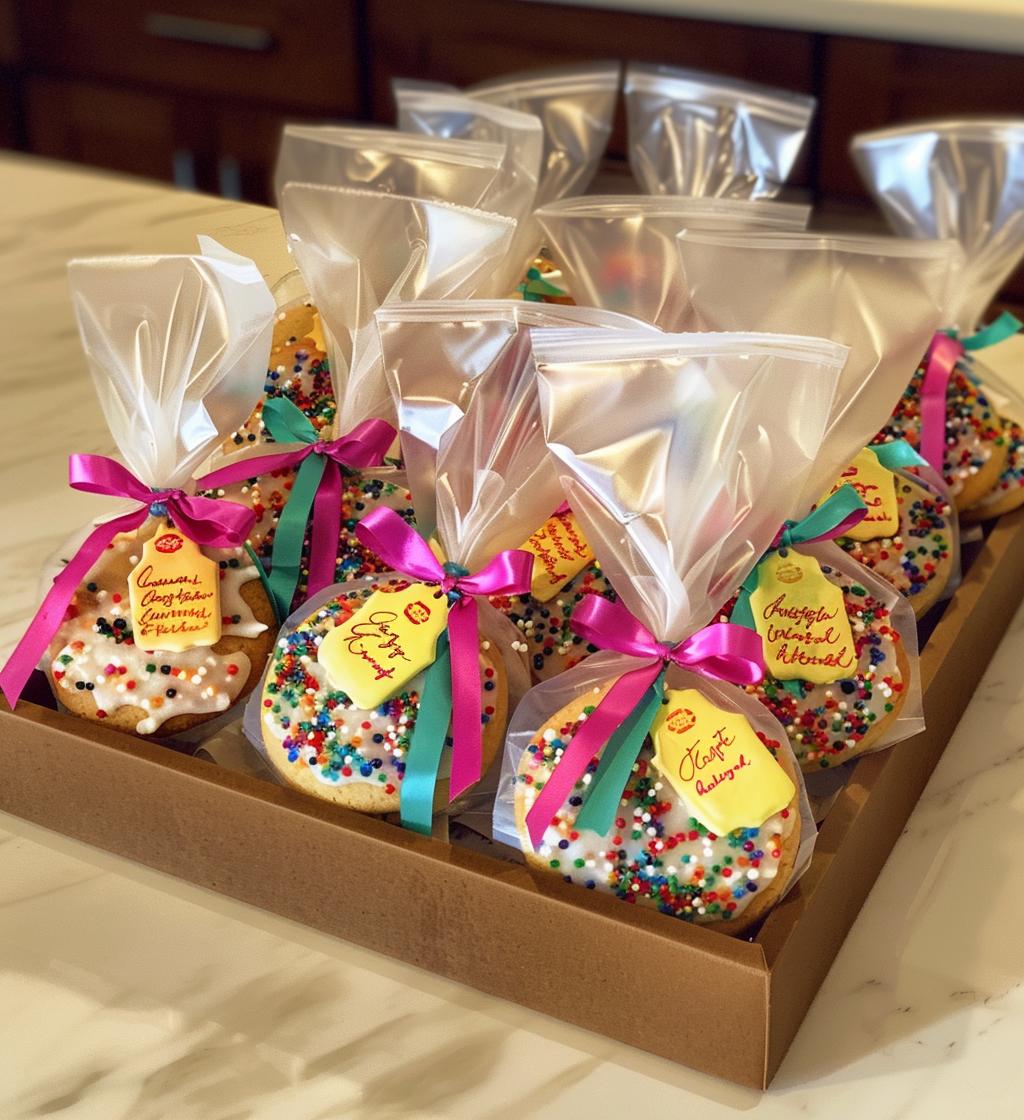
Decorate and Label Your Packages
Last but definitely not least, it’s time to add those personal touches! Grab your decorative ribbons and get creative. A simple bow can elevate your package from nice to fabulous. And don’t forget the labels! Clearly writing the cookie names and any special ingredients shows you care and adds a lovely personal touch. Plus, it helps everyone know what tasty treats await them!
Tips for Success in Christmas Cookies Packaging
Now that we’re all set with our cookies and packaging materials, let’s chat about some practical tips to make your Christmas cookies packaging a breeze! Trust me, these little nuggets of wisdom can make a world of difference and help you create stunning, gift-worthy treats.
- Choose Festive Colors: Go wild with holiday colors! Red, green, gold, or silver can make your packages pop and instantly evoke that festive spirit. Don’t be afraid to mix and match patterns and textures for a fun, layered look!
- Personal Touches: Consider adding a handwritten note or a small card inside the package. A little message can make your gift feel extra special and personal, showing your loved ones just how much you care.
- Test for Freshness: If you’re packaging cookies ahead of time, make sure they’re fully cooled and stored in airtight bags to maintain freshness. A quick taste test before gifting is always a good idea—just to ensure they’re as delicious as they look!
- Layered Packaging: For an added touch, consider layering your cookies with parchment paper or tissue paper inside your boxes. It not only looks pretty but also keeps your cookies from sticking together.
- Mix and Match: Don’t hesitate to combine different types of cookies in one package! It creates a delightful variety and makes your gift even more exciting. Just be mindful of the textures and flavors so they complement each other well.
- Secure Everything Well: Make sure to seal your bags tightly or securely close your boxes. You want your cookies to arrive in perfect condition—no one likes a crumbled treat!
With these tips in your back pocket, you’re all set to package your Christmas cookies like a pro! Enjoy the process and let your creativity shine—it’s all about spreading joy and deliciousness during the holidays!
Variations in Packaging Ideas
Let’s get those creative juices flowing! There are so many fun and unique ways to package your Christmas cookies that can really make your gifts stand out. I’m excited to share some alternative methods that’ll add a personal touch to your holiday treats.
- Cookie Jars: Instead of the usual bags or boxes, why not use clear jars? Layer your cookies in a mason jar for a rustic yet chic presentation. You can even add a sprinkle of festive sprinkles or some decorative candy at the bottom for an extra touch. Just tie a ribbon around the top, and you’ve got a gorgeous gift!
- DIY Cookie Cones: Ever thought about using paper cones? They’re super cute and fun! Just roll some cardstock into a cone shape, fill it with cookies, and seal it at the top. You can decorate the outside with washi tape or stickers for a festive flair. It’s a playful way to present your cookies!
- Fabric Pouches: For a more eco-friendly option, consider using small fabric pouches. You can sew or buy muslin or burlap bags that can be reused later. Fill them with cookies, and tie them closed with twine or a satin ribbon for a charming, rustic look.
- Holiday-Themed Tins: If you want to go all out, decorative tins are a classic choice! They come in all sorts of festive designs and can be reused after the cookies are gone. Line the tins with colorful tissue paper before filling them with your treats—your cookies will feel extra special in a beautifully presented tin!
- Personalized Boxes: Get creative with plain cardboard boxes! You can paint or decorate them with stickers or stamps that reflect the holiday season. This way, each box is uniquely yours and adds a personal touch that your friends and family will love.
- Clear Cellophane Wrap: Want to go simple yet elegant? Wrap your cookie stacks in clear cellophane! It gives a lovely view of your cookies while keeping them fresh. Tie it off with a festive ribbon or a sprig of greenery for that holiday touch—so pretty!
The best part about these variations is that they allow you to express your creativity while making your gifts feel even more special. So go ahead, mix and match these ideas, and let your imagination run wild! Your loved ones will be thrilled to receive your beautifully packaged cookies this holiday season.
Nutritional Information Disclaimer
Before we dive into the joy of gifting, I want to share a quick note about the nutritional information for those delicious Christmas cookies. It’s important to remember that the nutrition can vary quite a bit depending on the ingredients you choose and the brands you use. So, while I’ve provided some general values, I can’t guarantee that they’ll be exact for your homemade treats.
If you’re watching your intake for any reason, I recommend checking the specific nutritional information on the products you use. It’s all about making informed choices while still enjoying the magic of holiday baking! Happy cookie gifting!
Why You’ll Love These Christmas Cookies Packaging Ideas
Oh, let me tell you why these Christmas cookies packaging ideas are going to become your new favorite holiday tradition! From the moment you start wrapping those delicious cookies, you’ll feel the festive spirit in the air. Here are just a few reasons to get excited:
- Quick Preparation: These packaging ideas are super simple and don’t take much time at all! You’ll spend less time worrying about how to present your cookies and more time enjoying the sweet smell of them baking. It’s a win-win!
- Personalization Options: You can really let your personality shine through! Whether you choose colorful ribbons, handmade labels, or unique containers, each package becomes a special reflection of your creativity and love for the recipient.
- Enhancing the Holiday Spirit: There’s something so heartwarming about beautifully packaged cookies. It spreads joy and excitement, making the whole gift-giving experience feel extra special. Trust me, your loved ones will appreciate the effort!
- Versatile for Any Occasion: These packaging ideas aren’t just for Christmas! You can easily adapt them for birthdays, anniversaries, or any festive gathering. Once you’ve mastered this, you’ll want to package cookies for every occasion!
- Great for Sharing: Whether you’re gifting a neighbor, bringing cookies to a party, or just treating your family, these packages make sharing treats feel even more delightful. It’s all about spreading the love, right?
- Cost-Effective: With a little creativity, you can create stunning packages without breaking the bank. Using materials you already have at home or buying inexpensive supplies can lead to beautiful results—perfect for the budget-conscious baker!
So, roll up your sleeves and let’s make some magic happen with those cookies! You’re going to love the joy and satisfaction that comes with each beautifully wrapped package. Happy baking and gifting!
Share Your Creativity!
I’d absolutely love to see how you’re packaging your Christmas cookies this year! Whether you went with classic bags, creative jars, or something entirely unique, every idea is a treasure. So, don’t be shy—drop a comment below and share your thoughts or your fabulous packaging ideas. Your creativity might just inspire someone else!
And hey, if you snap some photos of your beautifully packaged cookies, tag me on social media! I can’t wait to see your festive creations and how you’re spreading joy this holiday season. Let’s celebrate the fun of cookie gifting together and make this time of year even sweeter!
Print
Christmas Cookies Packaging: 7 Creative Ideas to Dazzle
- Prep Time: 30 minutes
- Cook Time: 20 minutes
- Total Time: 50 minutes
- Yield: 24 cookies
- Category: Dessert
- Method: Baking
- Cuisine: American
- Diet: Vegetarian
Description
Creative packaging ideas for Christmas cookies.
Ingredients
- Cardstock paper
- Clear plastic bags
- Decorative ribbons
- Labels
- Gift boxes
Instructions
- Choose your cookie type.
- Bake and cool the cookies.
- Prepare your packaging materials.
- Place cookies in clear plastic bags or gift boxes.
- Seal bags and decorate with ribbons.
- Add labels with cookie names and ingredients.
- Display or gift your packaged cookies.
Notes
- Use festive colors for packaging.
- Consider including a personal note.
- Ensure cookies are fully cooled before packaging.
Nutrition
- Serving Size: 2 cookies
- Calories: 150
- Sugar: 10g
- Sodium: 50mg
- Fat: 5g
- Saturated Fat: 2g
- Unsaturated Fat: 3g
- Trans Fat: 0g
- Carbohydrates: 22g
- Fiber: 1g
- Protein: 2g
- Cholesterol: 10mg
Keywords: christmas cookies packaging, holiday treats, cookie gifts