

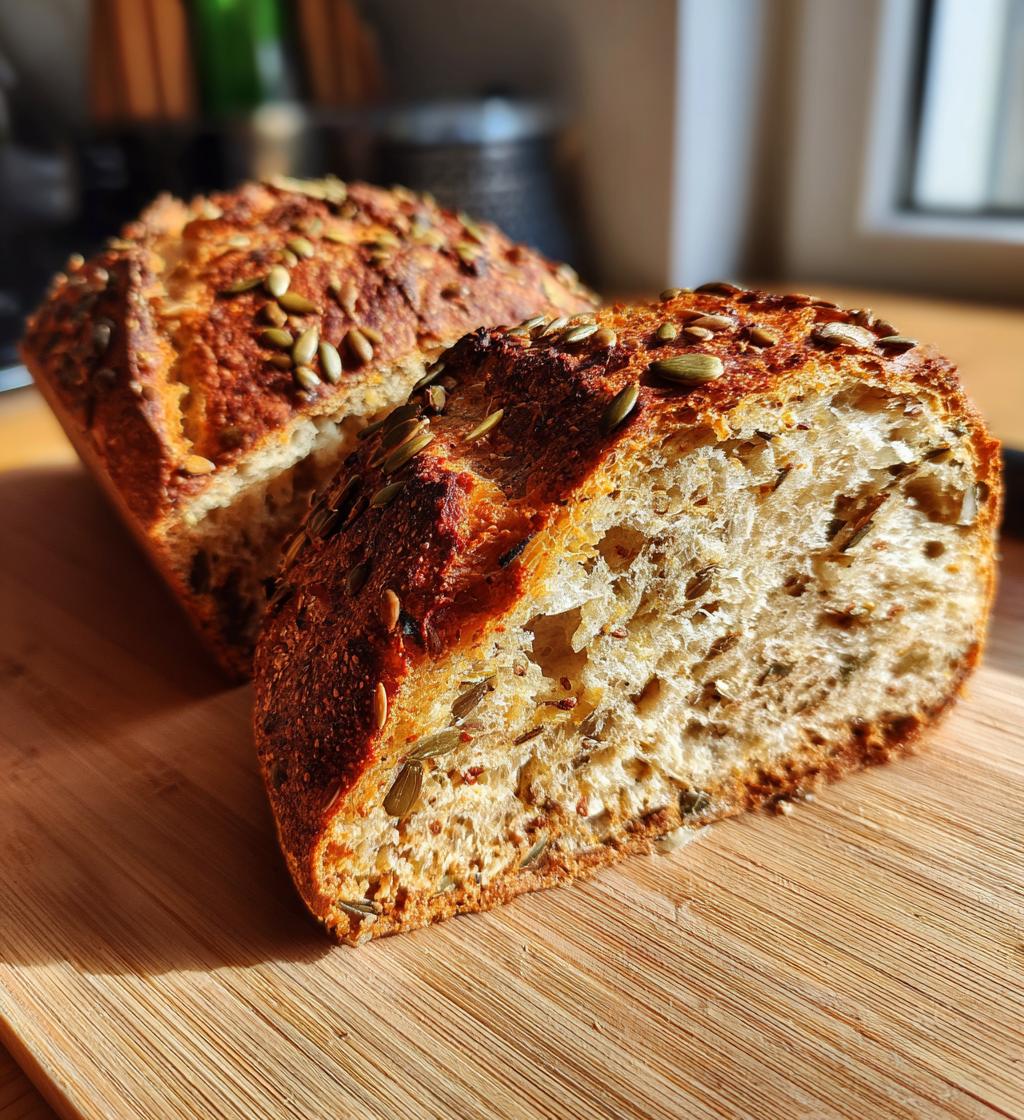
Oh my goodness, let me tell you about my absolute favorite gluten free seeded bread! It’s a game changer, trust me. Not only is it packed with nutritious seeds like sunflower, flax, and pumpkin, but it also has this incredible nutty flavor that makes every slice a delight. I love how versatile it is—whether I’m slathering on some avocado for breakfast or making a hearty sandwich for lunch, this bread never disappoints. Plus, it’s super easy to whip up at home, so I know exactly what goes into each loaf. And did I mention how great it is for those following a gluten free diet? With all the fiber and protein from the seeds, it keeps me feeling full and satisfied. You’ve got to try this recipe; it might just become your new go-to!
Ingredients List
Gather these simple ingredients to create your delicious gluten free seeded bread. Trust me, it’s worth it!
- 2 cups gluten free flour
- 1/2 cup sunflower seeds
- 1/4 cup flaxseeds
- 1/4 cup pumpkin seeds
- 1 teaspoon salt
- 1 tablespoon honey
- 1 tablespoon yeast
- 1 1/2 cups warm water
Make sure your gluten free flour is a good blend that you love! And don’t hesitate to mix up the seeds based on what you have on hand or what you like most. This bread is all about flexibility, so get creative!
How to Prepare Gluten Free Seeded Bread
Let’s dive into making this scrumptious gluten free seeded bread together! It’s super straightforward, and I promise you’ll feel like a baking pro in no time!
Step 1: Preheat the Oven
First things first, you’ll want to preheat your oven to 375°F (190°C). This step is crucial because a hot oven helps your bread rise beautifully as it bakes, giving you that perfect crust. Trust me, you don’t want to skip this part!
Step 2: Mix Dry Ingredients
In a large mixing bowl, combine the gluten free flour, sunflower seeds, flaxseeds, pumpkin seeds, and salt. I like to use a whisk here to ensure everything gets nicely blended. This way, each bite will be packed with flavor and texture. Just look at those seeds—they add such a lovely crunch!
Step 3: Prepare the Yeast Mixture
Now, in a separate bowl, dissolve the yeast and honey in the warm water. Make sure the water isn’t too hot—just warm enough to feel comfortable on your wrist. Let it sit for about 5 minutes until it’s foamy. This step is super important because it activates the yeast, which is what’s going to help your bread rise. You’ll know it’s ready when you see bubbles forming!
Step 4: Combine Mixtures
Next, pour the yeast mixture into the bowl with your dry ingredients. Mix everything together until it forms a smooth dough. I usually use a spatula or my hands for this part. Don’t be afraid to get a little messy—it’s all part of the fun! You want the dough to be thick but not dry. If it feels too dry, add a splash more warm water.
Step 5: Prepare for Baking
Now, pour that lovely dough into a greased loaf pan. Make sure to spread it evenly so it bakes uniformly. Greasing the pan is essential here—it’ll help your bread slide out easily once it’s baked, and we definitely want to avoid any sticky situations!
Step 6: Let it Rise
Cover the loaf pan with a clean kitchen towel and let it rise in a warm spot for about 30 minutes. This is where the magic happens! The dough should puff up nicely. If your kitchen is a bit chilly, try placing it in a sunny spot or near a warm oven. Just be patient; good things come to those who wait!
Step 7: Bake the Bread
Finally, it’s time to bake! Pop your loaf in the preheated oven and let it bake for about 40 minutes. You’ll know it’s done when it’s a beautiful golden brown and sounds hollow when you tap on the bottom. Let it cool in the pan for a few minutes before transferring it to a wire rack to cool completely. The aroma wafting through your kitchen right now? Absolutely heavenly!
Tips for Success
To ensure your gluten free seeded bread turns out perfectly, here are a few tips I swear by! First, always measure your flour correctly; spoon it into the measuring cup and level it off for accuracy. Second, let your ingredients come to room temperature before mixing—this helps the yeast work its magic. If you’re feeling adventurous, try adding a splash of olive oil for extra moisture and flavor. And remember, every oven is different, so keep an eye on your bread as it bakes. If it starts to brown too quickly, cover it with foil to prevent burning. You’ve got this!
Nutritional Information
Let’s talk nutrition! This gluten free seeded bread isn’t just delicious; it’s packed with goodness too! Here’s the estimated nutritional data per slice:
- Calories: 120
- Fat: 5g
- Saturated Fat: 0.5g
- Unsaturated Fat: 4g
- Trans Fat: 0g
- Carbohydrates: 15g
- Fiber: 2g
- Protein: 4g
- Sugar: 1g
- Sodium: 200mg
- Cholesterol: 0mg
Keep in mind that these values are estimates and can vary based on the specific ingredients you use. But overall, you can enjoy this bread knowing it gives you a wholesome boost with every slice! Perfect for those looking to enjoy a nutritious addition to their meals.
FAQ Section
What can I substitute for gluten free flour?
If you don’t have gluten free flour on hand, don’t worry! You can use a blend of almond flour and coconut flour, but keep in mind that the texture will be a bit different. Another great alternative is oat flour, which can give your bread a lovely flavor. Just make sure any flour you use is certified gluten free if you’re baking for someone with gluten intolerance. Each flour will bring its unique taste and texture, so feel free to experiment and find your favorite combo!
How should I store gluten free seeded bread?
To keep your gluten free seeded bread fresh, store it in an airtight container at room temperature for up to three days. If you want to keep it longer, you can slice it and freeze it! Just wrap each slice tightly in plastic wrap or foil, then pop them into a zip-top bag. This way, you can enjoy a slice whenever the craving hits! Just let it thaw at room temperature or toast it straight from the freezer for a warm, delicious treat.
Can I add more seeds or other ingredients?
Absolutely! One of the best things about this gluten free seeded bread is its versatility. Feel free to add more seeds like chia or sesame seeds for extra crunch and nutrition. You could even throw in some dried fruits or nuts for a sweet twist. Just remember to adjust the liquid slightly if you add too many dry ingredients; you want that perfect dough consistency. Get creative and make it your own—it’s all about what makes your taste buds happy!
Why You’ll Love This Recipe
- Nutritious with a delightful mix of seeds
- Easy to prepare with simple steps
- Versatile for various meals and toppings
- Perfect for gluten free diets without sacrificing flavor
- Great texture that satisfies every bite
Serving Suggestions
This gluten free seeded bread is incredibly versatile! Try pairing it with creamy avocado and a sprinkle of salt for a delightful breakfast. It also shines as a base for your favorite sandwich fillings—think turkey and spinach or a classic PB&J. Or simply enjoy it toasted with a smear of butter or jam for a cozy snack. Yum!
For more delicious recipes, check out our all recipes page!
Print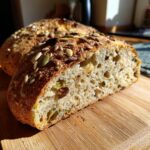
Gluten Free Seeded Bread: 7 Reasons to Fall in Love
- Prep Time: 15 minutes
- Cook Time: 40 minutes
- Total Time: 55 minutes
- Yield: 1 loaf 1x
- Category: Bread
- Method: Baking
- Cuisine: American
- Diet: Gluten Free
Description
A delicious and nutritious gluten free seeded bread.
Ingredients
- 2 cups gluten free flour
- 1/2 cup sunflower seeds
- 1/4 cup flaxseeds
- 1/4 cup pumpkin seeds
- 1 teaspoon salt
- 1 tablespoon honey
- 1 tablespoon yeast
- 1 1/2 cups warm water
Instructions
- Preheat the oven to 375°F (190°C).
- In a bowl, mix gluten free flour, seeds, and salt.
- In another bowl, dissolve yeast and honey in warm water.
- Combine both mixtures and stir until smooth.
- Pour the dough into a greased loaf pan.
- Let it rise for 30 minutes.
- Bake for 40 minutes or until golden brown.
- Cool before slicing.
Notes
- Store in an airtight container.
- Can be frozen for longer shelf life.
- Adjust seed types as desired.
Nutrition
- Serving Size: 1 slice
- Calories: 120
- Sugar: 1g
- Sodium: 200mg
- Fat: 5g
- Saturated Fat: 0.5g
- Unsaturated Fat: 4g
- Trans Fat: 0g
- Carbohydrates: 15g
- Fiber: 2g
- Protein: 4g
- Cholesterol: 0mg
Keywords: gluten free seeded bread