

Oh my goodness, let me tell you about my love for oil-free hummus! It’s creamy, dreamy, and oh-so-healthy. Seriously, this recipe has become my go-to whenever I need a quick snack or a crowd-pleaser. You won’t believe how easy it is to whip up! I remember the first time I made it; I was trying to impress some vegan friends, and I was a bit nervous. But wow, they were raving about it! It’s made with simple ingredients like chickpeas and tahini, bringing all those delicious Middle Eastern flavors without any oil. Plus, it’s packed with protein and fiber, making it a guilt-free indulgence. Whether you’re dipping fresh veggies or spreading it on a sandwich, this hummus is the perfect companion for a healthy lifestyle. Trust me, once you try it, you’ll be hooked!
Ingredients List
Here’s what you’ll need to get started on your oil-free hummus journey. Trust me, these simple ingredients come together to create something truly delicious!
- 1 can chickpeas, drained and rinsed
- 1/4 cup tahini
- 2 tablespoons lemon juice
- 2 cloves garlic, minced
- 1/2 teaspoon cumin
- Salt to taste
- Water as needed
Each ingredient plays a vital role in bringing out that rich, nutty flavor. Don’t skip on the tahini; it’s what gives the hummus that creamy texture! And if you love a little kick, feel free to experiment with spices later on.
How to Prepare Oil Free Hummus
Now, let’s get into the good stuff—making your oil-free hummus! It’s super simple and honestly, it’s all about blending your ingredients just right. So, grab your food processor, and let’s get started!
Step 1: Combine Ingredients
First things first, toss your drained and rinsed chickpeas into the food processor. Add in the tahini, fresh lemon juice, minced garlic, cumin, and a pinch of salt. The flavors of these ingredients are what makes this hummus sing!
Step 2: Blend Until Smooth
Now, here’s where the magic happens! Pulse and blend these ingredients together until you achieve a nice, smooth consistency. If your hummus is a bit chunky, don’t worry! Just keep blending. You can also stop and scrape down the sides to make sure everything is getting blended evenly.
Step 3: Adjust Consistency
Next, it’s time to adjust the texture. Gradually add water, just a tablespoon at a time, while blending. Keep going until you reach that creamy, dreamy consistency that you love. I like mine a bit on the thicker side, but it’s up to you!
Step 4: Seasoning Adjustments
Take a moment to taste your hummus. This is the fun part! If you think it needs a little more salt or lemon juice, go ahead and add it in. Remember, it’s all about what makes your taste buds happy!
Step 5: Serving Suggestions
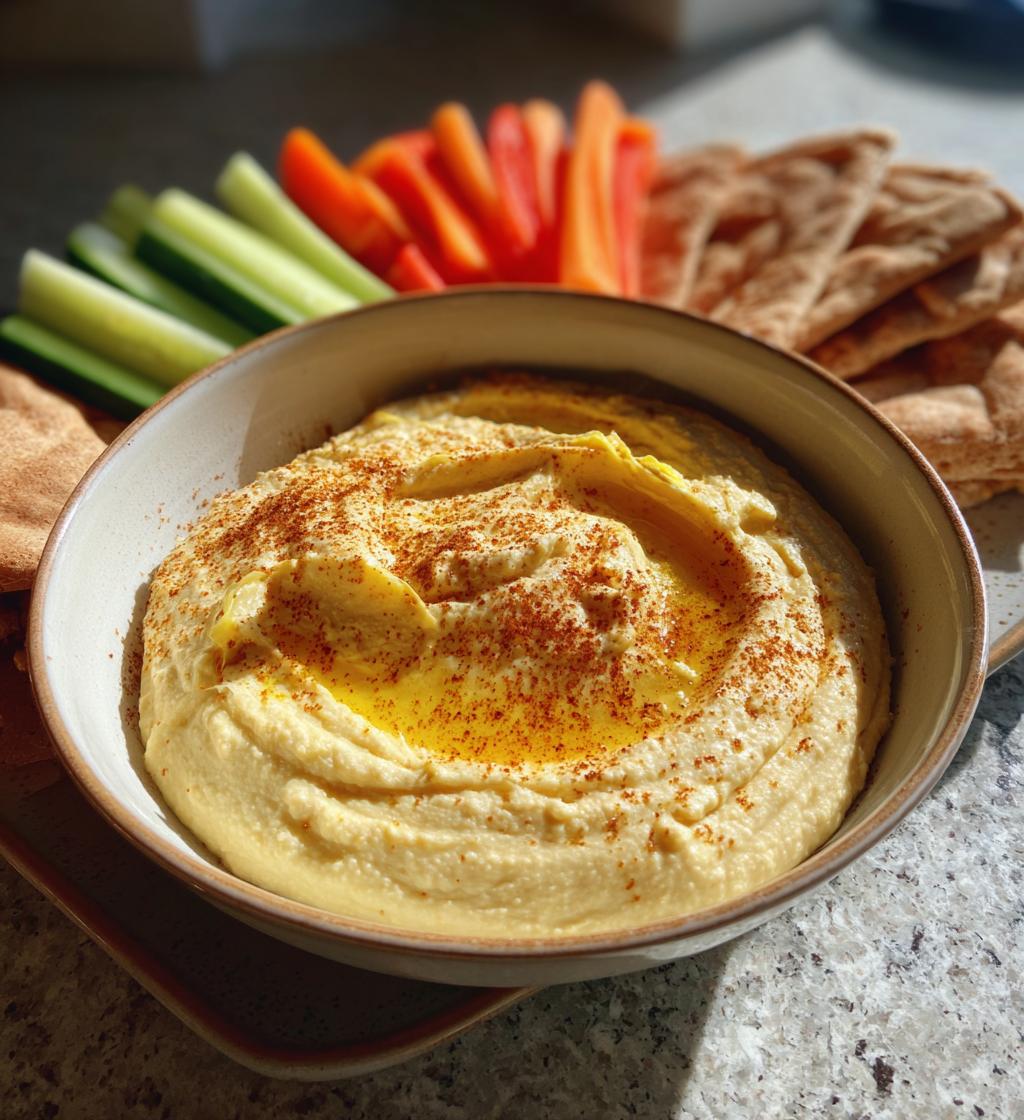
Finally, serve your beautiful oil-free hummus with fresh veggies, like carrots and cucumbers, or some whole grain pita. You can even spread it on sandwiches for a delicious twist. Enjoy every scoop, because you deserve it!
Nutritional Information
Now, let’s chat about the nutritional goodness packed into this oil-free hummus! This recipe is not only delicious but also healthy, making it a perfect addition to your diet. Here’s a breakdown of the estimated nutritional values based on the ingredients used:
- Serving Size: 1/4 cup
- Calories: 100
- Fat: 4g
- Saturated Fat: 0g
- Unsaturated Fat: 4g
- Trans Fat: 0g
- Cholesterol: 0mg
- Carbohydrates: 15g
- Fiber: 4g
- Sugar: 1g
- Protein: 5g
- Sodium: 50mg
These values can vary a bit depending on specific brands and measurements, but overall, you’re getting a nutrient-dense snack that’s bursting with flavor! It’s packed with protein and fiber, keeping you satisfied without the guilt. Enjoy knowing you’re treating your body right with every bite!
Why You’ll Love This Recipe
Oh, where do I even start? You’re going to absolutely adore this oil-free hummus for so many reasons! First off, it’s a total health superstar. Packed with protein and fiber from chickpeas, it’s a guilt-free snack that keeps you feeling full and satisfied. Plus, it’s low in calories and free from unhealthy fats—what’s not to love?
But the best part? It’s incredibly easy to make! With just a handful of simple ingredients, you can whip up this creamy goodness in no time at all. Seriously, it takes only about 10 minutes! You don’t need to be a culinary whiz; just toss everything in your food processor and let it do the work for you.
And let’s talk versatility! This hummus is perfect as a dip for veggies or pita, but it can also jazz up your sandwiches or wraps. Feeling adventurous? You can easily customize it with different spices or toppings to match your mood. Whether you’re hosting a gathering or just having a quiet night in, this oil-free hummus is a winner every time. You really can’t go wrong with it!
Tips for Success
Alright, let me share some of my favorite tips to ensure your oil-free hummus turns out absolutely perfect every single time! First up, make sure your chickpeas are well-drained and rinsed. This helps get rid of any canning liquid that can make your hummus taste a bit off. If you have the time, try peeling the chickpeas for an ultra-smooth texture—trust me, it’s worth it!
Next, when you’re blending, don’t rush it! Take your time and let the food processor do its magic. If it feels too thick, remember to add water gradually. Start with just a tablespoon at a time, so you can control the consistency. You want it creamy but not runny, so keep an eye on it as you blend.
And here’s a pro tip: taste as you go! Adjusting the seasoning is key to making this hummus truly your own. If you want a little zing, a splash more lemon juice or a sprinkle of salt can elevate those flavors beautifully. Don’t be afraid to experiment with spices too—smoked paprika or a hint of cayenne can add a lovely kick!
Finally, don’t forget about storage. If you have leftovers (which is rare because it’s so good!), store them in an airtight container in the fridge. It’ll stay fresh for about a week. Just give it a little stir before serving again, and you’re good to go! Enjoy the journey of making hummus, and trust me, practice makes perfect!
Variations
Oh, the possibilities with oil-free hummus are endless! Once you’ve mastered the basic recipe, you can easily jazz it up with all sorts of flavors and ingredients to keep things exciting. Here are some of my favorite variations that you absolutely need to try!
- Roasted Red Pepper: Toss in some roasted red peppers for a sweet and smoky twist. Just blend them right in with the other ingredients for a beautiful color and flavor boost!
- Spicy Hummus: If you like a little heat, add a pinch of cayenne pepper or some chopped jalapeños. You can also drizzle in some sriracha for a fun kick!
- Herbed Hummus: Fresh herbs like basil, parsley, or cilantro can bring a fresh taste. Just toss in a handful before blending for a bright, herby flavor profile.
- Lemon-Basil Pesto Hummus: Blend in a spoonful of store-bought or homemade pesto for a delightful fusion of flavors. It adds a rich nuttiness and a hint of garlic that’s simply divine!
- Beet Hummus: Want to make a colorful statement? Add roasted beets! They’ll give your hummus a stunning pink hue and a sweet, earthy flavor.
- Avocado Hummus: For even creamier goodness, toss in half an avocado. It adds a rich and buttery texture that’s oh-so-decadent!
Feel free to mix and match these ideas or come up with your own! Each variation brings a new twist, and you’ll never get bored with your hummus. Happy blending!
Storage & Reheating Instructions
Let’s talk about how to store your delicious oil-free hummus properly so you can enjoy it for days! First off, if you happen to have any leftovers (which is rare because it’s so tasty!), simply transfer it to an airtight container. It’ll keep in the fridge for up to a week, so you can always have a healthy snack on hand!
When you’re ready to dig in again, just give it a good stir before serving. Sometimes, it may thicken a bit in the fridge, but don’t worry! If it feels too thick, you can add a splash of water and mix it in to get that creamy texture back.
Now, if you’re thinking about reheating, I’ve got to be honest—hummus is best enjoyed chilled! But if you really want it warm, you can gently heat it in the microwave. Just pop it in for about 15-30 seconds, and stir well to ensure even heating. Just be careful not to overheat it, as that can change the texture and flavor. Enjoy your hummus fresh and flavorful every time!
FAQ Section
How long does homemade oil-free hummus last?
Homemade oil-free hummus can last in the fridge for up to a week when stored in an airtight container. Just make sure to give it a stir before serving again, as it might thicken a bit.
Can I substitute ingredients in the hummus recipe?
Absolutely! If you don’t have tahini on hand, you can use sunflower seed butter or even yogurt for a different flavor. And if garlic isn’t your thing, feel free to leave it out or use garlic powder instead!
What can I serve with oil-free hummus?
Oh, the options are endless! You can enjoy it with fresh veggies like carrots, cucumbers, or bell peppers for a crunchy snack. It’s also fantastic as a spread on sandwiches or wraps, or even with whole grain pita chips for dipping!
Can I freeze hummus?
Yes, you can freeze hummus! Just transfer it to a freezer-safe container and it’ll keep well for up to three months. When you’re ready to enjoy it, let it thaw in the fridge overnight and give it a good stir before serving.
How can I make my hummus creamier?
For extra creaminess, try peeling the chickpeas before blending—that little extra step can make a huge difference! Also, adding a bit more water while blending can help achieve that dreamy, smooth texture you’re looking for.

Oil Free Hummus: 5 Secrets to Creamy, Guilt-Free Joy
- Prep Time: 10 minutes
- Cook Time: 0 minutes
- Total Time: 10 minutes
- Yield: 2 cups 1x
- Category: Appetizer
- Method: Blending
- Cuisine: Middle Eastern
- Diet: Vegan
Description
A healthy and delicious oil-free hummus recipe.
Ingredients
- 1 can chickpeas, drained and rinsed
- 1/4 cup tahini
- 2 tablespoons lemon juice
- 2 cloves garlic, minced
- 1/2 teaspoon cumin
- Salt to taste
- Water as needed
Instructions
- In a food processor, combine chickpeas, tahini, lemon juice, garlic, cumin, and salt.
- Blend until smooth.
- Add water gradually until desired consistency is reached.
- Taste and adjust seasoning if needed.
- Serve with fresh vegetables or whole grain pita.
Notes
- Store leftovers in the fridge for up to a week.
- Can add spices like paprika or cayenne for extra flavor.
- Great as a dip or spread.
Nutrition
- Serving Size: 1/4 cup
- Calories: 100
- Sugar: 1g
- Sodium: 50mg
- Fat: 4g
- Saturated Fat: 0g
- Unsaturated Fat: 4g
- Trans Fat: 0g
- Carbohydrates: 15g
- Fiber: 4g
- Protein: 5g
- Cholesterol: 0mg
Keywords: oil free hummus, healthy hummus, vegan dip