
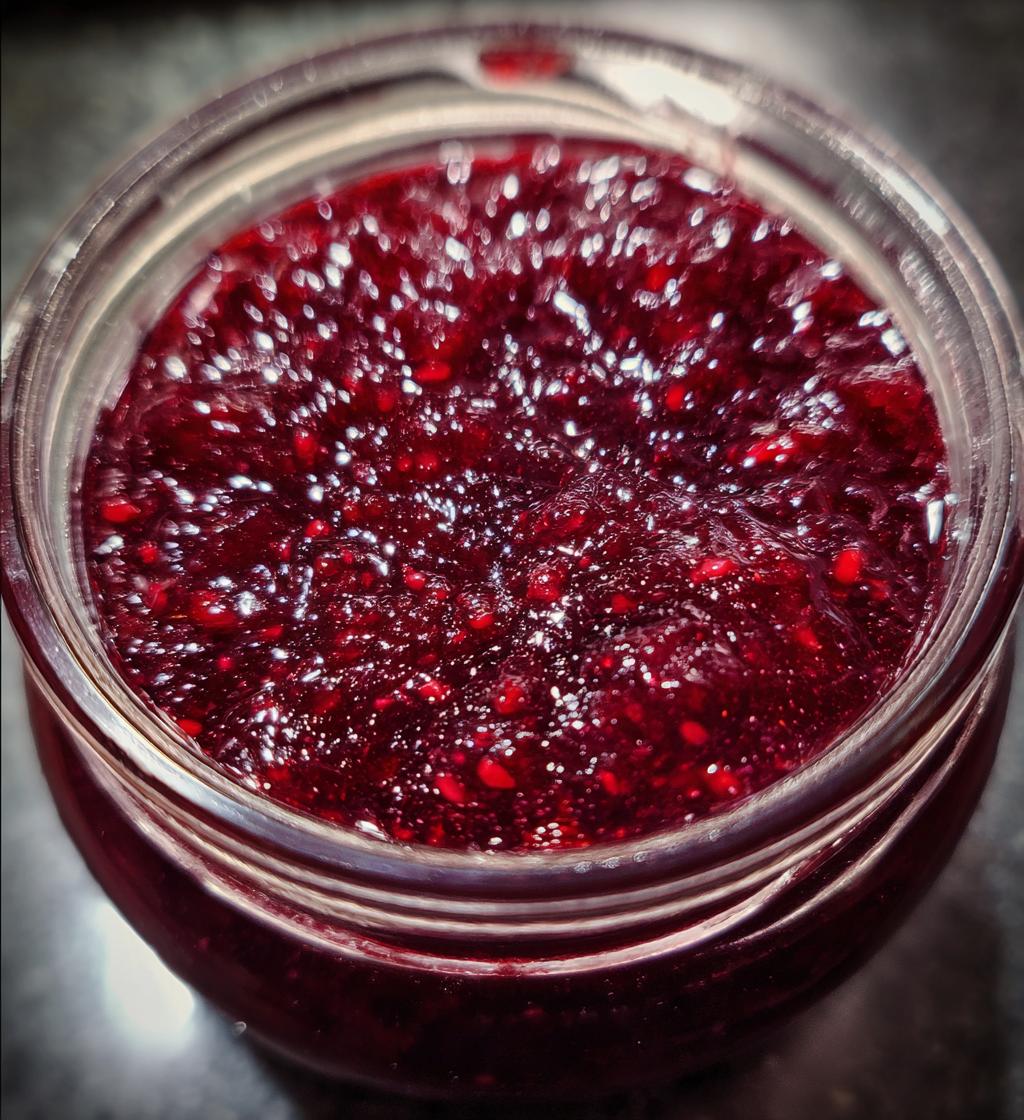
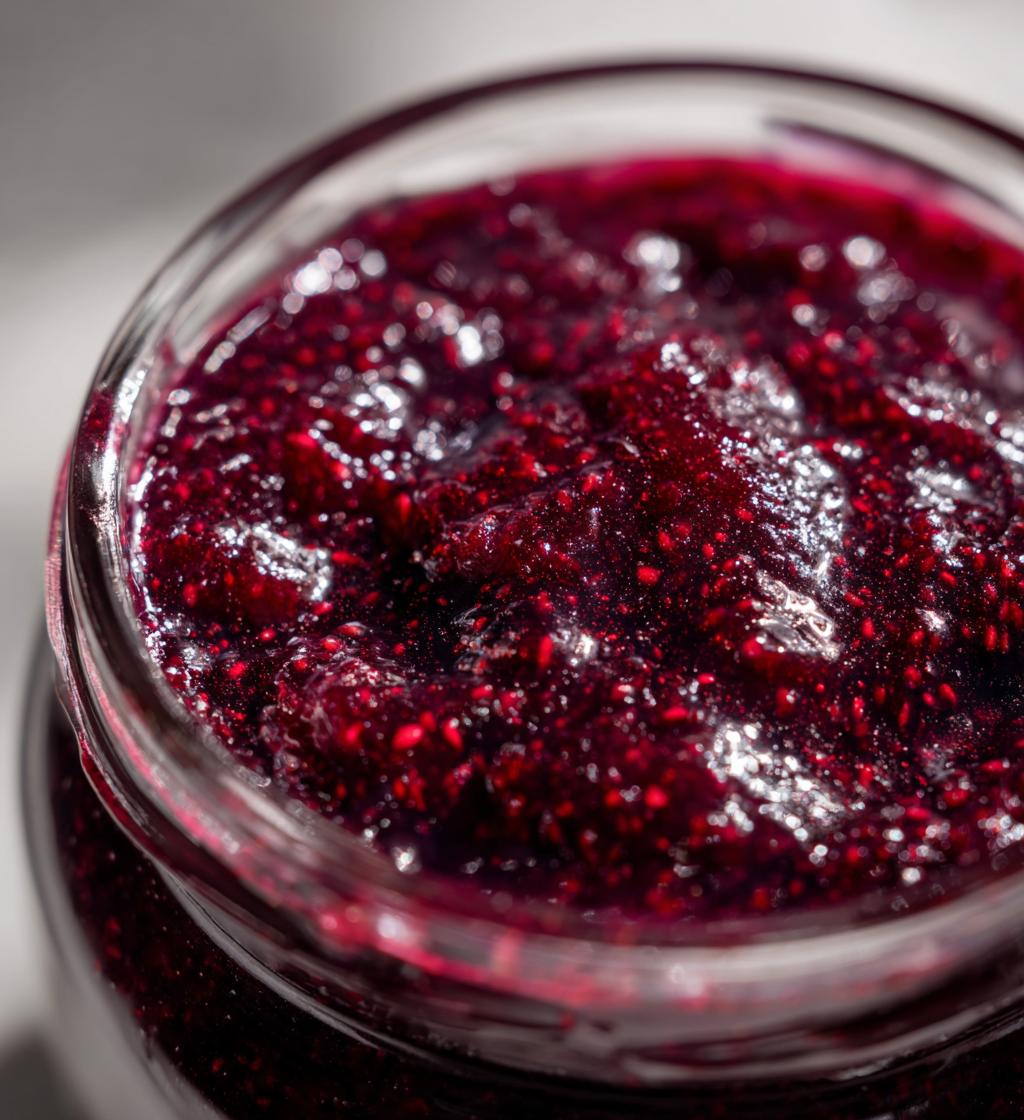
Oh my goodness, let me tell you about this plum jam recipe! There’s something truly magical about making your own preserves at home. The way the kitchen fills with the sweet, fruity aroma of ripe plums simmering on the stove is just unbeatable. It’s like a warm hug on a chilly day! This recipe captures the natural sweetness of plums, bringing out their vibrant flavor in every single jar. Trust me, once you taste this homemade jam, you’ll never want to go back to store-bought. You can spread it on toast, swirl it into yogurt, or even use it as a filling for pastries. The possibilities are endless! So, roll up your sleeves and let’s get started on this delightful journey of making your very own plum jam!
Ingredients for Plum Jam Recipe
Gathering your ingredients is the first step to creating this delicious plum jam! Here’s what you’ll need:
- 2 pounds ripe plums – Make sure they’re pitted and chopped into small pieces for even cooking. I like to use the juiciest ones I can find—trust me, it makes all the difference!
- 1 1/2 cups granulated sugar – This will help balance the tartness of the plums and create that lovely sweetness we all adore.
- 1/4 cup lemon juice – Freshly squeezed is best! It adds a nice zing and helps with the jam’s setting process.
- 1 packet fruit pectin – This is what gives your jam that perfect gel-like consistency. Don’t skip it!
That’s it! Simple ingredients, right? Now, let’s dive into the fun part—making the jam!
How to Prepare Plum Jam
Alright, let’s get down to the nitty-gritty of making this delicious plum jam! It’s super straightforward, and I promise you’ll feel like a pro by the end of it. Just follow these steps, and you’ll be enjoying your homemade preserves in no time!
Step 1: Prepare for Canning
The first thing you need to do is prepare your jars and lids for canning. I like to start by washing them in warm, soapy water to make sure they’re nice and clean. After that, rinse thoroughly and place them in a large pot of boiling water for about 10 minutes to sterilize. This step is crucial because it helps prevent any unwanted bacteria from sneaking into your jam. Just be careful when handling hot jars—safety first!
Step 2: Combine Ingredients
Now, grab a large pot and toss in your chopped plums, sugar, and lemon juice. Give it a good stir to combine everything well. I usually use a wooden spoon for this—it just feels right! Make sure the sugar is evenly distributed and starts to dissolve a bit. It’s like a sweet little dance happening in your pot!
Step 3: Boil the Mixture
Next up, we’re going to bring this mixture to a boil over medium heat. Keep stirring frequently to avoid any sticking or burning—nobody wants that! You’ll want to boil it for about 5-10 minutes until it starts bubbling vigorously. Oh, the smell is absolutely heavenly at this point! Just make sure you keep an eye on it because it can bubble over if you’re not careful.
Step 4: Add Pectin and Boil
Once your mixture is bubbling away, it’s time to add the fruit pectin. Stir it in quickly and keep boiling for another 1-2 minutes. This is where the magic happens! To check if your jam has reached the right gel consistency, take a spoonful and place it on a cold plate. Let it sit for a minute, then run your finger through it. If it holds its shape, you’re golden! If not, just give it a little more time on the heat.
Step 5: Jar the Jam
Now that your jam is ready, carefully pour the hot mixture into the prepared jars. Leave about a 1/4 inch headspace at the top—this is super important! Wipe the rims of the jars with a clean cloth to remove any drips, then seal them with the lids. It’s starting to look like jam, isn’t it? I can hardly contain my excitement!
Step 6: Process the Jars
Finally, it’s time to process those jars! Place them back in the boiling water bath, making sure they’re completely submerged. Process for about 10 minutes to ensure everything is sealed in properly. After that, carefully remove the jars and place them on a clean towel to cool. You’ll hear that satisfying “pop” as they seal, and it’s music to my ears! Once they’re cool, store them in a cool, dark place, and get ready to indulge in your very own plum jam!
Tips for Success
Making plum jam is such a joyful experience, but a few tips can make it even better! Here’s what I’ve learned over the years to ensure your jam turns out perfectly every time:
- Use the Right Plums: Go for ripe, juicy plums for the best flavor. Not only do they taste amazing, but they also have the right amount of natural sugars to help your jam set beautifully.
- Check Your Pectin: Make sure your fruit pectin isn’t expired before using it. Old pectin won’t set your jam properly, and that can be a real bummer!
- Adjust Sugar to Taste: If you prefer a less sweet jam, feel free to adjust the sugar amount! Just remember, sugar helps with preservation, so don’t cut back too much.
- Keep Everything Clean: Sanitize your jars and utensils thoroughly. A clean environment is key to avoiding spoilage. It’s a small step that pays off big time!
- Don’t Rush the Boiling: Allow the mixture to boil vigorously for the recommended time. This is crucial for achieving that perfect gel consistency. If you skimp on this step, your jam may turn out too runny.
- Test for Gel Consistency: Keep an eye on your jam when doing the cold plate test. If it’s not set, give it a little more time on the heat. It’s better to be patient than to end up with syrup!
- Label Your Jars: Once your jam is cool, don’t forget to label your jars with the date. Trust me, you’ll thank yourself later when you’re digging in months down the line!
With these tips, you’re well on your way to creating some of the best plum jam ever! Enjoy the process and, of course, the delicious results!
Variations on Plum Jam Recipe
One of the best parts about making your own plum jam is how easy it is to mix things up and create unique flavors! Here are some fun variations I love to experiment with:
- Spiced Plum Jam: Add a pinch of cinnamon or a few cloves while boiling for a warm, spicy twist. It gives the jam a comforting aroma that reminds me of cozy autumn days!
- Plum and Ginger Jam: Toss in some freshly grated ginger for a zesty kick. The combination of sweet and spicy is simply divine!
- Mixed Fruit Jam: Combine plums with other fruits like peaches or apricots. Just make sure to adjust the sugar and lemon juice a bit depending on the sweetness and acidity of the other fruits.
- Citrus Plum Jam: Add some orange or grapefruit zest along with the lemon juice. The citrusy notes brighten up the jam and make it taste so refreshing!
- Vanilla Plum Jam: Stir in a splash of vanilla extract right before you jar the jam. It adds a lovely depth of flavor that pairs wonderfully with the plums.
- Herbal Infusion: Experiment with herbs like rosemary or basil. Just add a few sprigs to the mixture while it cooks, then remove them before jarring. It’s an unexpected twist that will impress your guests!
Feel free to get creative and make this plum jam your own! Each variation brings something special to the table, and I can’t wait for you to try them all!
Nutritional Information
Now, let’s talk about the nutritional side of this delightful plum jam! Keep in mind that these values are estimates, but they give you a good idea of what you’re enjoying with each spoonful:
- Serving Size: 1 tablespoon
- Calories: 50
- Sugar: 12g
- Sodium: 0mg
- Fat: 0g
- Saturated Fat: 0g
- Unsaturated Fat: 0g
- Trans Fat: 0g
- Carbohydrates: 13g
- Fiber: 0g
- Protein: 0g
- Cholesterol: 0mg
This jam is a sweet treat, perfect for spreading on your favorite bread or incorporating into recipes. Just remember, it’s all about moderation! Enjoy your homemade plum jam guilt-free, knowing you’re indulging in something that’s not only delicious but also made with love!
Frequently Asked Questions
I know you might have some questions about making this delightful plum jam, so let’s clear things up! Here are some of the most common queries I get, along with my best answers:
Can I use frozen plums for this recipe?
Absolutely! Just make sure to thaw them completely and drain any excess liquid before using. They might be a bit softer, but the flavor will still be fantastic!
What if my jam doesn’t set?
Oh no, that can be a bummer! If your jam doesn’t set after the cold plate test, you can always reheat it and add a bit more pectin. Just bring it back to a boil and follow the instructions on the pectin package for re-setting.
How long does homemade plum jam last?
When properly sealed and stored in a cool, dark place, your jam can last up to a year! Once opened, keep it in the fridge and use it within a few weeks.
Do I really need to process the jars in a boiling water bath?
Yes, processing is important for ensuring your jars are sealed and safe for long-term storage. It helps prevent spoilage and keeps your delicious jam fresh for longer!
Can I reduce the sugar in this recipe?
You can! Just keep in mind that sugar not only sweetens but also helps with the preservation and gel consistency. If you want to cut back, try using a sugar substitute made for canning or adjust it slightly but not too much.
What can I do with leftover plum pulp?
Oh, don’t throw it away! You can use leftover pulp in smoothies, baked goods, or even as a topping for yogurt or oatmeal. No waste here—let’s use every bit!
Can I use other fruits to make jam?
Definitely! Feel free to experiment with different fruits. Just remember to balance the sugar and acidity accordingly, and you’ll have a whole new jam adventure ahead of you!
I hope that answers some of your burning questions! If you have any more, don’t hesitate to ask—I’m here to help you on your plum jam journey!
Why You’ll Love This Plum Jam Recipe
This plum jam recipe isn’t just easy to make; it’s a delight that will keep you coming back for more! Here’s why I’m absolutely head over heels for it:
- Simplicity: With just a handful of ingredients, making your own jam is a breeze! You don’t need to be a pro chef to whip up this delicious treat.
- Rich Flavor: The natural sweetness of ripe plums shines through, creating a jam that’s bursting with vibrant taste. It’s like sunshine in a jar!
- Versatility: This jam is perfect for so many things! Spread it on toast, mix it into yogurt, or use it as a filling for pastries—the options are endless!
- Homemade Goodness: There’s something incredibly satisfying about making your own preserves. You get to control the ingredients and enjoy the fruits of your labor!
- Gift-Worthy: Jars of this jam make thoughtful gifts! Who wouldn’t love receiving a homemade treat that’s both delicious and personal?
- Seasonal Delight: Making jam is a wonderful way to preserve the flavors of summer. You can enjoy the taste of plums long after the season is over!
Once you try this plum jam, I promise you’ll be hooked! It’s the kind of recipe that brings joy and warmth to your kitchen and your taste buds. So, let’s get jamming!
Print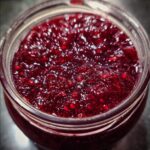
Plum Jam Recipe: 6 Steps to Delicious Homemade Bliss
- Prep Time: 15 minutes
- Cook Time: 30 minutes
- Total Time: 45 minutes
- Yield: 4 cups 1x
- Category: Preserves
- Method: Canning
- Cuisine: American
- Diet: Vegetarian
Description
A simple and delicious plum jam recipe that highlights the natural sweetness of plums.
Ingredients
- 2 pounds ripe plums, pitted and chopped
- 1 1/2 cups granulated sugar
- 1/4 cup lemon juice
- 1 packet fruit pectin
Instructions
- Prepare jars and lids for canning.
- In a large pot, combine plums, sugar, and lemon juice.
- Bring the mixture to a boil over medium heat, stirring frequently.
- Add fruit pectin and continue boiling for 1-2 minutes.
- Test for gel consistency by placing a spoonful on a cold plate.
- If set, pour hot jam into prepared jars, leaving 1/4 inch headspace.
- Wipe the rims and seal with lids.
- Process in a boiling water bath for 10 minutes.
- Cool jars on a clean towel and store in a cool, dark place.
Notes
- Use ripe plums for the best flavor.
- Adjust sugar to taste if you prefer a less sweet jam.
- Store unopened jars for up to one year.
Nutrition
- Serving Size: 1 tablespoon
- Calories: 50
- Sugar: 12g
- Sodium: 0mg
- Fat: 0g
- Saturated Fat: 0g
- Unsaturated Fat: 0g
- Trans Fat: 0g
- Carbohydrates: 13g
- Fiber: 0g
- Protein: 0g
- Cholesterol: 0mg
Keywords: plum jam recipe, homemade plum jam, fruit preserves